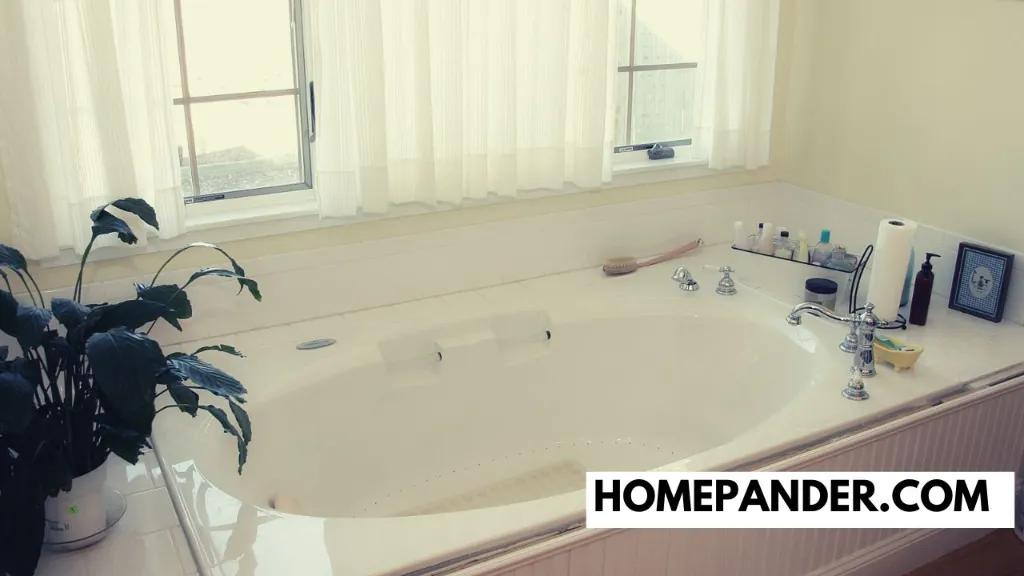
Whether you are installing a tub in the middle, at a corner, or next to the window of your bathroom, a frame will allow you to set the tub perfectly. Now, if you are planning on setting a drop-in tub in your bathroom, knowing how to build a frame for a drop-in bathtub will be an advantage.
To install a drop-in bathtub frame, you need to take measurements and install noggins between the wall and joists. Measure and cut the sides of the frame and assemble the frame according to the measure. Finally, install the frame ends to complete the frame.
That was the preview. If you want to know more, stick with us till the end. We’ve got you a step-by-step guideline for the whole process and It is also a good idea to read up on how to stop bathtub overflow drain?
However, making a frame and installing the tub isn’t the end of the work. You need to be aware of other bathtub issues and solutions to any other problems. That’s why I did some more digging to make sure everything is covered.
How Much Space Is Needed For A Drop-in Tub?
Drop-in bathtub space often depends largely (no pun intended) on your bathroom space. Since this bathtub has no finishing side, you can install it in any fashion in the middle of your bath space.
However, a drop-in bathtub suits well in a larger space. According to Badeloft, standard drop-in bathtub measures:
- Long Drop-In Tub: 72 inches long, 32 inches wide, and 20 inches deep.
- Medium Drop-In Tub: 60 inches long, 30 inches wide, and 16 inches deep.
- Small Drop-in Tub: 45 inches long, 30 inches wide, and 14 inches deep.
The best way to install such a bathtub is to leave about 6 inches of flat space on all sides. That means the tub surrounding area will measure one foot longer and broader than the bathtub.
How To Build A Frame For A Drop-in Bathtub?
Regardless of what tub you install, building a frame around it always provides extra strength and stability. So if you want to know how to build a frame for a drop-in tub, learning how to build a bathtub platform won’t be a hassle.
Step 1: Measure The Height
Using the measuring tape, measure your tub height and mark it on the wall studs. You need to add 80mm or about 3-3.5 inches.
The extra measure is for the height between the floor and the tub. If you are going to add a mortar bed underneath, an extra height is necessary.
Step 2: Install Noggins Between Joists And Wall
To give the frame extra support, you need to install noggins. First, you have to measure the gaps between the wall Joists. After that, using a circular saw, cut the necessary timber.
Then, nail the noggins with a nail gun or using a hammer. You can use the Porter Cable nail gun to do the job. Besides strengthening the frame, the noggins help to hold the outer linings.
Step 3: Measure The Tub And Cut The Frame
Now it’s time to measure the tub. Remember what I said around the beginning? A drop-in tub requires about 6 inches of flat area on each side. But if you are running low on space, you can skip this part.
Nevertheless, you are still required to measure the tub length and width and add 70mm. Then cut timbers for the top and bottom sides of the frame. This measure is necessary to set the tub onto the frame.
Step 4: Mark The Position Of Vertical Studs On The Frame
Trace the offcut of the frame with a pencil to mark the position of the vertical studs. Place the vertical studs at each end of the frame. The space between the studs should be 600mm. This spacing will come in handy when you cover the frame.
Step 5: Assemble The Frame Sides
You need to cut eight vertical studs. They all should measure 95mm less than the desired height of the frame. This will allow thickness for top and bottom plates.
If there is a variation in floor height, you can add an extra 5mm. Finally, nail the studs between the top and bottom plates and assemble two sides of the frame.
Step 6: Install The Sides Of The Frame
Position one side of the frame against the wall, and the other side paralleled to it. The distance between both sides should be by the width of your tub, minus 30mm. That means excluding 15mm on each side.
But why is that? Well, when you place the tub onto the frame, it needs something to sit on. Once the position of the frames seems accurate, nail them with a nail gun into place.
Step 7: Prepare The End Of The Frames
Once you have placed the sides in their places, you will be able to measure the distance between the sides at the ends. Cut the top and bottom plates of both sides and three vertical studs for each end. Then nail the studs between the top and bottom plates.
Step 8: Install The Ends
It’s time to nail the ends. Use a spirit level if the vertical edges are in the proper position. And finally, place your drop-in tub to make sure it sits properly on all four edges.
Check our latest guide about: How To Install Green Board Around Bathtub?
Also, read the related guide: How to Support a Fiberglass Bathtub?
How To Build A Platform For A Drop-in Tub?
A platform around the tub looks fanciful. It brings a classy and luxurious vibe to your bathroom. If you know how to build a frame for a drop-in bathtub, you must have some carpentry skills.
So, having a platform set up around your tub won’t be a tough job for you. But it does require precision. Now let’s hop on to learn more about it through these step-by-step instructions.
Step 1: Build The Platform Frame
Place the tub where you want it to be. If you are going to install it against the wall, make sure it is at least 14-16 inches apart from the wall.
At least 3 inches of the ¾” plywood should be visible on the surface. Usually, the manufacturers provide the instructions. But it doesn’t hurt to know, does it?
The measure and cut the timbers to build a frame much like the steady drop-in bathtub frame. The studs should be 16 inches apart.
Step 2: Place The Frame In Position
Now position the frame where you want to set and mark around the existing wall. Remove the frame and then remove the existing wall with a drywall knife. It will expose the structure behind the wall.
Again place the frame in the right place and use a spirit level to check if it is leveled correctly. If everything looks accurate, screw the frame on the floor and to the wall studs.
Step 3: Cut The Plywood
Measuring from the platform frame’s outer edges takes the dimension of the frame. Adding an extra ¾ inches later helps with the plywood thickness. Then cut the plywood with a circular saw.
Step 4: Cut The Opening
A cut-out template of the tub comes with the packaging. Place it on the plywood sheet and trace the outline with a pencil. Then using a jigsaw cut along the line.
But what if there is no template in the package? In that case, try the following:
- Turn the tub upside down and place it on the plywood
- Trace the outline with a pencil
- Remove the tub and trace another outline ¾ inches inside the previous outline
- Cut with a jigsaw along the inner outline
Step 5: Faucet And Drainage Lines
The instructions will tell you what measurements you must follow to cut to insert the lines for the faucet and drainage lines. Once you have done those, set the tub onto the platform. Don’t forget to create an access panel in case there is a plumbing issue.
Step 6: Final Check
After everything is done, screw the plywood on the frame. Then clean out the area and fill the tub to the overflow level to check if it is placed correctly.
Let the water sit for some time to make sure it is watertight. Then empty the tub. If you see it drained utterly, that means it is leveled. If you see the remaining water, then the tub isn’t leveled.
Step 7: Final Touch
Now that your platform is complete, you can decorate it with your chosen material or tiles. Don’t forget to seal the area between your tub rim and tiles with silicone caulk.
How Do You Support A Drop-in Tub?
The best way to support a drop-in tub is to use a mortar base or mud. Some people use spray foam, but I do not recommend it. Because the foam expands unevenly, and it does not create a strong base.
The best way to create a mortar base support is:
Step 1: Cover The Area
Lay a plastic sheet on the subfloor. It will prevent moisture from damaging the floorboards.
Step 2: Prepare The Mortar
Mix the mortar ingredients to create the base by following the manufacturer’s instructions.
Step 3: Lay Mortar Base
Lay a few shovelfuls of mortar where you have marked the tub area. It has to be enough to create a 2-3 inches thick base.
Step 4: Cover The Mortar Bed
Cover the mortar with another plastic sheet to prevent it from sticking to the tub. Removing the tub will be easier if the tub isn’t stuck to the mortar bed.
Step 5: Place The Tub On Support
Place the tub on top of the base support. You can use a spirit level to check the balance. And then fill it with water.
Step 6: Wait Until It’s Ready
Let the water sit on the tub for at least 72 hours. After the mortar support base is thoroughly dried, you can drain the water and start using your bathtub.
Pros And Cons Of Drop-in Tubs
Since you are trying to find out everything about drop-in tubs, you are definitely looking forward to installing one at your home.
But are you aware of the pros and cons of a drop-in tub? If not, let’s find out, shall we?
Pros
- Drop-in tubs are stylish
- Having drop-in tubs with a platform built around it makes the tub area look fancier
- The exposed rims allow the water to stay in rather than undermount tubs, which is not as reliable as a drop-in tub
- Does not require lots of cleaning and maintenance
Cons
- Drop-in tubs require surrounding and base support
- They can be quite expensive
- Due to having a frame, getting access to plumbing lines can be a little troublesome
- Not suitable for a shower as the rim stays above the frame, leaving water on the platform or surroundings
How To Build A Whirlpool Tub Frame?
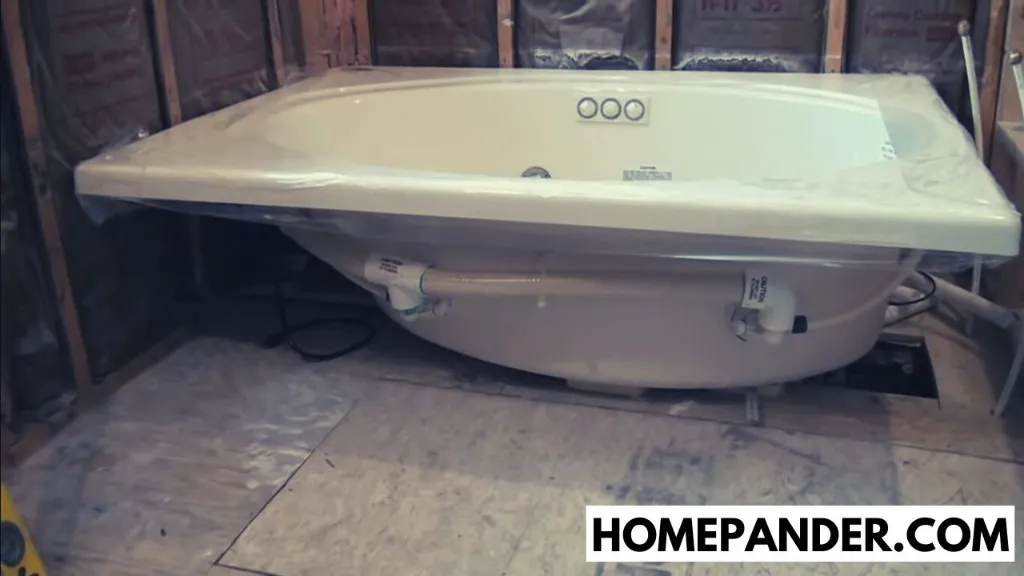
Whirlpool tubs are aesthetic for the bathrooms and enjoyable for those who use such tubs. While framing and installing a whirlpool tub isn’t much challenging, it does take 2-3 days to complete to the installation of a drop in whirlpool tub. So if you are going to build a frame for a whirlpool tub, be sure to set aside a few days to work on it.
Step 1: Take Measurement
Measure your tub and mark it on the floor and wall. Remove any tile and drywall if needed.
Step 2: Install Backer Between Studs
Before you install the backer, check on the manufacturer’s instructions. There you will find recommended dimensions for the tub. You can install a tub spout and showerhead backer if instructed.
Step 3: Build The Frame
Depending on how many walls your tub will be up against, you need to measure the tub dimension again. Build the frame by attaching a 2×4 inches ledger.
Step 4: Install The Tub
After completing the frame, place it against the wall and use a spirit level to see if it is set up correctly. Make sure you have followed the instruction accurately to insert electricity and drainage lines.
Apply mortar bed for tub support and then set the tub. Finally, turn on the water to check for any leakage on the tub or plumbing line.
How To Frame A Wall For A Bathtub And Shower?

If you would rather install a bathtub and shower as one, you better be prepared for it. Here is a guideline on how to frame a bathtub shower combo:
Step 1: Take The Measurements
Take your tub measurement with a measuring tape and mark it on the floor and the wall studs with a pencil. You can also place your tub on the desired area to mark the areas.
Step 2: Build The Frame
Around the tub area, build a frame for the shower wall sides. The wall should be 2×4 inches for the sides. The frame plates should be 16 inches apart. Install studs by nailing them to the plates.
Step 3: Install Backer board
Cut pieces of cement backer board following the measure of the wall. Cover the entire wooden frame with backer boards and screw them in place. Then install the tub and tile the shower wall.
How To Build A Bath Frame For Tiling?
Tiling a bath frame has always been a pretty sight. And if you want that pretty sight for your tub area, you can do the followings:
- First of all, you need to build the right frame. This is where the backing panel will go.
- Screw the becking board in the tile frame. Instead of ply backing board, I would recommend using tile backing boards.
- The tiling process is the same as everywhere else. Don’t forget to fill the gaps between the tiles using caulk.
Related Questions
The questions regarding how to build a frame for a drop-in bathtub are endless. But these are some of the most frequently asked questions.
[faq-schema id=”3446″]
Parting Words
Now you see? Learning how to build a frame for a drop-in bathtub isn’t just about the frame. You have to be well aware of a few more things.
While you might not need to be a pro carpenter to do that, measuring precisely and using the suitable material are more essential. And if possible, have someone with you to accompany you for doing the job with flexibility.
Good luck with nice information on how to build a frame for a corner jacuzzi tub.


![How To Clean Dark Grout That Has Turned White [5 Easy Ways]](https://homepander.com/wp-content/uploads/2021/12/How-To-Clean-Dark-Grout-That-Has-Turned-White.webp)

![How to Remove Crystallized Urine [Explained]](https://homepander.com/wp-content/uploads/2022/02/How-To-Remove-Crystallized-Urine.jpg)