How To Install Green Board Around Bathtub? - HomePander

How To Install Green Board Around Bathtub?

A green board is a drywall installed around the bathtub. It is usually water-resistant and built to withstand high moisture as well as humidity. 

To install a green board around a bathtub, measure the area you would like to place it. Then score the green boards. You will be needing adhesive to attach the drywall pieces, and drywall screws to attach them to the framing studs.

When installing a backer board around the tile, you will need to keep it out of the lip area. Place the backer board on the wall with the bottom edge about ¼ inch above the tub lip. Apply a generous amount of cement adhesive, and then place the backer board 1/8 inch above the tub area. 

When you are installing a backer board around your bathtub, it is quite natural to have questions. Today in this write-up, we will talk about how to install a green board around a bathtub, the necessity of a green board, and answer all the questions you might have. 

How To Install Green Board Around Bathtub?
How To Install Green Board Around Bathtub

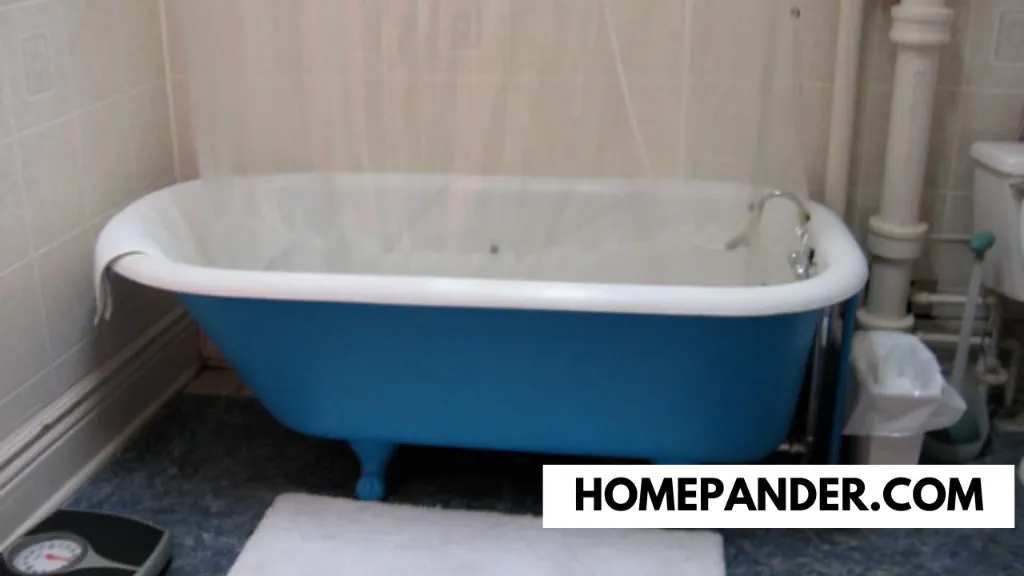
Installing the green board by yourself is very easy. However, the steps you will find online can be quite confusing. I have watered down the steps to make it less confusing for you. Here is how to install a green board around the bathtub:

  1. Start by measuring the area you are going to cover with the drywall. 
  2. Use the measurements to score your backer board. Once you are done scoring, bend the board to break it along the scored lines. You can use this method to cut your boards, or you can use a sharp knife to cut through the lines.
  3. Use drywall screws to attach your pieces of drywall to framing studs. 
  4. Use cement adhesive, drywall tape, or any adhesive that is compatible to use on drywall to cover the pieces of drywall. You can always use an extra thin-set on tapered edges of the backer board. 
  5. Now that the pieces you will be using have been fixed, place them on the wall. Keep the drywall above the tub lip. The distance between these two should be about ¼ inch. The drywall should be placed above the tub lip.
  6. Apply an extra thin-set on the backer board and place it 1/8 inch above the tub lip area. Fill the gap with caulk.
  7. Use mud on the areas where adhesive has been used, and areas that are not smooth due to the indents left from screws. Once the drywall has dried, use sandpaper to sand the drywall.
  8. If you want to apply more coats of mud, you can do that. The number of coats entirely depends on your preference. Once you have achieved the finishing you want, prime and paint. 

By following these steps, you will be able to install a backer board in shower by yourself at home.

Check our latest guide: How To Build A Frame For A Drop In Bathtub? Read this First!

Also, read the related guideHow to Support a Fiberglass Bathtub?

Does Backer Board Go Over Tub Flange?

Now that you have learned how to install a green board in the bathroom, it is time to learn some crucial information that will not only help you to do the job perfectly but will also allow you to avoid critical mistakes.

One of the most common mistakes people do while installing green board drywall is that they are not clear whether the backer board goes over the tub flange or not. The answer is, the backer board should go over the tub flange, to maintain a good water drainage system. 

Is Green Board Necessary In Bathroom?
is green board required by code

Green boards are very suitable for places that are always damp and moist. This is because these drywalls are made to be used in places with high moisture as well as humidity. There are many alternatives to green boards. So, the question remains, “Is a green board necessary in the bathroom?”

Well, to answer this question in one word, Yes. While there are many different types of drywalls available in the market, green boards are comparatively cheaper in price tags. But the lower prices do not dull down the convenience it promises to offer. 

Green boards are water-resistant, not waterproof. Using green boards in the bathroom is a definite necessity but you should not use them in a place where it can come to direct contact with water all the time. Since it is not waterproof, using it in a place like that will strip away its longevity.

Does Green Dry Wall Prevent Mold?

The growth of mold is probably the biggest concern when you are doing anything in a damp area. It tends to thrive in a very damp and moist area, so when you are installing drywall in your bathroom, it is quite common to wonder whether the drywall you are installing will prevent mold or not. 

Regular green boards are not built to prevent mold in your bathroom. Since you are already aware of why it grows, and your green wall cannot prevent mold from growing either, you might think of switching to a different backer board. 

Well, there are mold-resistant drywalls available in the market. These drywalls are one of the most innovative things ever. While traditional drywalls are made with paper, mold-resistant dry walls use fiberglass mats.

The paper in the traditional drywalls allowed the moisture to stick into it, which then led to the growth of mold. On the other hand, due to the usage of fiberglass mat in the mold-resistant drywall, moisture can no longer adhere to it, hence it prevents mold from growing at any cost. 

Can I Use The Green Board For Shower Walls?
can i use green board for shower walls

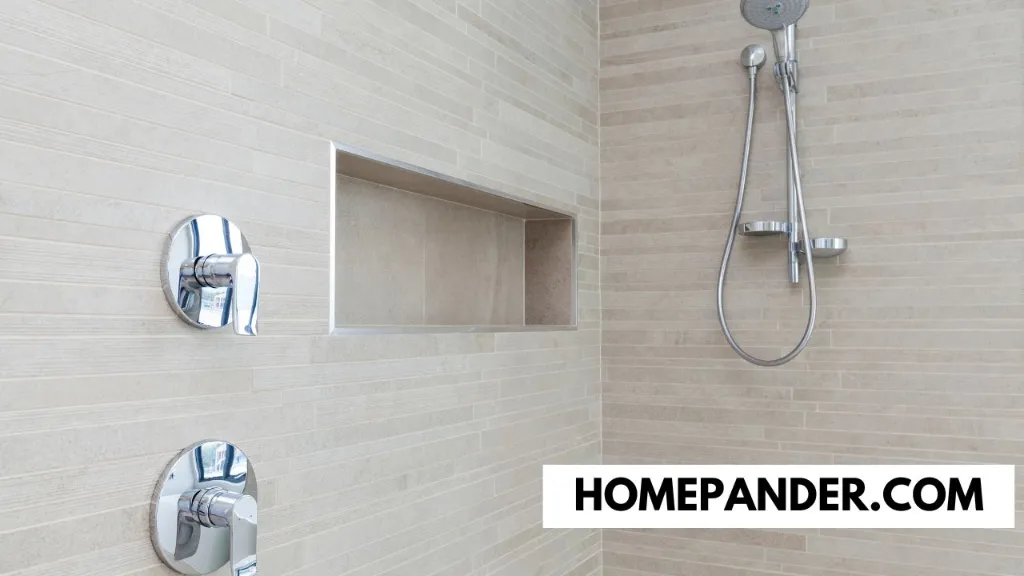
Green boards are specifically created drywalls that are meant to be used in areas with high humidity and moisture. The dry walls used in your living rooms or bedrooms are quite different from green boards. Green boards are built to last longer in places that are damp and moist.

Green boards are water-resistant dry walls, not to be confused with waterproof drywall. They are meant to be used in kitchens and bathrooms. Places, where water can directly come in contact with the backer board, will only dull down its longevity since it is only moisture resistant.

It does not have the power to stop moisture from directly soaking in. So, using a green board in a place where water can directly come in contact with the backer board, like for installing a green board in shower walls, is not a great idea. Cement backer boards are more recommended to be used for shower walls, and around a bathtub.

However, you can always use a waterproof membrane on top of your water-resistant green board to make it as powerful as a regular cement board. While some people find that as pretty big of a hassle, they prefer using the cement backer board instead. For an expert opinion, you can always reach out to your local handyman. 

What Do You Do With A Gap Between The Tub And Cement Board?

If you have read the instructions on how to install the green board in the shower properly, you would know that you are supposed to leave a gap between the tub lip and the backer board.

To be more specific, the backer board should be placed 1/8 inch above the tub lip. This leaves a slight gap. That gap is supposed to be filled with caulk. Some handymen prefer not leaving a gap as this might allow water to get inside the joint.

While some prefer leaving a gap and later use caulk or a sealant to seal the joint perfectly. This is a very controversial topic to many. According to handymen who think there should not be a gap left, the gap will allow water to seep inside no matter what sealant has been used to seal the joint. While handymen who prefer leaving a joint say that unless you have a built-in moisture barrier, without the sealant water will seep inside, with or without the gap.

Hence leaving a gap and then sealing it is the safest option out there. While both sides make sense, leaving a gap and then sealing the gap with a sealant instead of hoping that leaving no gap will prevent the moisture from seeping in seems to be the better option.

Unless you are using a waterproof backer board, and have a built-in moisture barrier, leaving a way to allow the moisture to get inside will only ruin the performance of your green board. Traditional green boards use paper so if moisture seeps in, you will soon start seeing mold in your bathroom as well. 

Here is a nice video on how to install a cement board around a tub.

Can you Use Green Board In a Shower?

Yes, you can use green board in the shower and use the green board for ceilings and non-shower walls in your bathroom.

Is green board waterproof?

Green board is not waterproof because it is water-resistant.

Is green board required in bathrooms?

Yes, but it does not allow for use in parts of the home that have excess humidity, like near indoor pools.

Do you put greenboard behind a tub surround?

Yes, you can use greenboard, which is moisture-resistant drywall, behind a tub surround to provide a suitable substrate for the installation.

How do you install a bathtub surround?

To install a bathtub surround, first, ensure the wall is clean and flat. Apply adhesive to the back of the surround panels and press them firmly against the wall. Use screws to secure the panels in place. Seal the seams with caulk to prevent water penetration.

How do you hang drywall around a bathtub?

When hanging drywall around a bathtub, measure and cut the drywall to fit the area. Use moisture-resistant drywall if possible. Secure the drywall to the studs with drywall screws, ensuring it is flush with the surrounding walls. Leave a small gap between the bottom of the drywall and the bathtub to prevent water damage.

What do you put behind a tub surround?

Behind a tub surround, you can put moisture-resistant materials such as greenboard or cement board. These materials are designed to withstand the moisture present in bathrooms and provide a suitable surface for attaching the tub surround panels.

What are the steps and techniques for notching out a strip in Hardiebacker for a bathroom wall project?

To notch out a strip in Hardiebacker for a bathroom wall project, you can follow these steps and techniques:
1. Ensure you have a small sheet of 1/2" Hardiebacker to work with.
2. Determine the size of the strip you need to notch out - in this case, it is 1" high and 1/4" deep.
3. Consider using a table router to make the notch, ensuring that the tool can be adjusted to the desired depth without cracking the board.
4. Carefully run the Hardiebacker sheet along the table router, ensuring that the notch is consistent and accurate.
5. Take your time to prevent the board from cracking during the notching process.
6. Once the strip is successfully notched out, you can proceed with using the Hardiebacker for your bathroom wall project, providing a solid foundation for tiling if needed.

How can a homeowner fill the space in front of the tub flange and under the wallboard for a seamless finish?

To fill the space in front of the tub flange and under the wallboard for a seamless finish, a homeowner can consider using 1/4" shims along the exposed studs and opting for 1/4" greenboard. By running shims up the length of the exposed studs and using greenboard, the homeowner can create a more even surface that resolves the gap between the tub flange and the wallboard. This method can help achieve a seamless finish that appears well-fitted and completes the overall look of the bathroom space. Additionally, utilizing greenboard can provide a moisture-resistant solution, particularly beneficial for areas near tubs or showers.

Should the drywall be installed above or below the tub flange, and what are the implications of each method?

When considering how to install the drywall concerning the tub flange, a key decision must be made based on the implications of each method. Installing the drywall above the tub flange prevents the board from wicking water, providing a barrier that helps protect against moisture damage. On the other hand, placing the drywall below the tub flange may result in potential water wicking issues, which could lead to damage over time.

Furthermore, the choice of installation method may also be influenced by the intended finish of the wall. If the drywall is set above the flange, it is typically done so in preparation for tiling the finished wall. In contrast, stopping the drywall at the top of the tub flange is a common practice to safeguard against water infiltration, especially if the intention is not to add tile to the surface.

Considering these factors, it is generally advisable to stop the boards at the top of the tub flange to prevent water wicking issues and ensure the integrity of the installation. However, if the plan is to have tile on the finished wall, setting the drywall above the flange could be a suitable approach, provided that proper waterproofing measures are taken.

In Conclusion

While I surfed the internet with the hope of finding the easier and simpler solution to “how to install green board around bathtub”, I realized most information provided was very confusing. I have tried my best to make the process as simpler as possible for you. 

If it is still not simple enough, you can always ask for the help of a professional to make things easier!

Good luck with the steps on how to install wonderboard around bathtub.


Share post on
sharone stela
By sharone stela

Sharone Stela has been a homeowner for 19+ years and has always done his own cleaning, repair, and improvement tasks.


HomePander is reader-supported. When you buy through links on our site, we may earn an affiliate commission.

About Me

Mohammad Ali Ahsanul Karim

Ali Ahsanul Karim

Ali Ahsanul Karim, a seasoned professional in the realm of paint and toilet cleaning, brings a wealth of expertise to the field. With a passion for enhancing living spaces, he combines innovation and practical know-how to redefine standards in both aesthetics and hygiene. .

Legal Information

HomePander.com is a participant in the Amazon Services LLC Associates Program, an affiliate advertising program designed to provide a means for sites to earn advertising fees by advertising & linking to Amazon properties including, but not limited to, amazon.com

DISCLAIMER

Our articles, products and services are for informational purposes. We recommend to use caution and seek the advice of qualified professionals.

4 Steps On How To Clean Natural Stone Pebble Shower Floor? Shower

4 Steps On How To Clean Natural Stone Pebble Shower Floor?

Porcelain, ceramic, and different kinds of flooring tiles are available in the market to...

By sharone stela
Updated
Shower

Can You Paint Shower Door Frame?

The shower door frame can be a bit of an eyesore in an otherwise...

By sharone stela
Updated
Shower

How To Remove A Shower Door From A Stall

Are you tired of staring at that old, grimy shower door every time you...

By sharone stela
Updated
Can A Shower Door Swing In? Shower

Can A Shower Door Swing In?

Have you ever wondered if a shower door can swing inward instead of outward?...

By sharone stela
Updated
How To Use Spray Foam Under a Shower Pan? 4 Easy Steps Shower

How To Use Spray Foam Under a Shower Pan? 4 Easy Steps

Does your shower pan flexing bother you? And if you're wondering if it's a...

By sharone stela
Updated
How to Install Shower Drain Without Access Below? Shower

How to Install Shower Drain Without Access Below?

The shower drains are the connection between your bathroom and the sewerage line of...

By sharone stela
Updated
How To Fix Large Gap Between Tub And Floor? (Solved!) Shower

How To Fix Large Gap Between Tub And Floor? (Solved!)

Living in a house for a long time ends up leading to the need...

By sharone stela
Updated
Shower

How To Restore Shine To Fiberglass Shower?

Regular cleaning is the fastest, easiest, and simplest way to hold your fiberglass shower...

By sharone stela
Updated

Latest Posts

Does Homeowners Insurance Cover Water Damage From Toilet Overflow? Toilet

Does Homeowners Insurance Cover Water Damage From Toilet Overflow?

You've just walked into your bathroom to find a mini-flood courtesy of your toilet's...

By sharone stela
Updated
Toilet Overflow Insurance Claim: What You Need to Know Toilet

Toilet Overflow Insurance Claim: What You Need to Know

Ah, the sweet sensation of watching your toilet turn into a mini-geyser, spewing forth...

By sharone stela
Updated
Does Renters Insurance Cover Toilet Overflow? Toilet

Does Renters Insurance Cover Toilet Overflow?

So, you're sitting comfortably in your rented apartment, when suddenly you hear the dreaded...

By sharone stela
Updated
Toilet Leak Insurance Claim: Quick Steps to Success Toilet

Toilet Leak Insurance Claim: Quick Steps to Success

You wake up to find your bathroom flooded, courtesy of a sneaky toilet leak....

By sharone stela
Updated
7 Best Stain for Exterior Wood Door 2024: Staining Made Easier Paint

7 Best Stain for Exterior Wood Door 2024: Staining Made Easier

The feeling of staining wood is different from anything else. Once you apply stain...

By Ali Ahsanul Karim
Updated
How To Clean Dark Grout That Has Turned White [5 Easy Ways] Cleaning

How To Clean Dark Grout That Has Turned White [5 Easy Ways]

Dark grout is popularly used for grouting bathroom and kitchen tiles. It’s mainly to...

By sharone stela
Updated
Black Stuff In Bottom Of Toilet Bowl (Causes,  Solutions & Preventive Tips) Toilet

Black Stuff In Bottom Of Toilet Bowl (Causes,  Solutions & Preventive Tips)

Have you discovered some black stuff in the bottom of your toilet bowl?  Does...

By sharone stela
Updated
How to Remove Crystallized Urine [Explained] Toilet

How to Remove Crystallized Urine [Explained]

Do your clients frequently complain about the filthy conditions of your restrooms? Does this...

By sharone stela
Updated