
Are you tired of staring at a dull and stained toilet bowl every day?
Why not give it a fresh new look with a coat of paint? Painting your toilet bowl may seem like a daunting task, but with the right tools and techniques, it can be a simple and rewarding project that will add a pop of color to your bathroom.
In this guide, we will take you through the steps of painting your toilet bowl, from preparation to finishing touches.
Whether you want to update the color of your toilet or cover up unsightly stains, we’ve got you covered.
So, let’s roll up our sleeves and get started on transforming your toilet bowl into a work of art!
| Aspect | Spray Paint | Epoxy Paint | Acrylic Paint |
|---|---|---|---|
| Adhesion | Good adhesion to porcelain | Excellent adhesion to porcelain | Good adhesion to porcelain |
| Durability | Moderate durability | High durability | Moderate durability |
| Application Process | Spray application | Brush or roller application | Brush or roller application |
| Surface Preparation | Light cleaning and sanding | Thorough cleaning and sanding | Thorough cleaning and sanding |
| Drying Time | Quick drying time | Longer drying time | Quick drying time |
| Number of Coats | Multiple coats may be required | Usually requires 1-2 coats | Multiple coats may be required |
| Resistance to Stains | May be susceptible to stains | Resistant to stains | May be susceptible to stains |
| Resistance to Chemicals | Moderate resistance | High resistance | Moderate resistance |
| Cost | Relatively inexpensive | Moderate cost | Relatively inexpensive |
| Reversible | Not easily reversible | Not easily reversible | Not easily reversible |
One of our articles –How to Remove Copper Stains from Toilet Bowl?
How to Paint Toilet Bowl: A Step-by-Step Guide
If you’re looking to update your bathroom without breaking the bank, painting your toilet bowl is a great place to start.
Not only is it an easy DIY project, but it can also give your bathroom a whole new look.
In this guide, we’ll go through the steps to painting your toilet bowl, including the materials you’ll need and some tips and tricks for getting a smooth finish.
Step 1: Gather Your Materials
The first step in painting your toilet bowl is to gather all the necessary materials. You’ll need:
- Paint stripper
- Sandpaper
- Primer
- Toilet bowl paint
- Paintbrush
- Drop cloth or newspaper
- Protective gloves and mask
Make sure to choose a toilet bowl paint that is specifically designed for porcelain surfaces, as this will ensure a durable, long-lasting finish.
It’s also important to work in a well-ventilated area and to protect your skin and lungs with gloves and a mask.
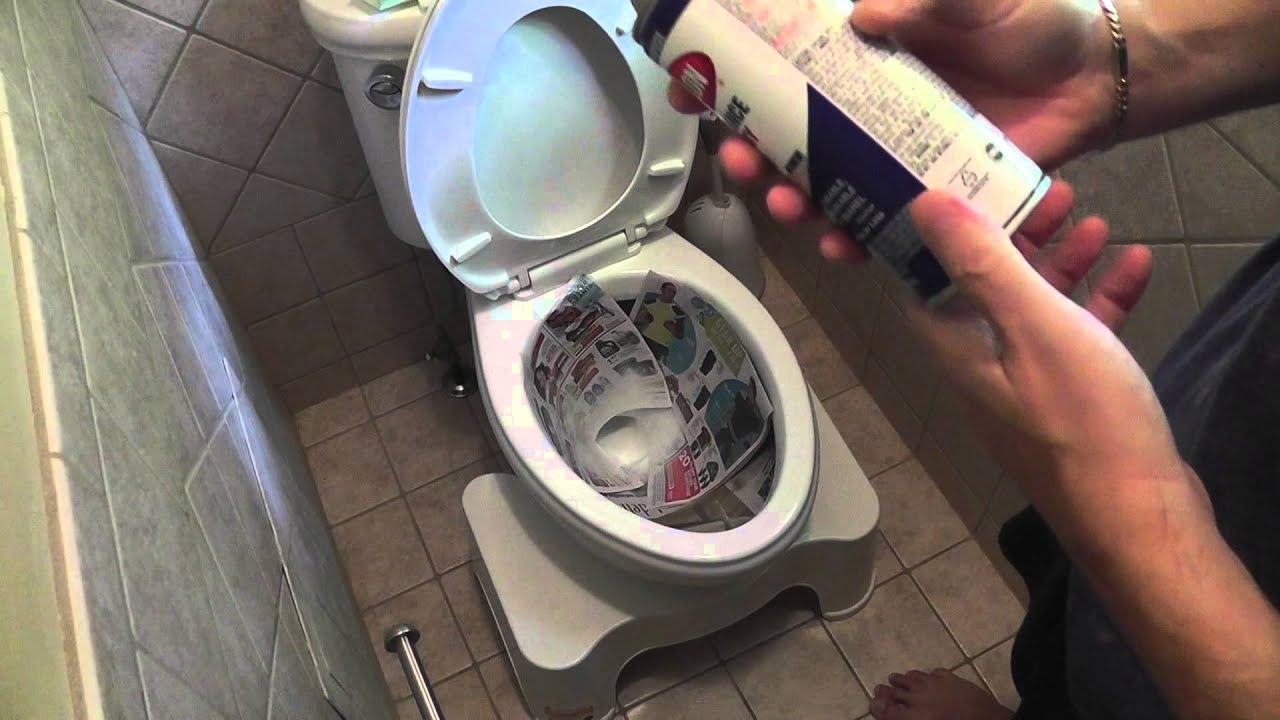
Step 2: Remove the Old Paint
The next step is to remove any old paint or residue from the toilet bowl. Apply a paint stripper according to the manufacturer’s instructions and let it sit for the recommended amount of time. Then, use sandpaper to gently remove the old paint, being careful not to scratch the porcelain surface.
Step 3: Apply Primer
Once the toilet bowl is clean and smooth, it’s time to apply a primer. This will help the paint adhere to the surface and ensure a smooth finish. Apply the primer in a thin, even layer and let it dry completely before moving on to the next step.
Step 4: Apply the Paint
Now it’s time to apply the toilet bowl paint. Use a paintbrush to apply the paint in thin, even layers, being careful not to leave any brush marks or streaks. You may need to apply multiple coats of paint, depending on the color and the coverage you’re looking for.
Be sure to let each coat of paint dry completely before applying the next one. This will help prevent any smudging or smearing.
Step 5: Let the Paint Cure
Once you’ve applied the final coat of paint, it’s important to let it cure before using the toilet bowl. This can take anywhere from 24 to 48 hours, depending on the manufacturer’s instructions. Be sure to avoid using the toilet during this time, as this could damage the paint and ruin all your hard work.
Step 6: Enjoy Your New Toilet Bowl
Once the paint is fully cured, you can enjoy your newly painted toilet bowl. Not only will it look great, but it will also be easier to clean and maintain than an old, stained toilet bowl.
One of our articles –How To Clean Dirty Toilet Bowl?
Benefits of Painting Your Toilet Bowl
Painting your toilet bowl is a cost-effective way to update your bathroom without having to replace your entire toilet. It can also help cover up any stains or discoloration on the toilet bowl, making it look brand new again.
Painting Your Toilet Bowl vs. Replacing Your Toilet
| Aspect | Painting Your Toilet Bowl | Replacing Your Toilet |
|---|---|---|
| Cost | Relatively inexpensive | More expensive |
| Appearance | Can provide a refreshed look | Offers a brand new look |
| Skill Level Required | Moderate skill level required | Professional installation recommended |
| Time Required | Quick process | Longer process |
| Durability | Moderate durability | Long-lasting durability |
| Functionality | Does not affect functionality | Potential improvement in flushing efficiency and water usage |
| Maintenance | Regular cleaning required | Minimal maintenance required |
| Upgrading Features | Limited to appearance changes | Can upgrade to newer features |
| Plumbing Considerations | No plumbing adjustments required | May require plumbing adjustments |
| Environmental Impact | May involve the use of chemicals | Old toilet disposal may impact the environment |
| DIY Feasibility | Can be done as a DIY project | Professional installation recommended |
While painting your toilet bowl is a great way to update your bathroom on a budget, it’s not always the best option. If your toilet is old and outdated, or if it’s experiencing plumbing issues, it may be time to replace it altogether.
Replacing your toilet can be more expensive than painting it, but it can also save you money in the long run by improving your home’s water efficiency and reducing your monthly water bill.
One of our articles –How To Clean Toilet Bowl Without Brush?
Frequently Asked Questions
What materials do I need to paint a toilet bowl?
Before you start painting, you will need to gather a few materials. These include:
- Paint designed for porcelain or ceramic surfaces
- A paint brush or roller
- Sandpaper or a sanding sponge
- A cleaner or degreaser
- A mask or respirator
Make sure to choose a paint that is specifically designed for use on porcelain or ceramic surfaces to ensure it adheres properly and lasts a long time.
How do I prepare my toilet bowl for painting?
Proper preparation is key to ensuring a successful paint job on your toilet bowl. Here are the steps to follow:
- Turn off the water supply and flush the toilet to empty the bowl.
- Clean the bowl thoroughly with a cleaner or degreaser to remove any dirt, grime, or residue.
- Use sandpaper or a sanding sponge to rough up the surface of the bowl slightly. This will help the paint adhere better.
- Wipe the bowl down with a clean, damp cloth to remove any dust or debris.
Once the bowl is clean and dry, you’re ready to start painting.
What is the best way to apply paint to a toilet bowl?
When painting a toilet bowl, it’s important to apply the paint evenly and smoothly. Here are the steps to follow:
- Use a paintbrush or roller to apply a thin, even coat of paint to the bowl.
- Allow the first coat to dry completely before applying a second coat if necessary.
- Once the final coat is dry, allow the paint to cure for at least 24 hours before using the toilet again.
- Be sure to clean your brush or roller thoroughly with soap and water after painting to keep it in good condition for future projects.
How long will my painted toilet bowl last?
The lifespan of your painted toilet bowl will depend on a few factors, such as the quality of the paint you used and how well you prepared the surface before painting. With proper prep and a good quality porcelain or ceramic paint, you can expect your painted toilet bowl to last for several years.
However, keep in mind that painted surfaces are more susceptible to scratches and chips than non-painted surfaces, so be careful when cleaning your toilet bowl to avoid damaging the paint.
Can I paint my toilet seat and lid as well?
Yes, you can paint your toilet seat and lid using the same materials and techniques as you would for the bowl. However, keep in mind that painted surfaces may become slippery when wet, so be cautious when using the toilet after painting.
In addition, the paint may wear off more quickly on the seat and lid due to the constant friction and use they receive. You may need to touch up the paint on these areas more frequently than on the bowl.
Painting a toilet bowl can be a simple and cost-effective way to update the look of your bathroom. By following the steps outlined above, you can achieve a smooth and even finish that will last for years to come.
Remember to choose a high-quality paint that is specifically designed for use on porcelain surfaces, and to prepare the surface properly by cleaning and sanding it before you begin. It is also important to use a good quality brush or roller to apply the paint, and to allow each coat to dry completely before applying the next.
With a little patience and attention to detail, you can transform your old, tired toilet bowl into a beautiful and stylish fixture that will enhance the overall look of your bathroom. So why not give it a try and see the difference a fresh coat of paint can make?
Conclusion
Painting your toilet bowl is an easy and affordable way to update your bathroom and give it a fresh new look. By following these simple steps and using the right materials, you can achieve a smooth, durable finish that will last for years to come.
Whether you’re looking to sell your home or just want to spruce up your bathroom, painting your toilet bowl is a quick and easy DIY project that can make a big difference.


![How to Remove Crystallized Urine [Explained]](https://homepander.com/wp-content/uploads/2022/02/How-To-Remove-Crystallized-Urine.jpg)
![How To Clean Dark Grout That Has Turned White [5 Easy Ways]](https://homepander.com/wp-content/uploads/2021/12/How-To-Clean-Dark-Grout-That-Has-Turned-White.webp)