
Have you ever tried to remove a screw from your toilet seat yourself? It might strip somehow, and you couldn’t extract it. Fixing this may seem a bit challenging. We’re here to show you how to remove a stripped screw from a toilet seat without any hassle.
Removing the toilet seat while fixing it can save you a lot of time and inconvenience, especially when it’s stuck. In this article, we will share a few simple tricks that will make your task much more manageable. Without further delay, let’s get started!
How To Remove A Stripped Screw From Toilet Seat?
Depending on the condition of your toilet, the removal procedure might be a little bit different. The metal screws can turn rusted more rapidly, which can be more challenging to clean than a plastic screw.
By following the steps below, you will easily get to know the entire process.
Step 1- Get The Required Instruments
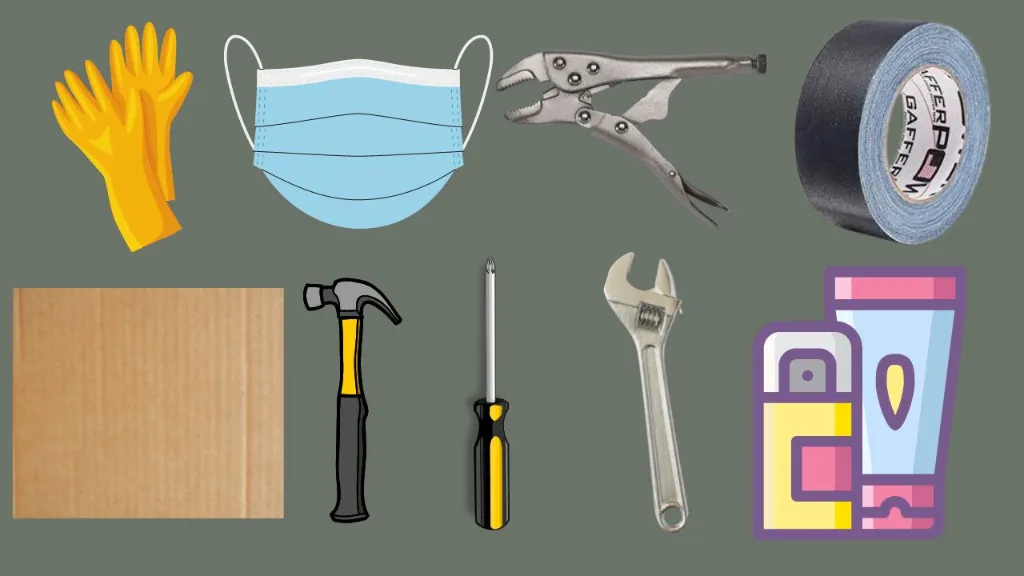
Before you start the process of removing the stripped screw from the seat you have to get the necessary tools. Such as
- Rubber Gloves
- Mask
- Vice grips or regular pliers
- Piece of wood or cardboard or plastic sheet
- Claw hammer
- Screwdriver
- Wrench
- Lubricant or soap water
- Tape or towel
Step 2- Remove The Old Toilet Seat From The Base
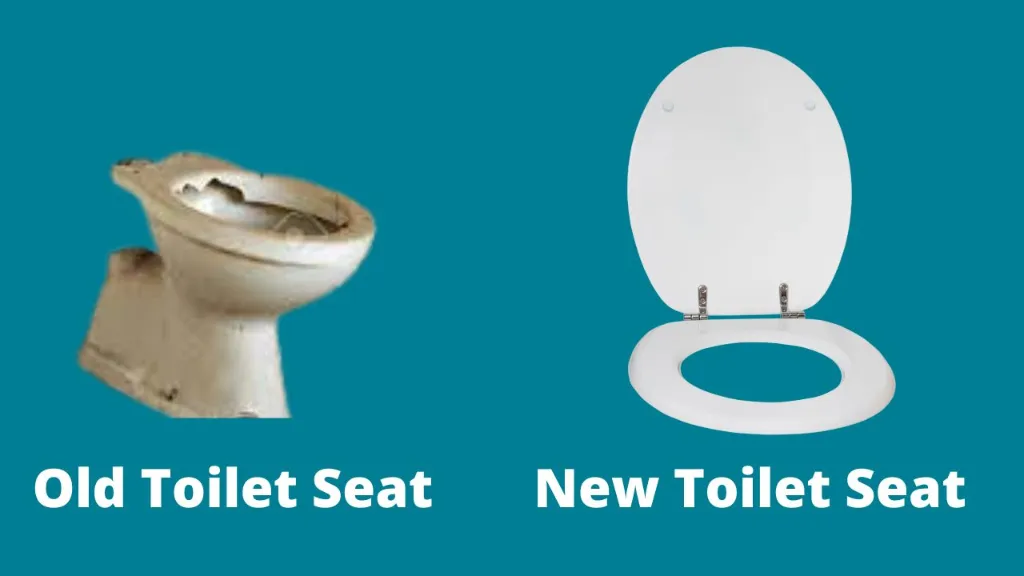
Displacing the toilet seat and the lid is a key point that makes your work much easier before you start. It’s better to remove the seat rather than replace it, right?
Basically, all you need is a few instruments and stamina. You should use vice grips pliers as the toilet seat removal tool. However, initially, it takes a bit of energy, but you will get used to it within a while.
Take a vice grip plier or regular wrench and remove the parts one by one until all the pieces are out, and you’ll reach close enough to the screw. Removing the seat from the bowl can cut off half of your time, whether the seat is broken or not.
Step 3- Use Wood Over The Base To Avoid Damage
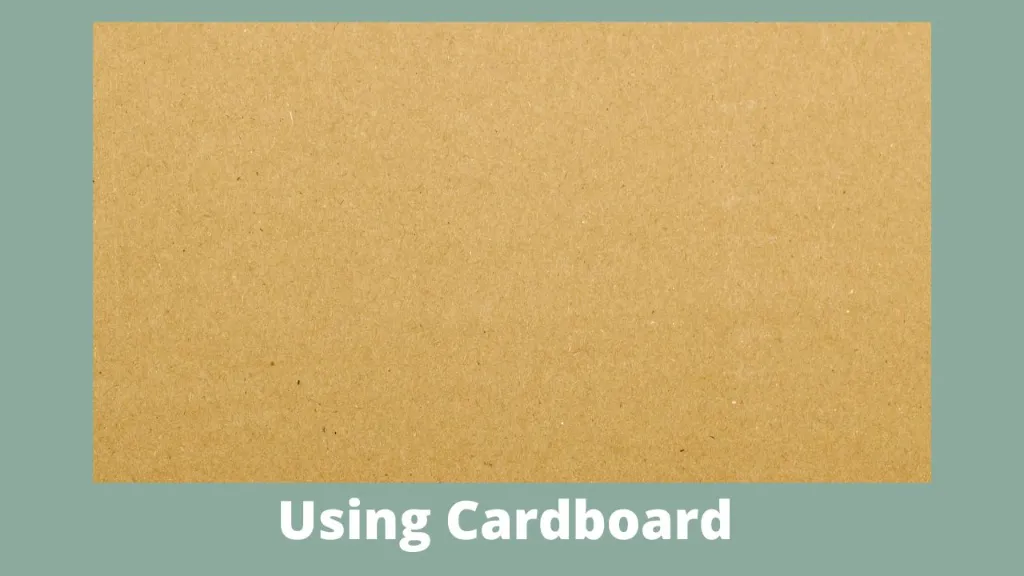
If you’re concerned about putting that much stress on the ceramic, using wooden piles or cardboard over the base after the removal of the seat might be a great solution.
Before removing the screw, place a piece of the wooden board near the screw to protect the base from further damage from the next procedures. Thick plastic boards or cardboards will also go if the wooden board is unavailable.
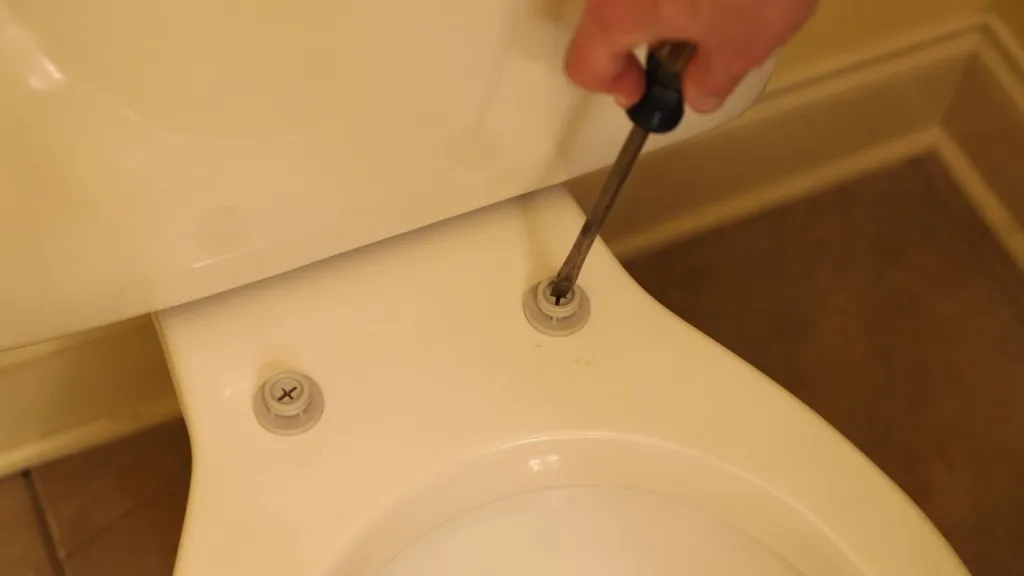
Step 4- Use A Screwdriver Or Vice Grips
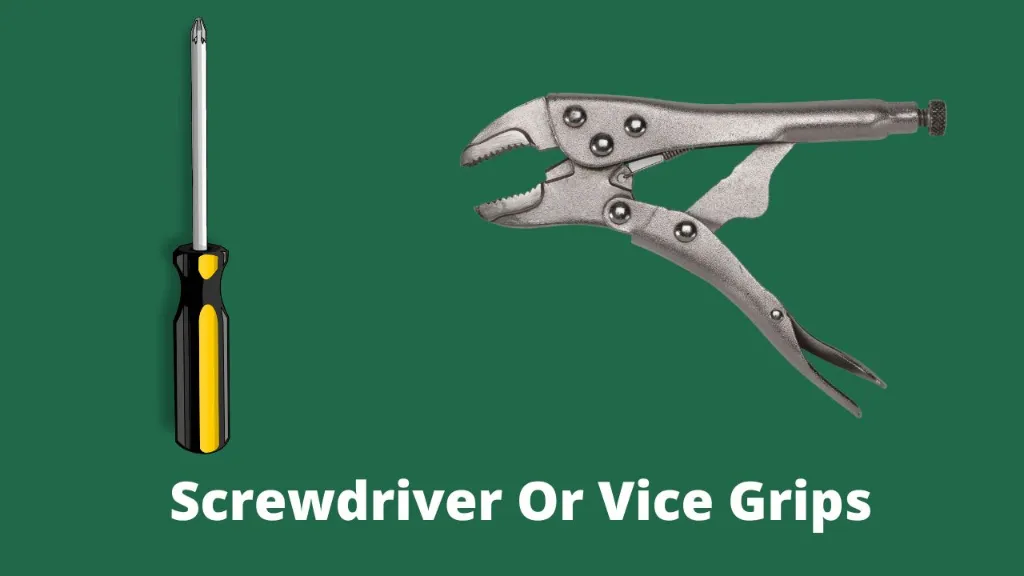
After breaking off all the portions of the seat, still, some plastic or ceramic coverings may remain around the screw surface and underneath the expansion bolt.
In this situation, take a needle head vice grip or a screwdriver and pull out the extra piece from the area to place the wooden board under the expansion bolt. It will give you additional support to the base under compression and pressure.
Step 5- Squeeze The Stuck Bolt Out With A Hammer
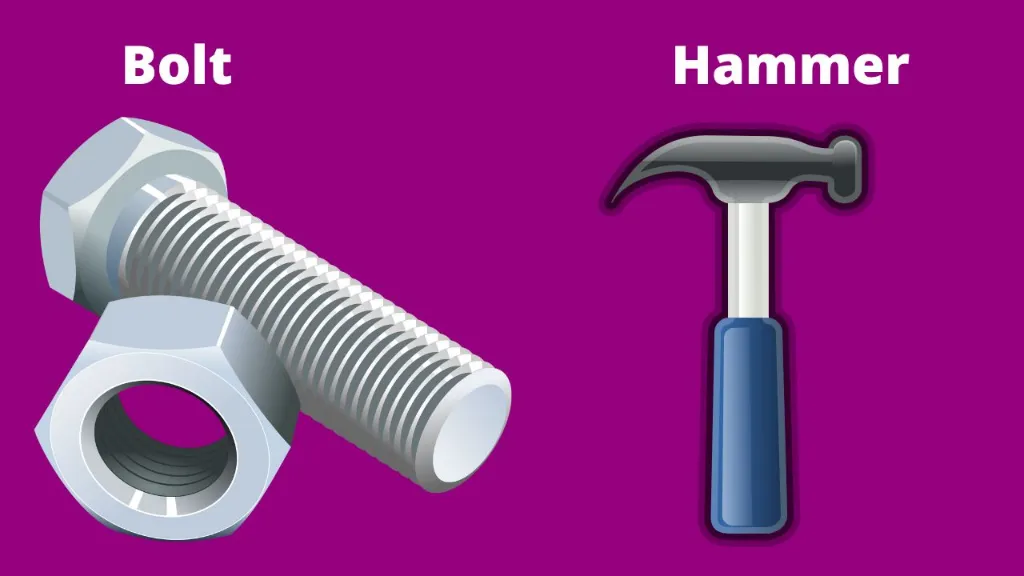
As the wooden board is supporting the bolt, place a hammer underneath it to loosen it up. Now, you can pry it out easily with a little amount of pressure.
If it’s not working, squeeze and pull a bit harder. It may seem scary at first, but there are no chances to crack the bowl at all as we have the wooden piece as support.
For an extra precaution, make sure to lay a towel over the bowl or tape it. So that you do not drop parts, broken pieces or any necessary tools into the toilet.
Step 6 – Pull Until The Screw Comes Off
If you are still unable to get it out, try to work smarter, not harder. Press the hammer against the wooden board. The cracking sound indicates how stronger it’s joined. It may take some time but it’s totally worthwhile.
Use medium size claw hammers to get a good grip. The squeezing process also becomes easier while you are using this hammer, and the screw comes off easily.
As soon as the screw comes off, wipe the area, and push the rubber gasket inside. Now you are done and ready to install a brand new seat!
Why Do Screws Get Rusted & How To Handle Them If It’s Stuck?
Rusted screws are one of the common problems. You need to imply more tasks to remove toilet seat metal fixings than plastics or any other varieties. Humidity, hypoventilation and environmental change cause metal decay, and that’s how corrosion occurs.
So, how to remove a rusted screw from a toilet seat? Well, you have to follow the same procedure we have mentioned earlier. But what if it doesn’t work? Is there any other way? These questions may arise. We are here to help.
To remove a rusted screw
- Remove the toilet seat with pliers.
- Use gel or spray lubricant into the rusted area. Wait for 5-10 minutes, and let it sit for a while. It will soften up the rust as well as loosen up the screw.
- Use a wrench or screwdriver counterclockwise to remove the screw.
- If it’s not working well, use a claw hammer and pull the screw out of the hole.
- You can also try out the hot blade or knife method to melt the rust, and unscrew it if needed.
Toilet Seat Plastic Screw Stripped: What To Do?
Plastic screws are not prone to corrosion, so it’s much easier to handle than metal ones. Are your toilet seat plastic screws stuck?
- Using a good amount of lubricant may come in handy.
- Soap water can also be used if lubricants are not available.
- Then you have to use pliers to unscrew it whenever it loosens up.
When to Seek Professional Help
While the methods mentioned earlier are effective in most cases, there are situations where it’s best to seek the assistance of a professional plumber or handyman. Here are some scenarios in which you should consider professional help:
Extremely Stubborn Screws: If the screw is exceptionally stuck or damaged, and none of the DIY methods seem to work, attempting to force it may cause further damage to the toilet seat or surrounding area. A professional has the experience and tools to deal with such situations safely.
Fragile Toilet Seat: If your toilet seat is made of delicate or fragile materials, such as porcelain or ceramic, it’s best not to risk damaging it. Professionals know how to handle such materials delicately.
Plumbing Concerns: If you suspect that the issue extends beyond a stripped screw, such as problems with the toilet’s flushing mechanism or leaks, it’s advisable to call a plumber. They can assess and address any underlying plumbing issues.
Limited Experience: If you lack experience in DIY home repairs or feel uncomfortable with the process, it’s a good idea to avoid potential mishaps by having a professional handle the situation.
Warranty Concerns: If your toilet seat is under warranty, attempting repairs yourself may void the warranty. It’s better to consult with the manufacturer or a certified professional to maintain warranty coverage.
Time Constraints: If you’re in a rush or have limited time to deal with the issue, a professional can complete the task efficiently, saving you time and hassle.
Remember, while DIY solutions can be cost-effective and satisfying, safety and preventing further damage should be your top priorities. If any of these situations apply to your case or if you’re uncertain about the best course of action, it’s wise to contact a professional to address the problem without the risk of making it worse.
Preventing Stripped Screws
Preventing stripped screws in your toilet seat is essential for avoiding future inconveniences and repairs. Here are some tips to help you keep your toilet seat in good condition:
Use the Correct Screwdriver: Always select the right screwdriver type and size for the job. Using an ill-fitting screwdriver can easily damage the screw head, increasing the likelihood of it getting stripped.
Apply Even Pressure: When screwing or unscrewing screws in your toilet seat, apply even and consistent pressure. Avoid excessive force, as this can lead to threads on the screw or in the material becoming damaged.
Avoid Over-Tightening: It’s common to want to ensure that screws are securely fastened, but over-tightening can be a primary cause of stripped screws. Once the screw feels snug, give it a quarter-turn more to prevent over-tightening.
Regularly Check for Loose Screws: As part of your routine home maintenance, periodically inspect your toilet seat for any loose screws. If you find any, tighten them promptly. Loose screws can easily lead to damage and stripped threads over time.
By following these simple yet effective preventive measures, you can maintain your toilet seat’s integrity and avoid the hassle of dealing with stripped screws in the future.
Related Questions
[faq-schema id=”9281″]
In Conclusion
Now you know how to remove a stripped screw from toilet seat and we hope you can do it yourself. This is not going to take a bunch of time. Totally a lifesaver, isn’t it!
Try to follow all the steps properly, and let’s see how it goes. Hopefully, these methods will be helpful.
Thanks for being with us!


![How to Remove Crystallized Urine [Explained]](https://homepander.com/wp-content/uploads/2022/02/How-To-Remove-Crystallized-Urine.jpg)

![How To Clean Dark Grout That Has Turned White [5 Easy Ways]](https://homepander.com/wp-content/uploads/2021/12/How-To-Clean-Dark-Grout-That-Has-Turned-White.webp)