Keeping our homes functioning optimally often involves understanding the ins and outs of even the most seemingly insignificant components.
One such element you might underestimate at first glance is the toilet flapper – a critical part of your home’s flushing system.
While small and typically out of sight, the flapper plays a crucial role in preventing wasteful water leaks. Occasionally, even after replacement, your toilet flapper may still continue to leak, causing needless worry.
This article guides you through the mechanism and function of a toilet flapper, the importance of choosing the right flapper size and material, and addresses common installation mistakes that might be the root cause of a leaking flapper.
Understanding Toilet Flapper Mechanism
Understanding the Function of a Toilet Flapper
The toilet flapper is an integral component of the toilet system. It acts as a seal between the tank and the toilet bowl.
When the toilet is flushed, the flapper lifts, allowing water to flow from the tank into the bowl.
Once the tank is empty, the flapper falls back into place, resealing the tank so it can refill for the next use.
How the Toilet Flapper Works
The toilet flapper is attached to the toilet handle via a chain. When the handle is pressed, it lifts the chain, which in turn lifts the flapper from the valve seat.
This allows water to swiftly exit the tank and enter the bowl to flush away waste. As water exits the tank, the flapper begins to descend back into place.
Its buoyancy helps it stay afloat until most of the water has drained.
Once the water level is low enough, the flapper falls back into the valve seat, sealing it to prevent more water from leaving the tank.
Understanding the Importance of the Toilet Flapper in the Flushing System
The toilet flapper plays a vital role in efficient and effective flushing. Its primary function is to control the amount of water released from the tank during a flush.
Without a properly functioning flapper, the toilet would either continuously run or it wouldn’t flush properly.
In other words, an effective flapper ensures a balance between water usage and flushing power.
Identifying Toilet Flapper Leakage
Even after replacing a toilet flapper, you might still notice a leak. This can be identified by standing water around the base of your toilet, a toilet that won’t stop running, or a toilet that needs to be frequently double-flushed.
Some other signs might include unusual noises coming from the toilet tank and unexpectedly high water bills.
Causes of Toilet Flapper Leakage
A number of reasons could be responsible for a toilet flapper leakage after replacement. It could be due to an incorrect size of the flapper. If the replacement flapper isn’t the right size, it won’t seal properly, leading to leaks.
Alternatively, the replacement flapper may be faulty or of low quality. Additionally, the issue could be with the chain. If it’s too long or too short, it may prevent the flapper from sealing correctly.
Damaged or worn-out parts such as the valve seat or the flush valve tube can also cause a leak. Sometimes, even a small amount of dirt or debris on the flapper or the valve seat can prevent a proper seal, resulting in a leak.
Knowledge about the function, mechanism, and importance of toilet flapper
Knowledge about the function, mechanism and the importance of toilet flapper will equip you to better troubleshoot should you face leakages post flapper replacements.
It will also ensure that you choose the right replacement parts and install them properly, minimizing potential issues in the future.
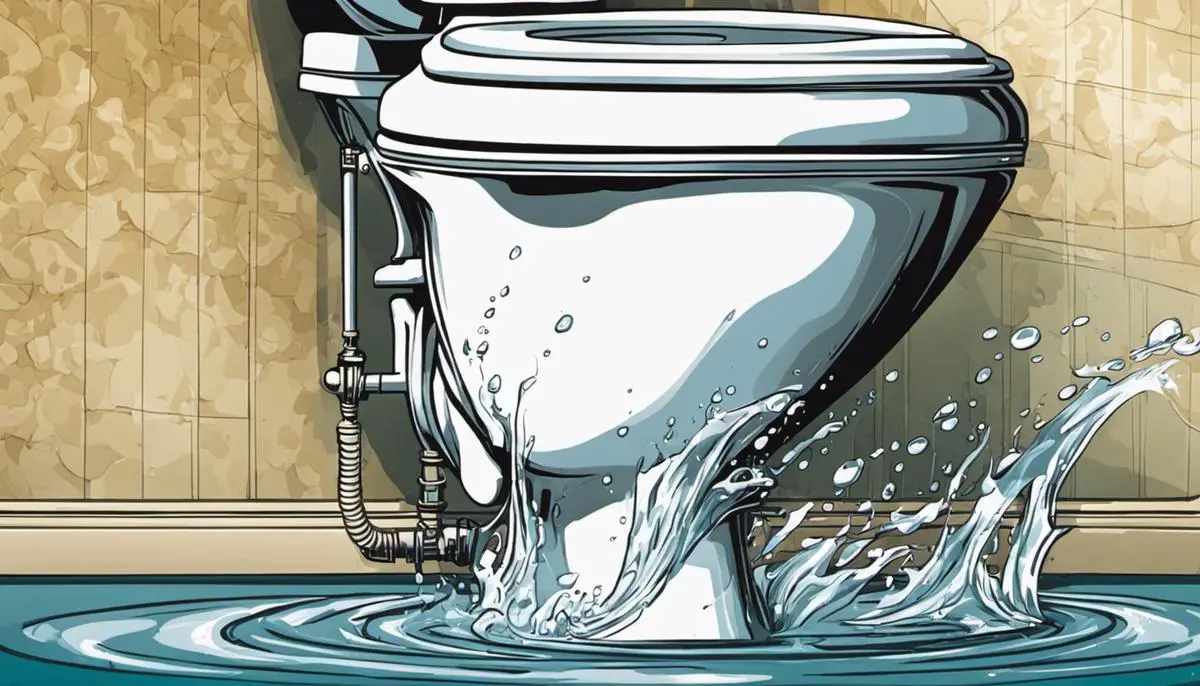
Identify Correct Flapper Size and Material
Choosing the Correct Flapper Size
Selecting the right size toilet flapper is critical to prevent leaks. Standard toilets typically use a 2-inch flapper, but some older models may require a larger 3-inch flapper.
- To accurately determine the size flapper you need, it’s best to remove your current flapper and measure it against a ruler.
- Measure the distance between the two hinges at the base of the flapper. For a 2-inch flapper, the distance should be about 1 inch. For a larger 3-inch flapper, the distance should approximately be 1.5 inches.
- If you’re not able to measure your current flapper, you can also identify the correct size based on the flush valve. A 2-inch flush valve will have an opening that fits two of your fingers and a 3-inch valve allows three fingers.
Remember, an improperly sized flapper will not seal correctly, causing the toilet to constantly run or leak.
Selecting the Right Flapper Material
Flapper material can significantly impact its durability, efficiency, and lifespan. Most flappers are made of rubber or silicone, each offering distinct advantages.
- Rubber flappers are the traditional choice. They are quite durable, often lasting between four to five years. However, they may harden and fail more quickly if exposed to bleach or other harsh cleaning chemicals.
- Silicone flappers are designed to be more resilient. They withstand most chemical cleaners and hard water conditions well. Many users often find that silicone flappers last much longer than their rubber counterparts.
Choose a material suited to your cleaning routine and local water conditions for optimal efficiency and longevity. Regular inspection and replacement will also keep your toilet running smoothly.
Keep in mind, regardless of the size and material, a new flapper won’t solve problems caused by a damaged or warped overflow tube or flush valve. Always address any visible damage as soon as possible to maintain your toilet’s performance.
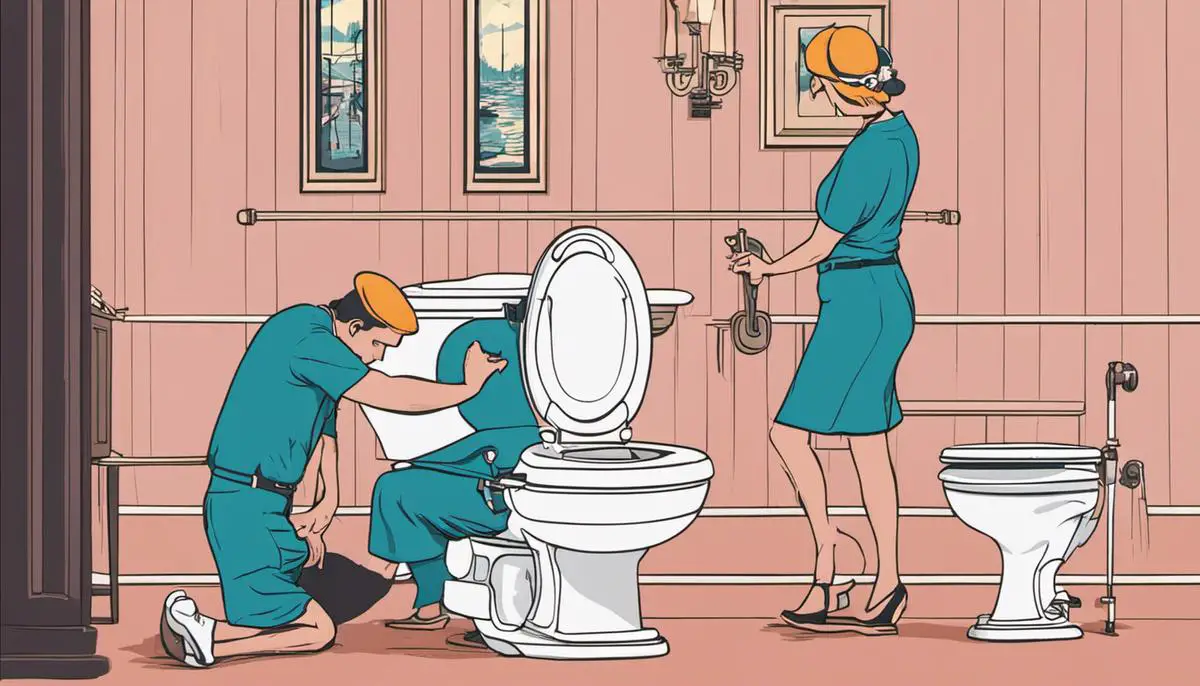
Installation Mistakes and Their Rectification
Identifying Incorrect Flapper Size
Toilet flapper leaks after replacement can primarily occur due to incorrect flapper size. If you’ve bought the wrong size or type of flapper for your toilet tank, it might not create a good seal and may result in a leak.
Always double-check your toilet model and make sure you buy a compatible flapper. If necessary, bring the old flapper to the hardware store for an exact match.
Assessing Flapper Chain Length
One common mistake during flapper installation is an incorrectly adjusted flapper chain. If the chain is too short, it may prevent the flapper from fully closing, resulting in a leak. If it’s too long, it may get caught beneath the flapper, also causing a leak.
The chain length should allow the flapper to fully seal the flush valve opening when in the closed position, but still lift fully when the toilet handle is operated. Adjust the chain length as needed for a proper fit.
Checking the Flush Valve Seat
The flush valve seat, which the flapper rests on to form a watertight seal, could be damaged or corroded, leading to a leak even with a new flapper.
Feel for any rough or uneven spots and visually inspect it for any damage or mineral deposits.
If there are, the flush valve seat will need to be either cleaned with a fine abrasive pad or replaced if it is extensively damaged.
Installation Errors to Watch For
Improper installation can likewise cause leaks. Make sure the flapper is properly installed on the overflow pipe and that it lies flat over the flush valve. If it’s crooked or misaligned, it won’t effectively block water from escaping.
Sometimes the ears or tabs of the flapper need to be clipped off for a better fit. Follow the manufacturer’s instructions for correct installation to avoid this issue.
Troubleshooting Water Level Problems
Lastly, if the water level in the toilet tank is too high, it might be running over into the overflow pipe and leaking out.
Check the water level to ensure it’s about 1 inch below the top of the overflow pipe. If it’s too high, adjust the fill valve until you achieve the correct water level.
Healthy proactive home maintenance involves staying informed and understanding the workings of all components, especially something as vital as the toilet flushing system.
Remember, the flapper is a small but essential segment that should not be overlooked. Choosing the correct size and material ensures not only the effectiveness but also the durability of your flapping system.
Moreover, being aware of the common pitfalls associated with installation can help prevent those unwanted leaks. With these insights, you’ll be better prepared to tackle any toilet flapper issues that come your way, ensuring smooth operation and conserving water in your home.
[faq-schema id=”16615″]


![How to Remove Crystallized Urine [Explained]](https://homepander.com/wp-content/uploads/2022/02/How-To-Remove-Crystallized-Urine.jpg)

![How To Clean Dark Grout That Has Turned White [5 Easy Ways]](https://homepander.com/wp-content/uploads/2021/12/How-To-Clean-Dark-Grout-That-Has-Turned-White.webp)