
Embarking on a journey through the quirky world of making hats from unconventional materials like toilet paper yarn, we are set to illuminate the techniques and hints required.
This unique, yet fascinating material is unexpectedly malleable and often fascinating, as it’s starkly distinct from the traditional yarn.
Our foray will help you understand toilet paper yarn, its characteristics, and the contrast to normal yarn, and further guide you on procuring or crafting your own.
We will also delve into elementary crocheting or knitting skills such as primary stitches used and hat pattern interpretation. You’ll find guidance on creating a toilet paper yarn hat, putting emphasis on maintaining consistent tension and efficient hat shaping.
It wouldn’t end there – we shall further explore distinct decorating styles and finishing techniques for your hat project, rounding up with neat and tidy loose end weavings and project cleanup.
Toilet Paper Yarn Hats- A Comparison Table
| Product Name | Material | Softness Level | Eco-Friendliness | Durability | Price Range |
| EcoChic TP Hat | Toilet Paper Yarn | Very Soft | Highly Eco-Friendly | Moderate | $10 – $15 |
| GoGreen Tissue Hat | Upcycled TP Yarn | Soft | Eco-Conscious | Durable | $12 – $18 |
| PurePaper Beanie | 100% Recycled TP | Ultra Soft | Environmentally Friendly | Long-lasting | $15 – $20 |
| EarthWrap TP Cap | Organic TP Yarn | Gentle on Skin | Sustainable | Sturdy | $20 – $25 |
| Reuse-a-Roll Hat | Repurposed TP Yarn | Soft and Plush | Eco-Responsible | Resilient | $18 – $22 |
One of our articles –Bamboo Toilet Paper.
Toilet Paper Yarn Hats are unique and creative DIY projects where toilet paper rolls are repurposed to create stylish and eco-friendly headwear. These hats offer a fun and sustainable way to stay warm and fashionable, making them a popular choice for craft enthusiasts. Crafting Toilet Paper Yarn Hats is a budget-friendly and environmentally conscious activity.
Exploring the World of Toilet Paper Roll Yarn Hats
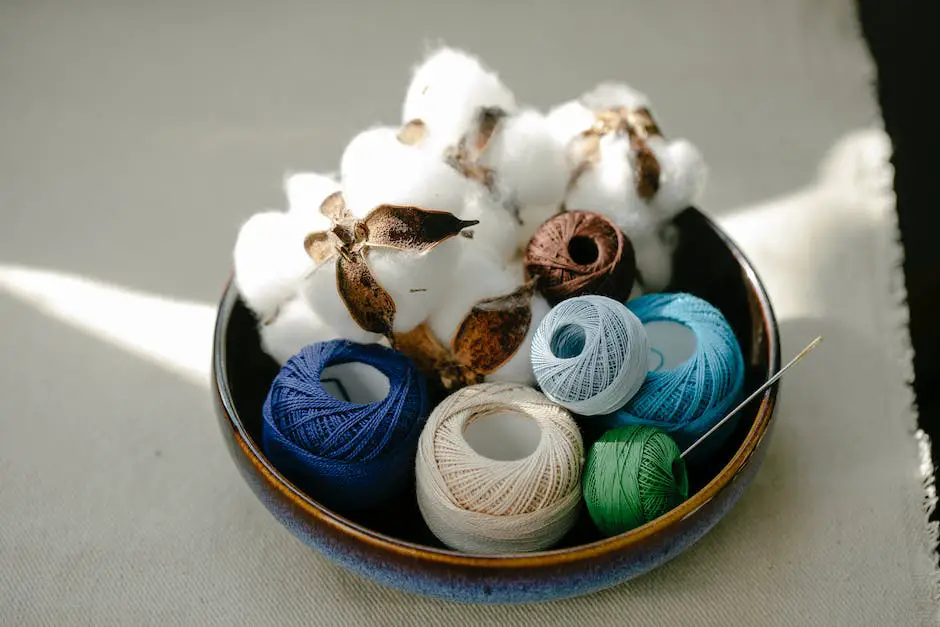
Toilet paper yarn is a unique type of yarn made from thin sheets of toilet paper. It’s not as robust or sturdy as regular wool or cotton yarn, but it still possesses considerable pliability and lightweight properties.
Most people find it soft and easy to work with, making it the ideal choice for crafts that don’t require extreme durability.
Although it may sound funny, toilet paper yarn can be used to create a variety of items such as hats, scarves, decorations, and even clothing.
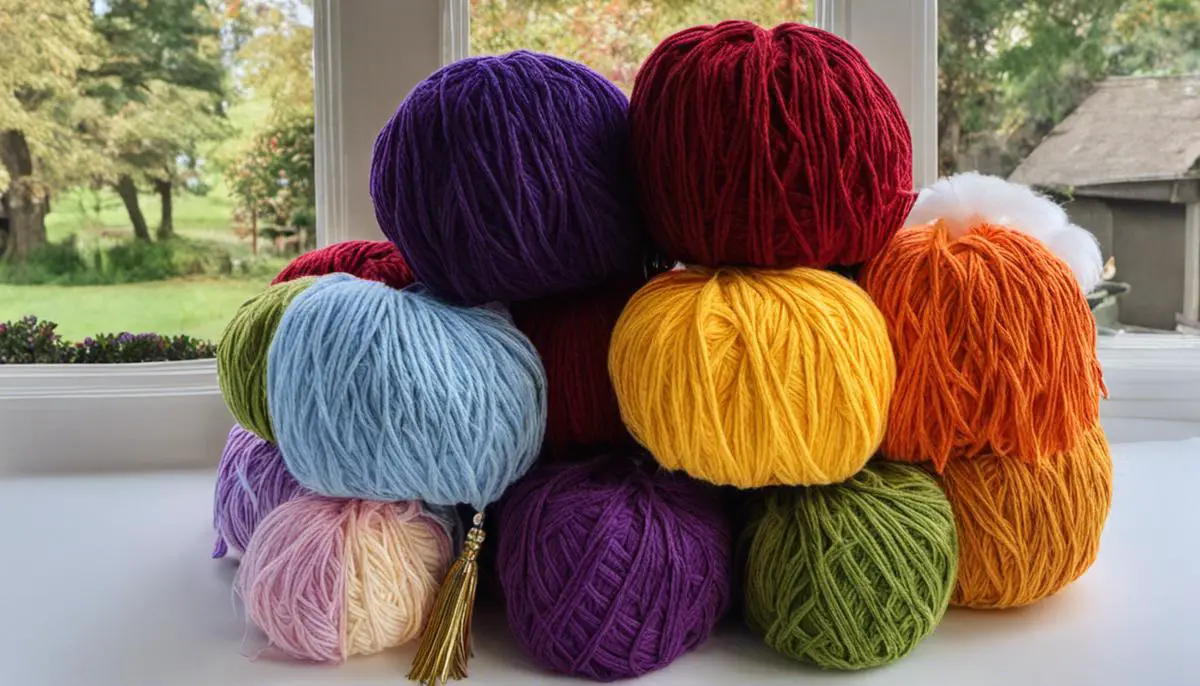
Contrasting Toilet Paper Yarn with Regular Yarn
The primary difference between toilet paper yarn and traditional yarn lies in their raw materials and durability.
Regular yarn is made from gathered and spun fibers like wool, cotton, or synthetic materials and tends to be sturdy and warm.
In contrast, toilet paper yarn is much softer, lighter, and less durable. It also may not withstand washing as well as traditional yarns.
However, this does not diminish its value; toilet paper yarn has its own charm and is perfect for projects best suited to its texture and aesthetic appeal.
Purchasing Toilet Paper Yarn
Commercially produced toilet paper yarn can rarely be found in most craft stores, as it is not a widely sold product.
However, it is available for purchase from a few online outlets specializing in unique craft supplies.
Websites such as Etsy or niche crafting stores might carry this peculiar item. Be sure to check for reviews and descriptions to confirm you’re getting the quality and texture you want.
Creating Your Own Toilet Paper Yarn
Making your own toilet paper yarn can be a fun DIY project. All you need is a roll of toilet paper and a little patience. Start by unrolling the toilet paper.
Then twist it gently but tightly from one end to the other, creating a long, thin strand.
This requires careful handling to prevent breaking or tearing.
Once you have your paper twisted into a consistent thread-like shape, roll it into a ball for easy use. Ensure not to create your toilet paper yarn too far in advance of using it as exposure to moisture can damage it.
As toilet paper is highly absorbent, make sure to store your homemade toilet paper yarn in a dry, cool place until you’re ready to start crafting.
Basic Crocheting or Knitting Skills
| Skill Aspect | Crocheting | Knitting |
|---|---|---|
| Tools Needed | Crochet hook | Knitting needles |
| Stitch Creation | One active loop (stitch) | Multiple active stitches |
| Learning Curve | Generally easier for beginners | Can be more challenging for beginners |
| Versatility | Well-suited for creating intricate details and adding embellishments | Ideal for making garments and larger fabric pieces |
| Speed | Typically faster | Generally slower |
| Stitch Variety | Many types of stitches to create various textures | Varied stitch patterns and combinations for texture |
| Fabric Characteristics | Dense and structured fabric | Flexible, drapey fabric |
| Portability | Requires minimal equipment, easy to carry | May need multiple needles, bulkier to transport |
| Repairability | Easier to fix mistakes or undo stitches | More challenging to correct errors |
| Finished Look | More uniform and compact stitches | Textured and varied stitches |
| Popular Projects | Amigurumi, doilies, and small decorative items | Scarves, sweaters, and blankets |
| Tension Control | Easier to maintain even tension | Requires consistent tension control |
One of our articles –Colored Toilet Paper.
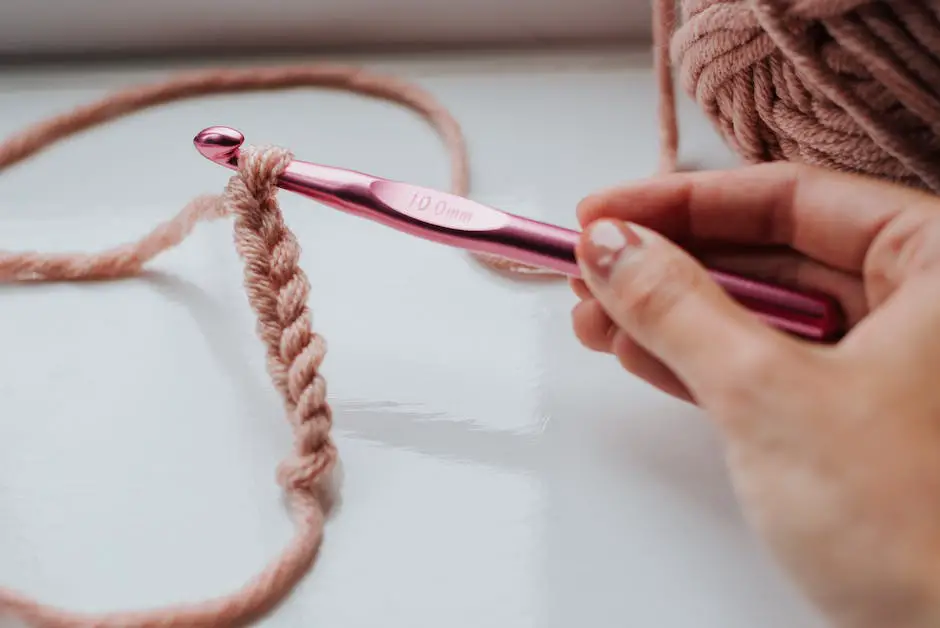
Basic Crochet Stitches
The first step in mastering basic crochet stitches is to familiarize yourself with the tools used. A crochet hook and some yarn are all you need to get started.
Start with the Slip Knot: Hold the yarn in your left hand, make a loop about 6 inches from the end, insert your crochet hook into the loop, and tighten the loop around the hook. The yarn end hanging from your hook is the working yarn.
Next comes the Foundation Chain. To make a chain stitch, yarn over (wrap the yarn over your hook), and then pull the hooked yarn through the slipknot on the hook. This is one chain stitch. Repeat until you have as many chains as the pattern requires.
Mastering the Single Crochet
Once you’ve created your foundation chain, you can now make your first single crochet stitch. Insert the hook under both loops of the second chain from your hook.
Yarn over again and draw the yarn through the chain stitch. You should have two loops on your hook. Yarn over once more and pull the yarn through the two loops on your hook.
Experimenting with Double Crochet
The Double Crochet is another basic stitch. Yarn over, insert your hook into the chain, yarn over again and pull the yarn through the chain.
Now you should have three loops on your hook. Yarn over again and pull your hook through two of the loops on your hook. Yarn over again and draw through the final two loops on your hook.
Knitting Basics: the Knit and Purl Stitches
To master knitting, first learn the Knit and Purl stitches. To knit, first create a slipknot and place it on your right needle. Insert the second needle in the loop from left to right, under the first needle.
For the purl stitch, keep the working thread in front of the workpiece rather than behind as in a knit stitch. Insert the right knitting needle from the right to the left in the stitch on the left needle, making an X with the needles.
How to Read Hat Patterns
Reading hat patterns may look complex at first glance, but once you understand the terminology, it becomes straightforward.
Patterns often start with the number of chains (ch) or stitches (st/sts). They are usually followed by abbreviations of the stitch types such as single crochet (sc), double crochet (dc), knit (k), or purl (p).
In a pattern, asterisks (*) are also used to indicate repetition of a set of instructions. For instance, if a pattern says *sc, dc*, it means you should alternate between single crochet and double crochet. The number after the instructions tells you how many times to repeat.
Finally, round brackets ( or ) indicate a group of stitches that need to be worked in the same stitch or space.
To master these stitches and understand patterns, practice is key. Start with small projects before moving on to more complex patterns like a toilet paper yarn hat.
Making a Toilet Paper Yarn Hat
Selecting the Toilet Paper Yarn
Begin by picking the toilet paper yarn for your project.
Choosing soft, two-ply toilet paper will give you a thicker yarn, while one-ply toilet paper will create a finer thread, ideal for smaller hats.
Making The Yarn
Begin to unroll the toilet paper, taking care not to rip it. Lay the strips down flat and fold them in half lengthways, and then fold them in half again.
Using a sturdy table or other flat surface, roll the folded strips into a tight yarn. Remember to maintain steady tension as you roll the toilet paper to ensure an even yarn.
Creating The Hat Foundation
Once you have enough toilet paper yarn, you can start creating the base of the hat.
For a simple hat pattern, begin by casting on 80 stitches, or however many you need for the size of the hat you want.
Place a stitch marker at the beginning of the row to track your progress.
Knitting The Hat
Following your simple hat pattern, start to knit using toilet paper yarn. Most basic hat patterns will use a knit stitch or a combination of knit and purl stitches.
As you knit, ensure that you maintain even tension, as this will affect the look and fit of your finished hat.
Shaping The Hat
When you reach the top of the hat, you will need to start decreasing stitches to help shape the crown.
This typically involves knitting two stitches together across the row, and then knitting one row normally, until you have a small number of stitches left.
Finishing The Hat
Cut the yarn leaving a long tail. Thread this tail through a yarn needle, and then thread the needle through the remaining stitches on your knitting needle. Pull tight to close the top of the hat and knot the yarn securely.
Once you’ve fastened off your yarn, your toilet paper yarn hat is complete. With care, the finished hat should be durable and unique, showcasing the versatility of toilet paper yarn.
You can choose to further embellish your hat with more toilet paper yarn, creating pom-poms or tassels to add additional flair to your creation.
Remember, practice is key to perfect your knitting tension and to beautifully shape your hat just the way you like it.
Decorating and Finishing Techniques
Adding A Pom Pom To Your Hat
To add a pom pom to your hat, you can either make your own pom pom or purchase pre-made ones from a craft store. If you’re making your own, you just need some extra toilet paper yarn and a pom pom maker.
- Wrap the toilet paper yarn around the pom pom maker until it’s full.
- Use a separate piece of yarn to tie a knot around the middle of the wrapped yarn, securing it tightly.
- Remove the yarn from the pom pom maker and cut through the loops on each side.
- Trim your pom pom to the desired size, making sure it is even all around.
- Attach your pom pom to the top of your hat using a crochet hook or needle and thread, weaving in any loose ends.
Adding Tassels To Your Hat
Tassels are another fun way to finish off your toilet paper yarn hat. Here’s how you can make and attach them:
- Lay out a piece of yarn the length you’d like your tassel to be.
- Wrap more yarn around your hand until you’ve achieved your desired thickness.
- Thread a piece of yarn through the top of the loops on your hand and tie a knot, creating the top of your tassel.
- Cut the loops at the other end of your bundle to create fringed ends.
- Use a separate piece of yarn to tie a knot around the tassel about an inch from the top, creating a neat bundle.
- Attach your tassels to the hat using a crochet hook or needle and thread, weaving in any loose ends.
Weaving In Loose Ends
Weaving in the ends is crucial to give your hat a professional and finished look.
- Thread the loose end onto a yarn needle.
- Weave the needle in and out of the stitches of your hat, running it under the loops of a row of stitches.
- After weaving in a few inches, change direction and weave back the way you came.
- Carefully cut the yarn close to the hat without cutting any other stitches.
Cleaning Your Completed Project
To keep your toilet paper yarn hat clean:
- Hand wash your hat in cold water with a mild detergent. Do not wring or twist it, which could deform your project.
- Rinse thoroughly until all soap is removed.
- Squeeze out excess water gently, then roll your hat up in a clean, dry towel to absorb the remaining moisture.
- Lay hat flat to dry. Do not hang it as it may stretch.
After a meticulous journey, you have now gained a thorough understanding of toilet paper yarn and its potential applications in crafting unique hats.
You have acquired base-level skills in crocheting or knitting, along with knowledge of various stitches.
Applying these skills, you’re now equipped to venture into the creative and playful art of crafting toilet paper yarn hats, all while effectively maintaining yarn tension and appropriate hat shaping.
The world of hat decorating is now at your fingertips, ready to be explored and tested on your own creations with numerous finishing techniques.
So here’s to a world full of whimsical hats, woven ends, and unforgettable yarn adventures!
[faq-schema id=”16274″]


![How to Remove Crystallized Urine [Explained]](https://homepander.com/wp-content/uploads/2022/02/How-To-Remove-Crystallized-Urine.jpg)
![How To Clean Dark Grout That Has Turned White [5 Easy Ways]](https://homepander.com/wp-content/uploads/2021/12/How-To-Clean-Dark-Grout-That-Has-Turned-White.webp)