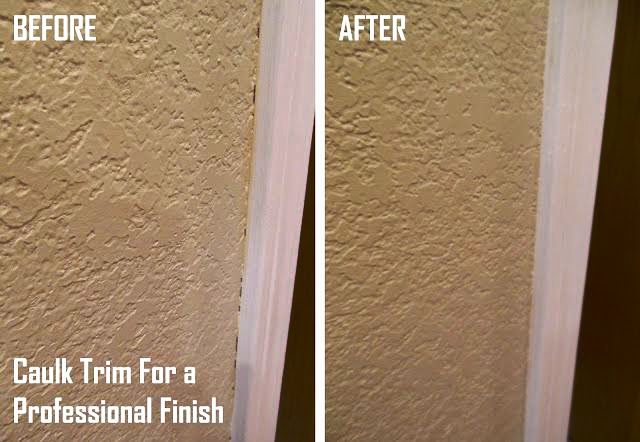
Ever saw how your paint starts to crack and make gaps now and then? We know how frustrating it can be to see that uneven border.
On top of that, the holes accumulate dust and make it harder to clean. The best solution to this problem is caulking trim after painting.
This easy process has only five easy steps. And these steps will ensure that every corner of your house looks like they are in perfect shape. What are the steps? The first step is to pick a suitable caulk. Then you have to prepare the caulk gun. Thirdly you need to apply the caulk on the trim. Afterward, you have to apply a finger over the caulk. Lastly, you got to wait for the caulk to dry.
Now that you know all the rules let’s look at them in more detail. We promise to keep it as simple as possible.
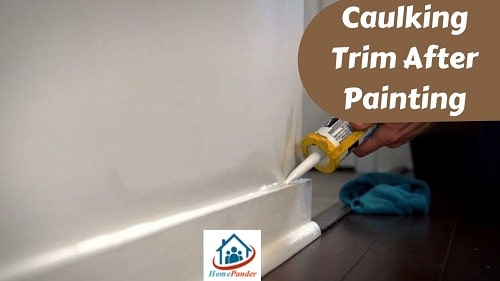
Process of caulking trim after painting
The process of caulking is very easy and only takes a couple of minutes. And once you’re done your trim and baseboard will be crack-free and spotless.
So, let’s look at how you can attain that dream-like finishing.
Things you’ll be needing
Hold on, before jumping straight into the topic let’s talk about what you’ll need for this process or how to caulk trim after painting.
We tried to keep the list as budget-friendly as possible so that it does not put a lot of strain on your wallet. Now, without wasting any more time let’s look at what you’ll need.
- Caulk gun.
- Water.
- Toilet paper.
Our recommended models for the best toilet paper–
- Ultra Soft Toilet Paper. (Softest Toilet Paper)
- Amazon Brand – Solimo 2-Ply Toilet Paper
Step1- Pick a suitable caulk.

The first and most important step is to make sure that you use an appropriate caulk. Yes, picking the right caulk matters because different corners of your house have a different need on how to apply the caulk.
Like, see those bathrooms and kitchen corners? They’re constantly under the threat of being splashed with water.
So for those places, you need to buy a waterproof caulk. This will ensure that the water does create any holes on your trim.
For other places, you can use a regular caulk. But make sure they’re of a good brand otherwise it’ll only be a waste of time and effort.
Here are some of our recommendations for caulking trim before or after painting –
- Best Caulk for Showers: Sashco 13010 Adhesive Caulk
- Best Bathroom Caulk: Flex Shot Rubber Adhesive Bathtub Caulk
- Best Caulk For Kitchen: Dap 18546 Kwik Seal Plus Kitchen Caulk Clear
- Best Caulk For Painting Trim: Gorilla Waterproof Caulk.
Step 2- Prepare the caulk gun.

Don’t worry, for this step you don’t have to shoot anyone. Rather you got to assemble the caulk gun. This might sound a bit technical but once you try it yourself you’ll see how easy it is.
All you have to do is take a sharp knife and cut the nozzle of the tube that’s on the cartridge. Make sure your knife is at a 45-degree angle for this.
Then just smoothly insert the cartridge onto the caulk gun and you’ll be ready for caulking trim gaps.
For now, here are our best picks of caulk gun units for your house–
- Best Caulking Gun: Newborn Caulking Gun 930- Gtd
- Best Pneumatic Caulking Gun: Chicago Pneumatic CP9885 Air Caulking Gun
- Best Manual Caulking Gun: Newborn 250 Super Smooth Rod Revolving Frame Caulking Gun
Step 3- Apply the caulk on the trim.
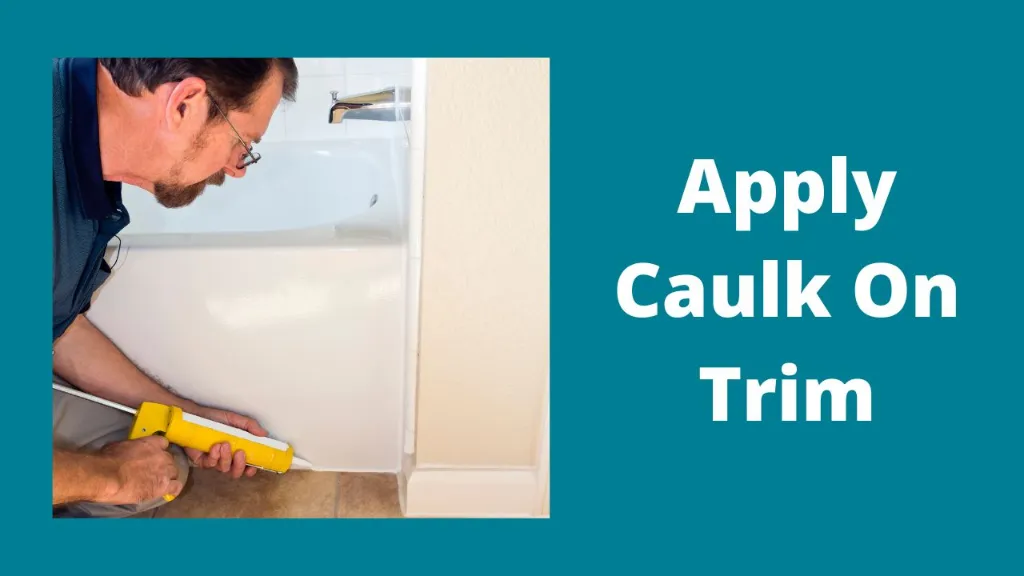
After you’re done dealing with the caulk gun you can begin caulking. By this, we mean that you can finally use that caulk gun for some action.
How?
Simply squirt the caulk gun across the trim at a 45-degree angle. But try to distribute the caulk evenly. However, if you fail to do so then don’t worry.
We have the remedy to fix those messy bumps. To know more about the solution head over to the next step.
Step 4- Rub a finger over the caulk.
You see, this step is more like a hack. If you simply run your finger over the wet caulk it’ll even out. And this will give you that perfect finishing that you always wanted.
However, make sure that you dip your finger in water first. The water will help smooth the caulk flawlessly.
Afterward, just rub off the excess caulk with toilet paper. And you’ll have an even finishing that’ll stop the holes from forming.
Step 5- Wait for the caulk to dry
Now, your work is done. So, you can take a break and enjoy a nice cup of coffee. Meanwhile, the air will do its magic and dry off the caulk.
To know exactly how long you got to wait for the caulk to dry just read the instructions. They will give you an idea of the waiting period.
Caution- While the caulk is drying make sure your pets or kids don’t touch it in that condition. Otherwise, you’ll have a messy corner that’ll need to be fixed again.
So, keep your little ones out of the caulked area for a few hours.
Check our latest guide: How to Strain Paint in Only 5 Steps -Read this First!
Also, read the related guide: The Process of Painting Over Gloss Without Sanding -Read this First!
FAQs
Question: Does trim need to be caulked?
Answer: Caulking is not mandatory. It’s just extra work that you can choose to do. With that being said we advise you to caulk the trims so there. So, there is no leakage in the future.
Question: How long after painting can you caulk?
Answer: The exact duration varies and usually depends on what type of caulk you’re using. However, on average, silicon-based paints take 30 minutes to dry. The others can take 3-4 hours.
Question: Why does paint crack?
Answer: Now if you apply some paint over a pre-existing caulk, the paint will dry up faster than the caulk. Later, when the caulk starts to dry up the dried paint stretches.
This causes the paint to crack, and you end up having an unsightly finished border.
Question: Should you caulk trim before or after painting?
Answer: Although caulking can be done both before and after painting, we advise you to do it after. This leaves no chance for the paint to dry up and crack.
Final words
Lastly, we have got a great tip for the caulking trim after painting. Remember, how we said that you have to run your wet fingers over the caulk? To make the glide over the caulk smoothly add some dishwasher to your water.
This will make it easier for your fingers to even out the bumps and lumps in the caulk. Try it and let us know how it worked out for you by commenting below on the process of caulk before or after painting walls.






![How To Clean Dark Grout That Has Turned White [5 Easy Ways]](https://homepander.com/wp-content/uploads/2021/12/How-To-Clean-Dark-Grout-That-Has-Turned-White.webp)

![How to Remove Crystallized Urine [Explained]](https://homepander.com/wp-content/uploads/2022/02/How-To-Remove-Crystallized-Urine.jpg)
