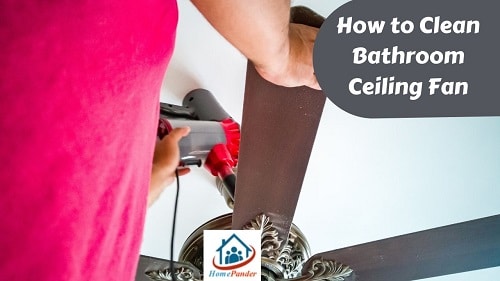
Let’s be honest about it, the bathroom ceiling fan is never a priority when we schedule a regular bathroom cleaning. Of course, it’s not necessary to clean the bathroom fan every once in a while. But, not cleaning it at all would lead to a series of nuisances. Therefore, it’s important to learn how to clean bathroom ceiling fan.
You can clean a bathroom ceiling fan with a vacuum cleaner and a dry rag. Also. use surface cleaner for proper sanitation.
If you’ve already read our” how to clean bathroom light fan” article, the following steps would seem quite familiar to you. That said, there are some subtle differences between the two procedures as well. So, stay with us for the next few minutes and find out how to clean your bathroom fan the right way.
Tools You Need
- Stepladder
- Dry cloth
- Surface cleaner
- Screwdriver
- Vacuum cleaner
- Detergent/liquid soap
How To Clean Bathroom Ceiling Fan?

Step 1. Turn Off The Power Supply
Even if you don’t have the slightest idea about how to clean bathroom exhaust fan, common sense would dictate you to unplug the fan before you try to clean it. To reduce electrocution risks to zero, we recommend turning off the branch circuit breaker to the bathroom.
Step 2. Remove The Outer Cover
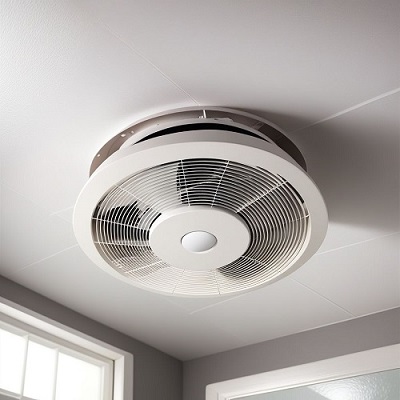
As we did in our how to clean bathroom exhaust fan with light article, we will start disassembling the fan. An exhaust fan features three major components: the fan blade and motor, the outer cover, and the casing. So, to get the cleaning underway, we will start with the cover.
Take a stepladder to reach the ceiling. The Rubbermaid RMA-3 deserves a shout-out here for its ergonomic design. Keep the tools and the disconnected fan parts on the project tray or the upper step of the ladder.
Start pulling the cover gently as you work on the clamps that are securing it to the casing. Push them inwards until they release the cover. Exercise caution while pulling the cover because it might break if you apply too much pressure. After the clamps let go, press the lock button to disconnect the cover from the unit.
Step 3. Clean The Cover
How to clean bathroom exhaust fan cover? You have several options. Try brushing off the dust and then wiping it clean with a microfiber cloth. A vacuum cleaner like the Vacmaster VQ607SFD can also come in handy.
Also, you can dip the cover in soap water and follow up with a clean water rinse. Finally, wipe it dry with a towel or a dry rag. You can also use surface cleaner. Mrs. Meyer’s Clean Day Multi-Surface Cleaner Spray is our pick for this purpose.
Step 4. Take Out The Fan
The next course of action is to take the fan out of the housing. Undo the screws with a screwdriver. Again, be cautious bringing it out. The fan blades are susceptible to damage, so make sure the fan doesn’t slip from your hand.
Step 5. Clean The Fan
How to clean bathroom extractor fan? It collects a lot of grime since it draws out the moisture and dust from the bathroom air. Brushing and vacuuming might not do enough, so we suggest spraying some surface cleaner and then wiping the fan clean with a microfiber fabric. Never use water and soap on the fan.
Step 6. Check The Exhaust Pipe
Once you are done with the fan, check the exhaust pipe for obstructions. Take a look inside with a flashlight. If you see dust, take it out with a vacuum. You can also use a blower like the Greenworks Cordless Leaf Blower to blow out the dust and debris.
Step 7. Clean The External Vent
Get to the roof and check the external vent. Since you have already cleaned the exhaust pipe, there shouldn’t be much to do here. Simply wipe the vent clean with a wet cloth. A clean vent will ensure optimum airflow. For more on this, check out our how to clean bathroom fan vent article.
Step 8. Clean The Housing
The housing is the only piece left that you would have to clean. Thankfully, cleaning the casing is fairly simple. Avoid water because of the plug, so wipe it with a dry cloth after applying surface cleaner.
Step 9. Reassemble The Fan
Congratulations! You know now how to clean bathroom ceiling fan. So, reverse the disassembly process to put the fan back together. Remember, all pieces need to be dry before you plug in the fan.
Frequently Asked Questions
1. Why Should I Clean My Bathroom Ceiling Fan?
Cleaning and maintaining your bathroom exhaust fan not only reduces foul smell but also helps prevent mold and mildew, which can cause health problems if left unattended. It’s even more important for smaller bathrooms since they have less room for the humidity to disperse, and the fan often has to overwork.
2. I Got Grease On My Bathroom Ceiling Fan. How Can I Get Rid Of It?
To remove grease, Wikihow recommends soaking the fan in soap water. Yes, we have advised against using water on the fan earlier, but you don’t have much of a choice when it comes to grease. Be sure that the fan has completely dried up before you reinstall it. Vinegar can also prove effective in eliminating grease.
3. My Fan Has Stopped Working. Can Cleaning It Remedy The Problem?
When your fan stops working, it’s more likely because of a component failure. So, consulting an electrician would be a better approach, in our opinion. But, in some cases, congestion can prevent the fan from functioning at all. Therefore, you can try cleaning the fan first before getting into the circuitry.
Final Say
On average, a bathroom exhaust fan filters about two million cubic feet of air annually. So, learning how to clean bathroom ceiling fan can be a useful skill to master for ensuring proper bathroom ventilation in your household all year round.


![How To Clean Dark Grout That Has Turned White [5 Easy Ways]](https://homepander.com/wp-content/uploads/2021/12/How-To-Clean-Dark-Grout-That-Has-Turned-White.webp)

![How to Remove Crystallized Urine [Explained]](https://homepander.com/wp-content/uploads/2022/02/How-To-Remove-Crystallized-Urine.jpg)


