The non-slip bathroom strips are super handy when it comes to making your bathroom trips safe. However, within 3 to 4 months they tend to get very dirty.
Now, before throwing away your bathroom strips give this article a read. Here, we’ll show you how to clean a non-slip bathroom strip on your own.
What do you have to do in this process?
Firstly you need to take safety precautions. Then you have to apply the cleaning mixture. Once you’re done with that scrub the tub and repeat the process for a thorough cleaning. Lastly, just wash the strip with water and you’re done.
Sounds easy, right? Well, it is. How about we take a look at this in more detail?
How to Clean Non-slip Bathtub Strip in 7 Steps
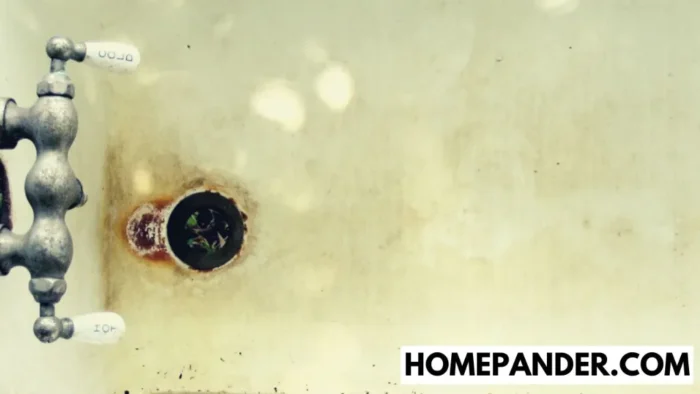
In this part of the article, we’ll be covering the steps you need to take to clean the strips. So, just sit back and relax as we walk you through the complete process one step at a time.
Materials needed
Your primary task is to gather all the materials needed for this process. So, just to make it easier for you here is the complete list of items you’ll need.
LIST OF ITEMS-
- Cleaning mixture.
- Rubber glove.
Here are some of our recommendations–
- Playtex Living Rubber Gloves-Best Rubber Gloves for Cleaning.
- Reusable Rubber Cleaning Gloves – Best for cleaning bathrooms and others.
- Silicone Dish Washing Gloves with Scrubber – Use for cleaning Bathtub
- Sponges.
- Water.
Step 1- Take safety precautions

The first thing you need to do is take precautions. You see, prolonged exposure to chemicals can be dangerous.
So, to keep your lungs and body safe just open up the bathroom windows. The airflow will ensure your safety.
Once you’re done opening the window make sure you wear rubber gloves. This’ll protect your hand from the concentrated solution. Not only that, but it’ll also keep your hands clean.
Step 2- Apply the cleaning mixture.
The next thing you gotta do is choose the right cleaning mixture. However, no matter what you choose to use make sure it’s not too strong.
Otherwise, your poor hands will not be spared. So, do your hand a favor and pick out something that won’t burn your hand.
Found the perfect product? Then start applying it on the floor of the tub. Yes, the entire floor. Make sure you don’t miss a spot. Then let it soak for a while.
To be specific, let the solution soak for 15 to 30 minutes. You can set an alarm on your timer to make sure you remember about it.
Step 3- Scrub the tub
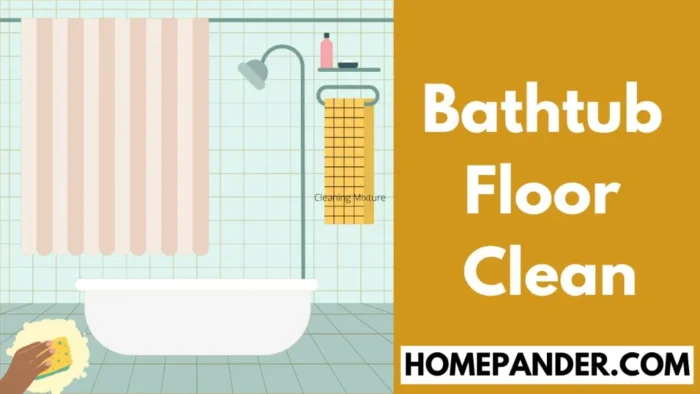
When your timer goes off and you hear that annoying beeping sound, grab a
sponge. It’s time to do the hardest task of all.
Yes, you need to clean all the strips yourself. Well, it might sound like a lot of work but your bathroom floor will be sparkling after you’re done.
So, why not put in some effort? Your bathroom floor will thank you later.
Feeling motivated yet? Well, if you are, then soak the sponge in water and start scrubbing the strips.
Make sure you start from one edge of the strip and then work your way to the other side. This will ensure that the removed dirt doesn’t hamper the cleaning process.
Step 4- Repeat the process

This might sound frustrating but you have to scrub some more. The strips actually accumulate a lot of dirt.
So, to make sure you remove every last one of them you have to scrub all the strips again. And this time they will dazzle even more.
On top of that, you won’t have to clean them again for a long time. So isn’t it a win-win?
Step 5- Wash the strips with water
Yes, you know it. This is the final step. One last job and you’re done. So, what do you have to do?
Simple, just grab a water hose and spray some water over the strips.
This will not only remove the dirt that you managed to scrub off but it’ll also remove the cleaning mixture.
Also, read our latest guide about: How to Clean Your Bathtub Naturally without Chemical: 5-Step Process.
FAQ
Question: How do I make my tubeless slippery?
Answer: The bathtubs can be a tricky place to maintain your balance. Since it’s always wet you have to be careful. But one great trick is to use non-slip bathtub strips to make the bathroom safer. Other than that you can also use an anti-slip spray for bathtubs. Pick whichever one is your favorite.
Question: What is the fastest way to clean a dirty bathtub?
Answer: To clean a dirty tub all you have to do is make a solution of vinegar and warm water. Then quickly apply it all over the bathtub and leave it for 15 to 30 minutes. Afterwards, just remove the solution with water to get a clean and sparkly tub again. Here I’ve talked about dirty bathtubs for the best cleaning products for housekeeping.
Question: What is the best thing to clean your bathroom with?
Answer: To clean the bathroom it’s recommended to use an all-purpose cleaner. This removes every sort of stain from the bathroom. However, if you want to use some homemade products then you can go for vinegar and warm water.
Question: How do I deep clean a dirty bathtub?
Answer: If you want to make sure your bathtub is deep cleaned then make a solution of vinegar and baking soda. Then apply it on the tub and leave it for about 15 to 2 minutes. Then remove them by spraying water and you’ll have a deep-cleaned tub again.
Here is a nice video on how to remove non slip surface from bathtubs.
Final verdict
Yes, that’s all it takes to clean the strips squeaky clean. So, now you know how to clean non-slip bathroom strips.
But hold on, that’s not all. We have one last piece of advice for all of you who are struggling to clean your bathroom slips clean.
That’s using your sponges to clean off the excess dirt before starting the process. This will make your strips extra clean.
Now, that’s all from our side. Let us know if you have any further queries by commenting below.
Good luck with the nice steps on how to clean non slip tub bottom.


![How To Clean Dark Grout That Has Turned White [5 Easy Ways]](https://homepander.com/wp-content/uploads/2021/12/How-To-Clean-Dark-Grout-That-Has-Turned-White.webp)

![How to Remove Crystallized Urine [Explained]](https://homepander.com/wp-content/uploads/2022/02/How-To-Remove-Crystallized-Urine.jpg)
