Are you facing a problem with your drain flange? It might be clogged or rusty. And, it’s time to replace it with a new drain flange! But you’ll first have to remove the older one to install the new one.
So, how to remove bathroom sink drain flange?
First, you have to start with the drain stopper. Turn off the water supply after that. Next, remove the drain flange, clean, and caulk the place where the flange was. But if it’s stuck, you need to use a couple of things to remove it! After a few steps, you’ll be done!
Well, this was just the overview of the entire process. To know more about each in detail, jump in the segment. By the end of our guide, you’ll be able to remove your drain flange all by yourself!
Now, grab your handyman’s hat, and let’s get to work on how to replace the bathroom sink drain flange!
Steps On How To Remove Bathroom Sink Drain Flange
It’s a bright morning. You wake up and go to brush your teeth. But the water isn’t passing through. And you realize it’s a recurring problem. So, my friend, replacing bathroom sink drain flange is your solution!
So, how to remove a sink drain flange?
You’ll have to follow a few simple steps to remove it. Worried about if you’ll be able to do it or not? Don’t worry, with our simple guide and your skill, we’ll make it!
Tools You’ll Need For The Process
Before we get to the process, we’ll need a few essentials. Here’s a list of those:
- Bucket
- Adjustable Wrench
- Pliers
- Screwdriver
Once you’ve gathered these, grab your safety gears, and let’s get started.
Step 1: Remove The Drain Stopper And Turn Off The Water Supply
First, you’ll have to remove the drain stopper. Twist the stopper left and right and then pull it out using your hand.
This is in the case of a regular standard stopper. But for an American standard stopper, the process is different.
So, how to remove bathroom sink drain stopper American standard? You’ll have to unscrew a piece to remove the stopper. For this, you’ll have to look under the sink. You’ll notice a small round flab there. Take your flathead screwdriver and pop the piece off.
Once you’ve removed the cover, you notice another white piece there. Slowly wiggle out the L-shaped piece from there. This piece basically controls the stopper. That makes it go up and down.
After this, the stopper should come off easily. Just use your nails to gently pull the piece off. And you should be good to go!
After removing the stopper, remove all your stuff from under the sink. Turn off your water supply. You’ll find the switch underneath the sink. Place a bucket under the drain. This will collect any water that may leak through.
We do this, to prevent water from flowing through when somebody turns it on. Lay a cushioned mat under the sink for your convenience. Now, moving on to the next step.
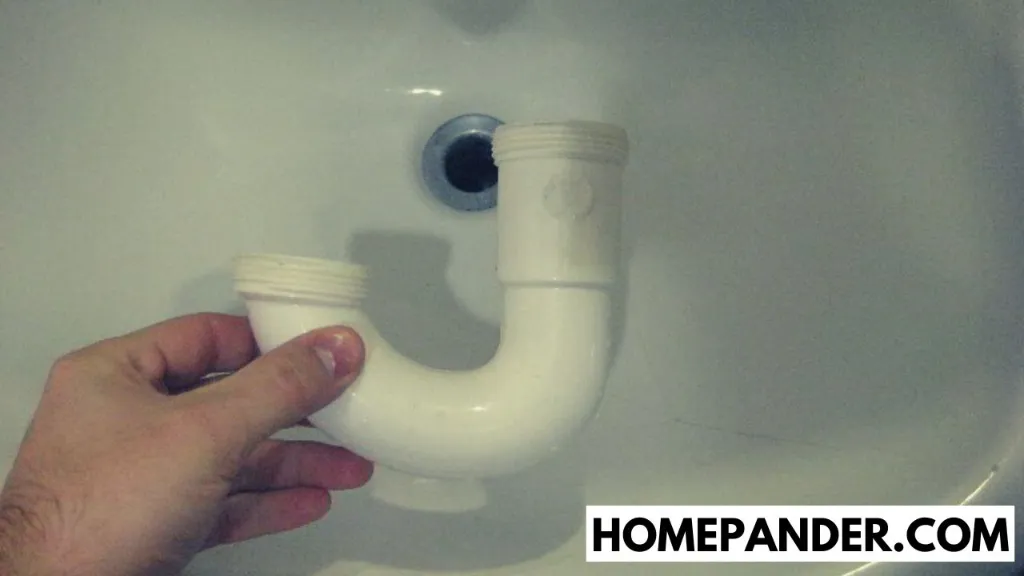
Step 2: Remove The Sink Drain Flange
Now, you’ll unscrew the drain flange. Take your screwdriver and your wrench to unfasten the screws. This is the screw that holds the tailpiece and P-cap together.
Hold the drain flange firmly and try twisting the tailpiece. This will loosen the tailpiece and help remove it. Similarly, hold the drain flange firmly again. This time check if the drain flange comes out automatically.
In some cases, the flange might be attached with putty. So you’ll have to remove the putty. You simply have to put pressure on the plumbing joint. This will break the hardened putty. Remove as much as you can, since you need to separate the flange.
If the putty is way too hard to be removed in this manner, try this. Grab a block of wood and place it flat against your drain flange. Now, take a hammer and hit it a few times. This will free the drain flange from the sink. And you can pull out your flange.
For the remaining portion, use a putty knife to remove it. Cut through the putty slowly and carefully.
If the adhesive is made of silicone, you’ll need pliers. Use your plier and pull it out!
Once you unscrew the pieces, separate the two parts. To remove the pieces you can also use your wrench. And there! You’re all done!
Caution: Work each step slowly and carefully. Try not to damage the tailpiece and the drain flange.
Step 3: Clean And Caulk The Place
Next, you’ll have to wipe the sink area and under the drain flange. If the metal on your drain flange was rusting or staining your porcelain. Clean the porcelain portion of the sink well with soap, a scrubber and dry it well.
And voila you’re done! You’ve successfully removed the drain flange and prepped it for a new one to be installed.
To make the buying process easier for you, we’ve got some sink drain flange recommendations.
| Product 1- Delta RP23060BN Bathroom Drain Flange. | |
| Product 2 – Best Bathroom Sink Drains |
These are some of the best sink drain flanges in the market. You can grab the one that you like the most. And go buy it!
And your sink is ready for the new flange to be installed! But don’t forget to apply a layer of silicone caulk underneath. But wait for at least 24 hours before you start to install your drain. This time limit is for the standard silicone caulks.
However, if you have one of those fast-drying and fast-curing ones. Then it should take about 3-4 hours to be ready for use!
Before you install the flange, remember to clean your sink. You can use the best bathroom sink drain cleaner! This will prevent any rust and grime from damaging the drain again.
What To Do When The Drain Flange Is Stuck?
Sometimes, your drain flange might get stuck. It’s maybe due to rust or the adhesive used to hold the pieces together. Whatever the reason might be! We have just the guide to get you out of this sticky situation.
So, wondering how to remove the stuck bathroom sink drain flange?
First, you’ll start by applying a generous amount of penetrating oil or lubrication. Lather the oil until there’s no spot left between the drain flange and the nut. Then wait for at least 10 minutes. Or as per the time suggested on your product.
Now, grab a pair of pliers. Use it to try and turn the nut on to the left.
You can also use a slip-join plier and screwdriver to get it to loosen up. Insert the handles of your plier inside the crosspiece of your drain. Next, in between your handles insert the screwdrivers. Ask someone in your house to help you with this process.
Now, turn the drain’s nut counterclockwise. This will break free the rust. And it’ll also make it easy for you to take out the drain flange.
Finally, you’ve freed your stuck drain flange.
Well, that’ll be all from our end. This is basically how you remove your drain flange.
Related Questions
[faq-schema id=”3743″]
Here is a nice video on how to remove kitchen sink drain flange.
Take Away
This brings us to the end of our segment. Hope you know now how to remove bathroom sink drain flange. Also, keep in mind the hack to use when your drain flange is stuck.
In case you face any difficulty during the process, contact a professional! They’ll surely help you out.
Until next time, goodbye with nice steps on how to remove a stuck bathroom sink drain flange!


![How To Clean Dark Grout That Has Turned White [5 Easy Ways]](https://homepander.com/wp-content/uploads/2021/12/How-To-Clean-Dark-Grout-That-Has-Turned-White.webp)

![How to Remove Crystallized Urine [Explained]](https://homepander.com/wp-content/uploads/2022/02/How-To-Remove-Crystallized-Urine.jpg)