Having lumps and bumps in a paint can cause your wall to look like it was unevenly colored. Some people might end up saying that it was painted by an amateur. So, to give your paintings a little bit of a professional look you need to strain the paint first.
So, how to strain paint to get that stunning looking wall?
You need to use a strainer that’ll separate all the dried-up paint from the fresh ones. To do this you have to cut a pantyhose and then apply it around a bucket. Then you have to pour the paint into it. Lastly, shake the bucket to even out the paint.
But wait, there’s more to it than this. So, why don’t we take a closer look at the entire process?
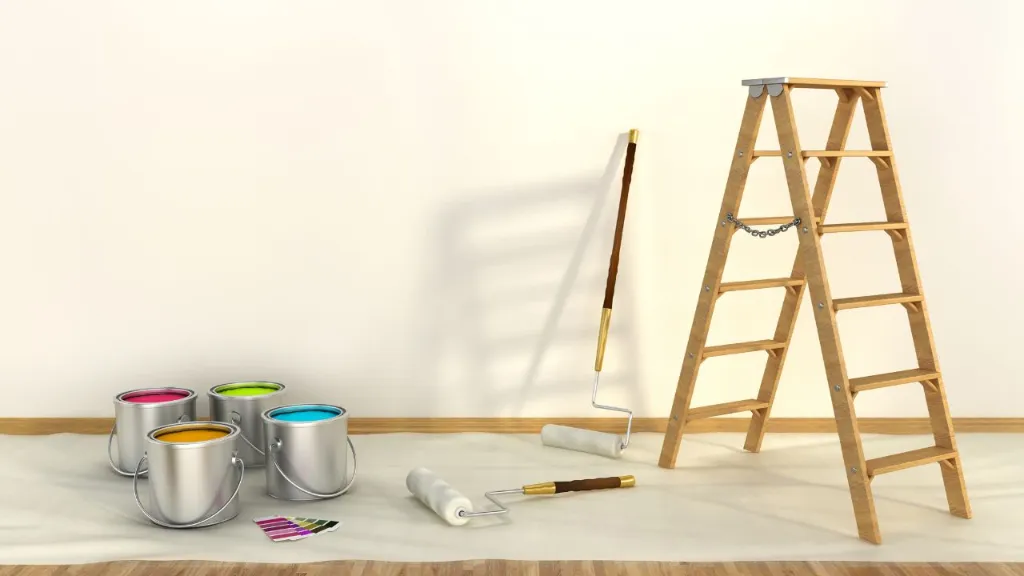
Things you’ll need
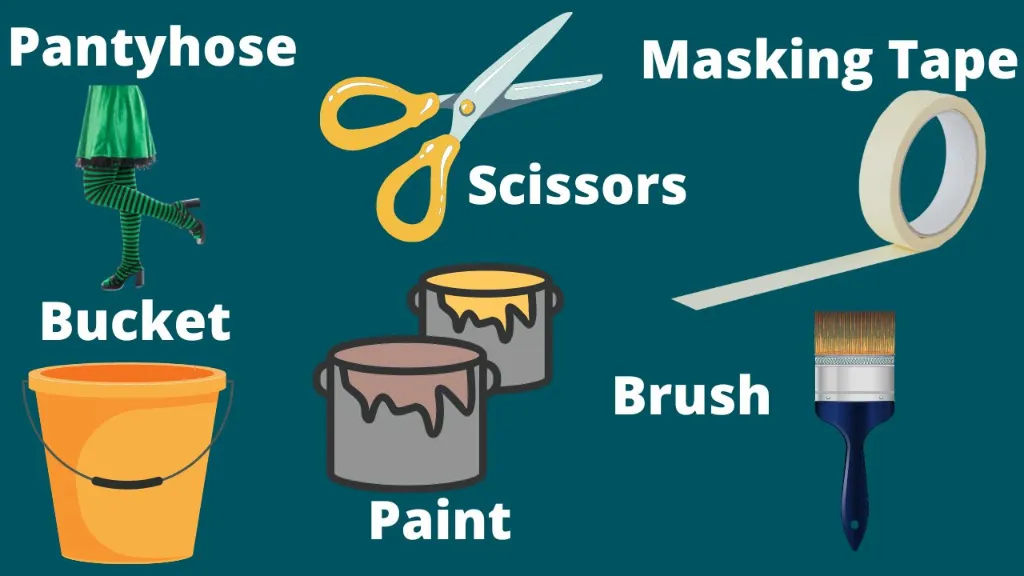
Firstly, gather up all the necessary items needed for this process. This will ensure that you can work faster and don’t have to get up every once in a while.
So, here is the list of items you’ll need for this process:
- Pantyhose.
- Scissors.
- Masking tape.
- Brush.
- Empty Bucket.
- Paint
How to Strain Paint In 3 Minutes?
There are a lot of you out there who want to know how to strain latex paint or any other paint. Why won’t you?
It only takes 3 minutes for the best way to strain paint. And on top of that if you strain your paint it’ll go on smoothly over the walls. You won’t have to sand the paint afterward.
Additionally, we’ll also teach you how to strain old paint so that it doesn’t go to waste.
So, why don’t we take a look at how to do that?
Step 1- Cut the pantyhose
The first task is to cut a pantyhose into a circular shape. For this, you need a scissor. Now while cutting make sure the pantyhose is bigger than the bucket’s opening.
Otherwise, it won’t cover up the surface. More importantly, it’s crucial to be careful while working with a scissor.
Step 2- Apply it around an empty bucket
Once the pantyhose has been sized up you need to wrap it around the bucket’s opening. To do this spread the pantyhose around the bucket covering the entire opening.
Then use masking tape to attach it firmly to the bucket. This will act as a strainer. However, you always have the option of buying a paint strainer for a more professional approach.
But if you want to know how to strain acrylic paint then you have to use a wire mesh. They’ll act as a strainer for your acrylic paint.
Nevertheless, once you’re done placing a strainer on your bucket you can carry on with the next step.
Here are some of our recommendations-
Step 3- Pour the paint into the bucket
For this step, you need to pour the paint into the bucket covered with pantyhose. As you pour the paint you’ll see that some of it glide into the bucket.
But some of the paint won’t go in so easily. That’s why we have to give a little push to quicken up the process.
Step 4- Press the brush over the pantyhose to get all the paint
In this step, you have to use the paintbrush that you got to get all the usable paint into the bucket. You see, paints can stay attached to the pantyhose or strainer unless they are given an extra helping hand.
However, be careful about the amount of pressure you’re putting to get all the paint inside the bucket. Too much force can salvage the entire work.
Step 5- Even out the paint
By now your paint is strained and ready to use. However, one crucial thing you have to do is make sure that the paint is evenly distributed.
To do this you just have to gently tap the bucket onto the floor 2 or 3 times. And then you’re done.
But if you want to know how to strain paint for spraying then you are in luck. Because this process will also prepare your paint to be sprayed on by a spray painter.
Isn’t that amazing news for a homemade paint strainer?
FAQ
Question: How do you make old paint usable again?
Answer: The trick to reusing old paint is to strain it. You see, the old paint tends to dry up, and that results in uneven paint. And on top of that, all the lumps and bumps are also visible after every stroke. So, straining it will remove all of the hard particles responsible for the disaster.
Question: How many microns are there in a paint strainer?
Answer: There are 190 microns in a paint strainer that is used to strain thin paint. However, you can still use it for thick paints that are mixed with a primer. But a fair warning to you that it’ll take a lot of time for the thick paint to pass through the strainer.
Question: Are paint strainer bags safe to use?
Answer: The paint strainer bags are made of nylon. And they are famous for having a very high melting point. Thus it’s quite safe to use a paint strainer. That’s because they won’t burn down so easily. So, you can use it near a fire but make sure you don’t put it directly on a gas stove.
Question: Do I need to strain new paint?
Answer: It’s not necessary to strain new paints but if you do you’ll have a premium experience. Plus you’ll be completely sure that there are no lumps or bumps in your paint.
Summary
Yes, that’s all there is to know about how to strain paint like a pro. We hope you found this guide helpful for the best way to strain paint.
And if you have any further queries regarding this process don’t hesitate to ask us in the comment section. We are one comment away.
That’s all for today. Hope you have a good day. Bye-bye!


![How To Clean Dark Grout That Has Turned White [5 Easy Ways]](https://homepander.com/wp-content/uploads/2021/12/How-To-Clean-Dark-Grout-That-Has-Turned-White.webp)

![How to Remove Crystallized Urine [Explained]](https://homepander.com/wp-content/uploads/2022/02/How-To-Remove-Crystallized-Urine.jpg)