Finding sand in the toilet bowl is a concern for almost every homeowner. Because the sand will be drained with flushing and be a reason for clogging your sewer line.
Why is there sand in my toilet bowl?
Water sediment, sewerage line leakage, clothing sand, and intentionally throwing sand by the kids, are some common reasons for toilet bowl sand.
Besides investigating the reasons, we also find probable solutions, what problems the sand will create in your toilet, and maintenance tips to avoid this unexpected situation.
That means reading this post till the end won’t waste your time if you really face a sandy problem in your toilet bowl. So let’s get started.
| Reason for Sand in Toilet Bowl | Explanation |
|---|---|
| Hard Water | When water is hard, it contains minerals such as calcium and magnesium, which can create deposits that look like sand in the toilet bowl. |
| Old Pipes | Over time, pipes can corrode and rust, which can cause sand-like particles to accumulate in the toilet bowl. |
| Well Water | If your home uses well water, it may contain sand and other sediment that can make its way into the toilet bowl. |
| Construction or Maintenance Work | Sometimes, construction or maintenance work on water mains can cause sand and other debris to enter the water supply, leading to sand in the toilet bowl. |
| Improper Cleaning | Inadequate cleaning can cause dirt and other debris to accumulate in the toilet bowl, giving the appearance of sand. |
One of our articles –Sediment in Toilet Bowl.
Why Is There Sand In My Toilet Tank And Bowl? (The 5 Probable Reasons)
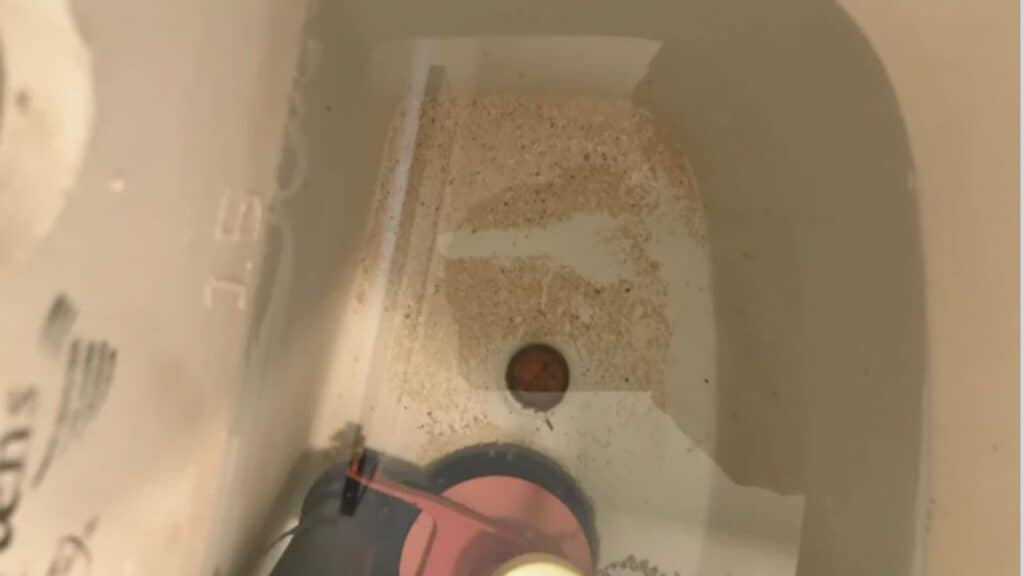
At first glance, you won’t find any valid reason for the sand in your toilet tank or bowl. But once you try to think deeply, there must be some possible causes. Such as
Reason 1
Do you have kids in your home? Maybe they scatter sand in the toilet tank or bowl when playing or using the toilet. But they won’t correctly flush the bathroom, and that’s why you see these when you open the toilet bowl lid.
Reason 2
If your clothes are sandy, when you use the toilet the sand may fall from the clothes into the toilet bowl. As you won’t notice it, you think from where it comes.
Reason 3
Do you have wells, and from there, you get the water supply for your home? If so, your wells have sediment in the water, and over time they will settle in the toilet tank.
Reason 4
The next possible reason may be your sewerage line leakage. If your toilet is too old, and at the time, you don’t do any maintenance. Somewhere the pipe may be broken or leaked, by which the sand is entered into the pipe. So when you flush, the water moves around, and you’ll see the sand in the bottom of the toilet tank.
Reason 5
Do you get a water supply from the city municipality? If so, there is a high chance that the city crews opened the pipes for water supply maintenance. At that time, sand entered the pipe, and you see it in your toilet tank.
Absolutely, all five reasons aren’t worthwhile for every homeowner. But, basically, after researching the problem from the deep, we have found them. From the enlisted reasons, one or two must match your sandy toilet problem.
How To Clean Sand From Toilet Tank
| Methods | Effectiveness | Ease of Use | Time Required | Cost |
|---|---|---|---|---|
| Manual Removal | High | Moderate | Low | Low |
| Flushing | Low | Easy | Low | Low |
| Vacuuming | Medium | Easy | Moderate | Low |
| Vinegar Solution | Medium | Easy | Moderate | Low |
| Citric Acid Solution | High | Easy | Moderate | Low |
| Professional Plumbing Service | High | Easy | Low | High |
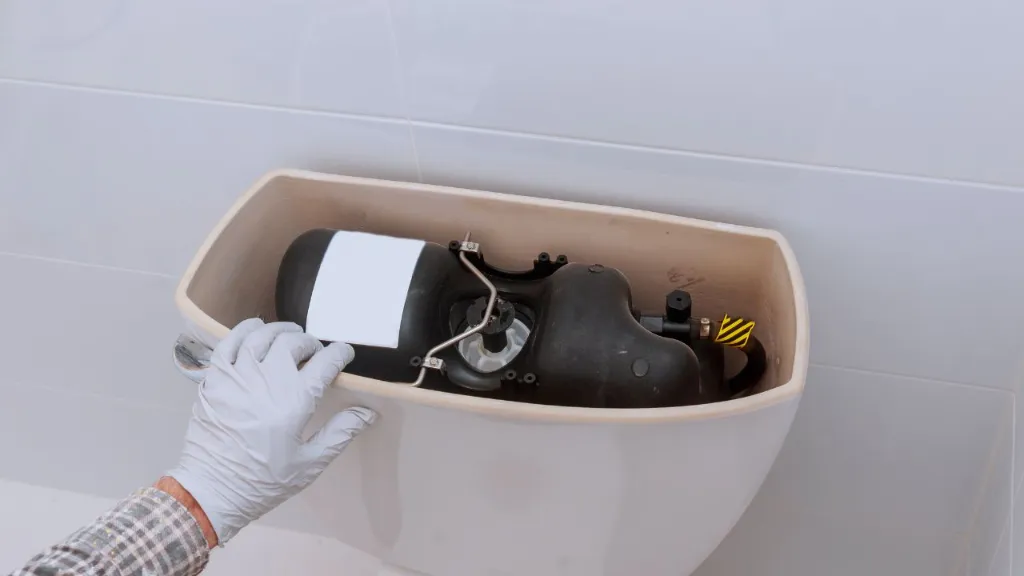
As we don’t know for which reason you find your toilet sandy. So we’ll show you all the methods to clean sand from the toilet tank and bowl for your convenience. As a result, you can follow the technique depending on the reasons.
Method 1: Cleaning the toilet bowl and tank (Effective for reasons 1&2)
If you find sand in your toilet bowl and tank for reasons 1&2, cleaning them is the best solution to make them sand free. Luckily, the sand cleaning process is the same as how you regularly clean the toilet tank and bowl. It won’t require too much investment, time, and energy. Let’s see how to clean sand in your toilet bowl after flushing.
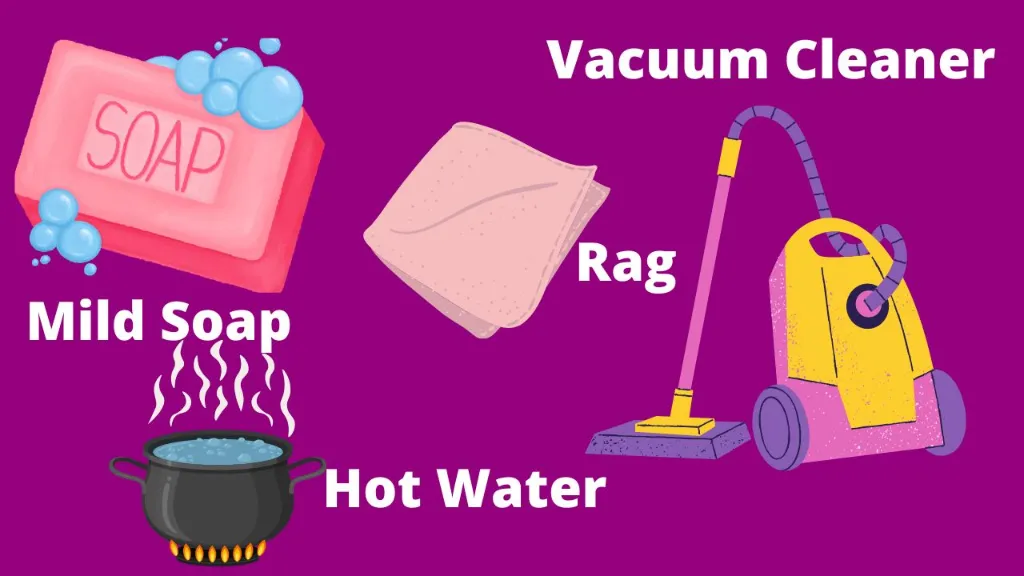
The Things You’ll Need
- A wet/dry vacuum cleaner
- A sponge or rag
- 2-3 tablespoons of mild soap
- Warm water
Project Overview
- Estimated cost- $0
- Time- 30 minutes
- Skill Level- Beginner
Step 1: Drain the sand
First, flush your toilet 2-3 times to drain the sand that congregates in the bottom of the toilet tank.
Step 2: Shut off the main water supply
Twist the water supply handle to shut off. Now again, flush the toilet to remove the water from the tank and bowl, which will help you to reach the sand. You can hold the flush handle for a few seconds to go down almost all the water and ensure the tank is empty.
Step 3: Clean the sand
Remove the sand with the wet/dry vacuum cleaner. Then, use a sponge to remove the last bits of sand that the vacuum cleaner can’t clean.
Don’t worry; if you don’t have a vacuum cleaner, you can do the same thing manually with a sponge. Wipe the toilet tank and the bowl with a sponge and remove the sand.
Step 4: Clean the toilet tank and bowl
As you have already removed the sand, it’s wise to clean the toilet with mild detergent and warm water. Mix mild soap with a half cup of warm water, and pour the mixture into the toilet bowl and tank. Wait a few minutes, and scrub the space with a toilet scrubbing brush. Rinse the toilet bowl and tank with clean water to remove soapy scum and stains.
Step 5: Turn the water supply on
That’s all. Now place the toilet tank lid and turn on the water supply. Finally, fill the tank with water and flush the toilet. Hopefully, you won’t see a bit of sand in the toilet tank.
Method 2: Install/Change A Well Filter (Effective for reason 3)
If you have sand in your well sediment, a well water filter can be the ultimate solution to this issue. However, even if you have already installed a well filter, it may become damaged or defective if you do not check it for over 90 days. This can cause it to fail to filter your well water, resulting in black sand in your toilet bowl and tank.
However, if you don’t install a well filter, you should install one. Here is the process of how to change a well water filter.

The Things You’ll Need
- A new well water filter
- A metal filter wrench
- A bucket
- Plastic covers
- A rag
- A towel
Project Overview
- Estimated cost- $60-$70
- Time- 45 minutes
- Skill Level- Beginner
Step 1: Make a shopping list
Make a shopping list by mentioning your existing water filter brand and model. You also need a metal filter wrench to remove the filter and install the new one.
Step 2: Get the supplies
Now, buy a new water filter that matches your existing one. You can check this Whirlpool WHA4FF5 Water Filter as it ensures high filtration and lasts 6 months. It is worth considering for its price.
Besides a water filter, you have to buy a filter wrench if you don’t have one. Here, we recommend purchasing the Superb Wrench. It is made of metal, and there is 6 inches in diameter inside.
Step 3: Cover the electrical panels
Most probably, the water filter is placed near an electrical unit to control the water filtration system. There may also be some other electrical panels and outlets. You must cover all of these with plastic covers or towels to reduce the risk of getting water inside them.
Step 4: Stop the water supply
According to your plumbing system, the primary water supply source may be in a different location. It can be a knob or a wheel. Turn the knob vertically or horizontally that it requires. If that is a wheel, spin it right to left.
You’ll find a small red button on the top of the filter. Press it to stop releasing water. Some water may come out when you press the button. To hold the water, you should place a bucket below the filter.
Step 5: Unscrew the old water filter
Attach the filter wrench with the filter housing and slide it to the neck of it. Turn the wrench handle right to left or clockwise to loosen the filter from the housing. You may need some elbow grease as it is steadily fixed.
After 2-3 times turning, the filter will be loosened to manual rotation. So remove the wrench, and place the bucket as close as the filter to avoid spilling water on the floor. Then hold the filter and rotate until it releases.
Step 6: Remove the filter from the housing
Grab the top of the filter and pull it straight up to bring it out from the housing. After that, dampen the remaining water from the housing with a rag and make it empty.
Step 7: Insert the new water filter
Closely observe the water filter and determine its top end and bottom end. Hold the filter top end and insert it into the housing to ensure the bottom end gets into the bottom part of the housing.
Step 8: Prepare the filter for installation
Check the o-ring of the filter housing; if that is defective, it’s better to use a new one. In that case, you can use the APEC Water O– ring. Though you use the new o-ring, lubricate it to get long-lasting performance. You can use food-grade oil or silicone grease, which is available near you.
Step 9: Install the filter
Line up the filter housing threads to install them with the filtration system. How you unscrew the filter housing, reverse the process to screw it. If there is any moisture outside the housing, wipe it from up to down with a towel or soft cloth.
Step 10: Turn the water supply on
Slowly turn on the water supply, and observe the filter. If the filter leaks water, you may not tighten the housing enough. So, here you should turn the water supply off and again tighten the housing with the filter wrench. Now again, turn on the water supply.
Hopefully, now you won’t see sand in the toilet bowl and tank after changing the old water filter. If you call a plumber for this job, you should pay $45 to $150 per hour depending on the plumber’s skill and your locality. Here the material cost will add. But if you do it yourself by following the steps, you can save around $100-$150.
However, installing a new well water filter is more tricky than changing one. As in this case, you won’t have the housing, specific well filter installation space, and many more. So you should seek professional plumbers’ help to install a new well water filter. To get the job done, you should have a budget $665 to $850 including material cost and labor charge.
Method 3: Fixing the sewerage line leakage (Effective for reason 4)
If there is sand in your toilet bowl drains for the leakage of your sewerage line, then fixing the leakage is the best solution. However, if the leakage isn’t fixable, you have to replace the old pipe with a new one.
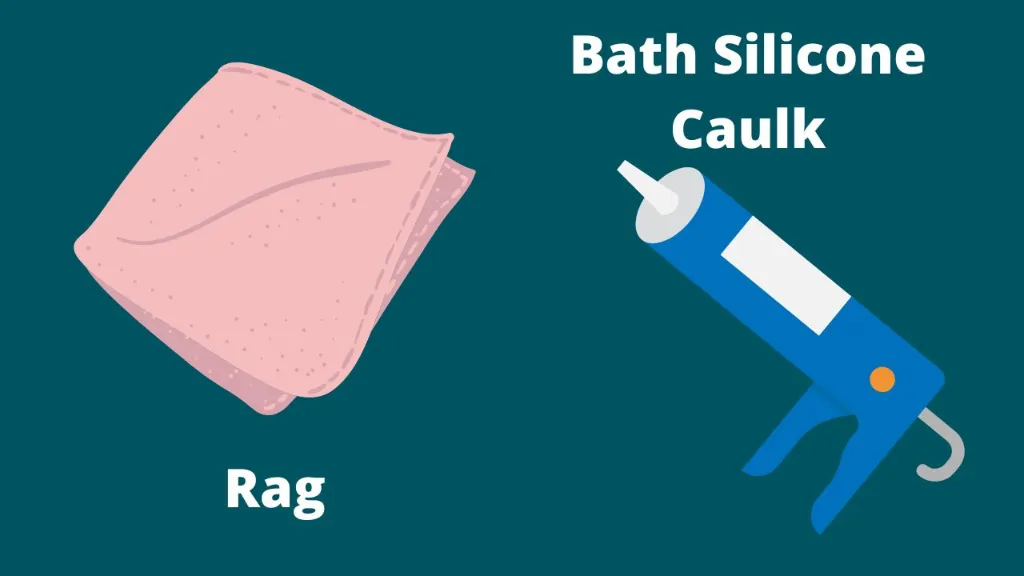
The Things You Need
- Silicone bath caulk
- A rag
Project Overview
- Cost- $10
- Time- 30-60 minutes
- Skill Level- Beginner
Step 1: Find out the leakage
As you don’t know the exact location of sewerage line leakage. So you have to check almost all the possible pipes you suspect can be leaked. Usually, the pipes are located inside the wall, so it isn’t an easy task. Here, you can start from the lines outside the wall. If you are lucky, you may get the leakage within some attempts.
Step 2: Clean the leakage
Rinse the leakage with clean water to remove the excess dirt and stains. Now wipe the pipe with a rag to dry and make it ready to use the caulk.
Step 3: Apply the caulk
Gorilla waterproof silicone caulk is the best with 10k+ ratings. So you can use it. Hold the caulk tube at a 45° angle, and apply the caulk on the leakage area. Spread the caulk with a putty knife to seal every leakage. So the pipe won’t leak water. Wait 15-30 minutes to dry, and it takes 24 hours for complete cure.
But, if you aren’t fortunate, you may have some failed attempts and won’t rectify the leaks. Or if the pipes are seriously leaked, you have to call in a professional plumber who can help you.
Method 4: Contact the municipal corporation (Effective for reason 5)
If you find sand in your toilet bowl brush when using it to clean the toilet bowl due to municipal crews’ maintenance work. Here personally, you won’t have anything to do.
By searching online, you’ll get your regional municipality corporation number. Contact and tell them about your problem. Hopefully, you’ll get positive feedback from them.
Sandy Water Problems For Your Toilet
If you face a sandy problem for many days, and won’t do any action to solve it. It may have some worse effects on your toilet.
- If a lot of sand comes with water and the toilet accumulates in the bottom of the tank, the flushing system won’t work appropriately.
- The sand in your toilet bowl has turned yellow, scratches toilet porcelain and reduces its shine.
- If the sand drains into the sewerage line, it’s obvious the pipe will be clogged with the sand. So that, frequently, you’ll see the flushing water won’t go down through the outhole of the toilet. And you need to unclog the pipe, which is really a tedious job.
Those are the simple three bathroom problems. Except that you’ll face many challenges in the kitchen when you cook food and wash cooking utensils and dishes. Moreover, it is risky for you and your family members’ health.
Some Toilet Water Maintenance Tips
| Tips | Description |
|---|---|
| Regular Cleaning | Regularly clean the toilet bowl, seat, and exterior to prevent stains and buildup. |
| Proper Flushing | Use sufficient water when flushing to ensure effective waste removal and prevent clogs. |
| Water Conservation | Consider installing a dual-flush toilet or adjusting the water level to conserve water. |
| Avoiding Harsh Chemicals | Use gentle cleaning products to avoid damaging the toilet and its components. |
| Toilet Tank Inspections | Periodically inspect the toilet tank for leaks, cracks, or malfunctions to address issues promptly. |
| Maintenance of Fill Valve | Check and adjust the fill valve to maintain proper water level in the tank and prevent water waste. |
| Prevention of Toilet Clogs | Avoid flushing excessive toilet paper, sanitary products, or other non-flushable items. |
| Addressing Running Toilets | If your toilet continues to run after flushing, investigate and fix the issue to prevent water waste. |
| Regular Maintenance | Schedule regular maintenance, such as replacing flapper valves or gaskets, to ensure optimal toilet performance. |
| Professional Plumbing Service | When encountering persistent issues or complex problems, consult a professional plumber for assistance. |
- Teach the kids toilet manners, and make them realize that the toilet isn’t a place for playing. So they won’t throw sand into the toilet tank or toilet bowl.
- If your clothes have sand, get rid of it before entering your home.
- Never late to change the well water filter. Usually, a well filter should be changed every 30-90 days. So keep in mind.
Related Questions
[faq-schema id=”10355″]
Final Words
Though getting sand in the toilet tank isn’t a good sign, but nothing to be concerned about. As cleaning sand is easy and requires beginner skills. It’s just a toilet problem, nothing else.
However, always observe your toilet tank every week to check if there is any sand. If yes, as soon as possible, clean it. Otherwise, it’ll go down the toilet drain and create a clog.
Check your well water filter quarterly. If needed, replace it to avoid sand buildup in the water supply line.


![How to Remove Crystallized Urine [Explained]](https://homepander.com/wp-content/uploads/2022/02/How-To-Remove-Crystallized-Urine.jpg)

![How To Clean Dark Grout That Has Turned White [5 Easy Ways]](https://homepander.com/wp-content/uploads/2021/12/How-To-Clean-Dark-Grout-That-Has-Turned-White.webp)