Have you ever noticed that the deck on your backyard doesn’t have that old spark anymore? It looks so lifeless now.
The reason behind this is the fact that dust and fungi have taken out life force from the deck. So, to replenish your deck you need to stain it.
The optimum time to apply some layer of coat on your deck is during winter. The chilly wind makes it easier to dry out the coatings.
But make sure it’s not freezing cold otherwise the stain will lose it’s sticking powers.
Once you find the right weather you can follow the steps that we’ll show in this article to stain deck in cold weather.
There are six steps in total and they are all easy. The first step is to check them for cracks and loose boards. The second step is to clean the deck. Then you have to apply the stain. Afterwards, you need to seal the end of grains. Then you have to wait till the stain dries. Last, you have to re-apply the coats.
And as a bonus, we’ll also answer some frequently asked questions. Without further ado, let’s get started.
How to Stain Deck In Cold Weather? The Complete Guide

The best part about staining a deck in winter is that the sun is not there to mess with the stain. It will dry out without leaving cracks and marks over the deck.
So, let’s take a look at the steps in more detail to know how you can stain a deck.
Tools you’ll need for applying deck stain in cold weather.
The first thing you gotta do is accumulate all the tools for the job. Thus to make your life easier here is a list of the things you’ll need.
LIST OF ITEMS-
- WATER HOSE
- PAINT BRUSH ( Best Brush for Staining Wood Deck )
- HIGH-QUALITY STAIN DECK
- BROOM
- PAINT STIRRER
- DECK CLEANER ( Best Wood Deck Cleaner )
STEP 1- Check the deck for cracks and loose boards.
The first thing you need to do is to inspect whether your deck has any holes or crooked places on them.
Otherwise, your deck won’t be smooth and will look unorganized.
In case you do find some places that need your attention, replace them with some new timber.
At the end, your deck will have an even finish and well polished.
Step 2- Clean the deck.
Once you’re done fixing all the rough places, grab a water hose and spray some water all over your deck.
This will remove all the dust and fungus, and you’ll have a clean surface to work on. But make sure you wear a slipper since the cold air will make the water super cold.
Additionally, the cold weather will dry off the stain faster. And once that happens, you can start applying the deck cleaner.
While doing so, make sure you scrub every corner of the deck with a brush. It will take an extra ten to fifteen minutes to dry off, but your floor will be spotless.
Once you’re done with that, you can get started with the next step.
Step 3- Apply the stain.
The third step is where the real work starts. For this step, all you gotta do is brush out some stains all over your deck.
Now before you start this step make sure you stir the stain properly with a paint stirrer. Then scoop out some stain to check its consistency.
Suppose the stain looks like a pancake mixture then you are good to paint them over your deck. In case it doesn’t seem ready, stir some more to get the desired consistency.
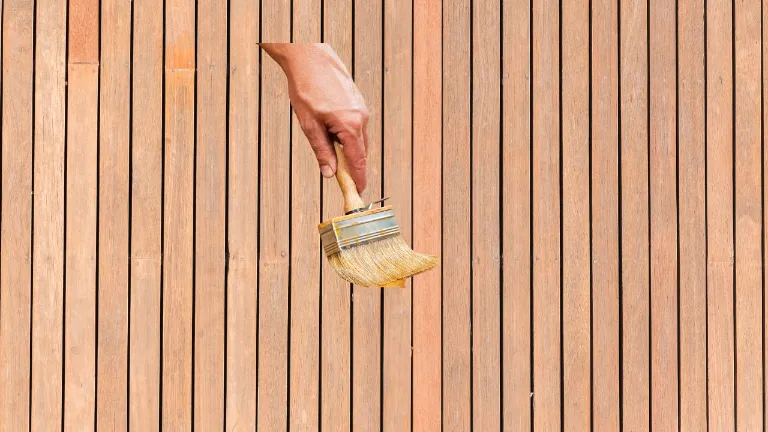
After you’re done stirring the stain, take out your high-quality brush and mop the floor with the stain. Now, make sure you apply the stain in thin layers to get an even surface.
Don’t worry; it’s not hard to achieve clean strokes. All you have to do is slowly run your brush over the surface and go in one direction.
After doing this, you can commence the next step.
Step 4- Seal the ends of grains.
In this step, you have to take out a smaller brush and paint some stain at the edges of your deck.
See the ends of your staircase? Make sure you apply a border with your paintbrush to give a more classy look.
Not only will your deck look more polished, but it will also help prevent any fungi from eating away the timber. And you’ll have more time on your hand till the next stain date.
Step 5- Wait till the stain dries.
For this step, you have to have some patience while the air dries off the stain.
You see, it will take about 24 hours to dry off, but since you’re doing it in the cold, the weather will be on your side. The chilly air will help dry the stain faster.
Step 6- Re-apply the coats.
The sad news is that you have to repeat the process. Why? Well, because one layer of coating is not enough for the deck.
It wants more, and so you have to do it again. But once you’re done your deck will look polished and brand new.
So, why not work hard for that dream-like deck?
FAQ
Question: Can you stain wood in cold weather?
Answer: Although the cold air helps to dry off the stain faster, it’s best to avoid staining when it’s freezing cold. The stain’s sticking property will not fully operate, and you’ll have a lousy finishing.
Do not forget to check this article for the best deck stain for cold weather.
Question: How long after it rains, can I stain my deck?
Answer: The minimum waiting period is twenty-four hours, but it is recommended to wait for at least forty-eight hours.
Question: Do I have to remove the old stain before restaining?
Answer: The best part about staining is that you don’t have to remove all the old stain. You only have to get rid of the lacquer, varnish and anything else that can stop the stain from sticking to the deck.
Final words
Now that you know how to stain a deck in cold weather, why not give it a try yourself? The results will surely make you feel overwhelmed.
But hold on, before you take out your brushes, let us give you a bit of insight about stains.
When choosing a stain, make sure you pick the water-based ones. They dry out faster and have a soothing smell as opposed to the oil-based ones.
With that being said, we take our leave. But do let us know how your deck turned out to be.


![How To Clean Dark Grout That Has Turned White [5 Easy Ways]](https://homepander.com/wp-content/uploads/2021/12/How-To-Clean-Dark-Grout-That-Has-Turned-White.webp)

![How to Remove Crystallized Urine [Explained]](https://homepander.com/wp-content/uploads/2022/02/How-To-Remove-Crystallized-Urine.jpg)


