We use to put a lot of effort to clean and keep the cabinet exterior shiny. But have you ever thought that why all these efforts don’t last for long?
Well, let us tell you the secret.
The duration and health of a kitchen cabinet should be maintained from inside out. Just like your cabinet exterior, the interior is also going to be exposed to air, oil, and dust. And if you leave the inside part of the cabinet unfinished, it will soon affect the exterior as well.
So, what’re the steps and how do you execute them in a proper way?
Do not forget to check this article to get the step-by-step laminate cabinet guidelines on how to finish inside of unfinished cabinets.
Go through the end of the post and you will get the answer-
What Items Do You Need Throughout The Process?
Nothing can be done by bare hands, and the same works for kitchen cabinet interior finishing as well. So before starting the process, let’s have a look at the essential items we need-
- Fine Sandpaper (150 grit will work)
- Wood Conditioner (I used Minwax)
- Foam Paint Brush ( Wooster Angle Brush-Best Brushes for Polyurethane)
- Tack Cloth
- A stain of Choice ( I suggest using one with polyurethane)
- Stain Grade Paint ( Brush Perdura DECK BOSS – Best Brush for Staining Wood Deck )
- Paint Thinner.
- Clear Polyurethane or Varnish
If you’ve managed all these items, let’s proceed to the steps-
How to Finish Inside of Unfinished Cabinets? 5 Simple Steps Follow
Step 1: Free up the space
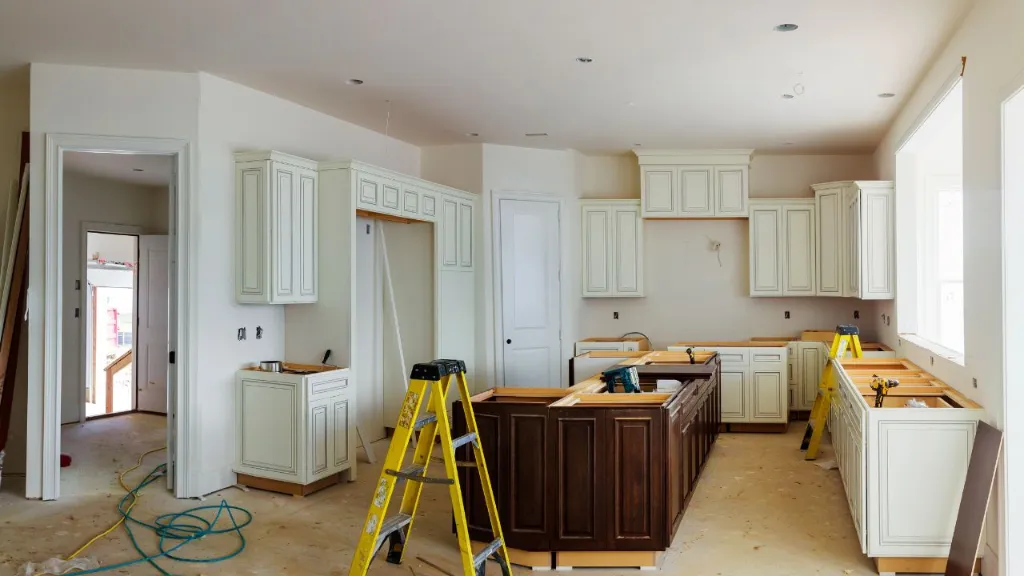
First thing first you have to clean up the space and make some room so that you can access the insider part of your kitchen cabinet. You should take all the items away, and make some free space at the front of the cabinet as well.
Now, remove the drawers and other parts how to seal inside of cabinets. Make sure that you can access all the parts of the insider portion of your cabinet.
Here are some of our recommendations-
– Best Finish For Inside Kitchen Drawers: Minwax Polycrylic Protective Wood Finish.
– Best Finish For Kitchen Cabinets: Howard FW0016 Feed-N-Wax Wood Polish.
– Best Finish For Wood Cabinets: Rust-Oleum Varathane Waterbased Finish.
– Best Finish For Cabinet Drawers: Minwax Polycrylic Protective Finish Satin.
Once done, proceed to the next steps-
Step 2: Apply Some Light Sanding
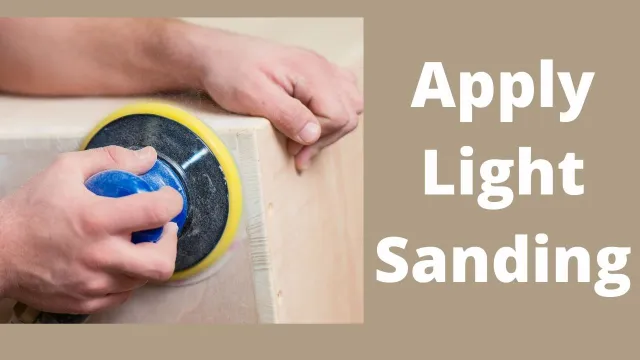
Once you are done with the cleanup, it’s time to make the surfaces ready for the finishing actions. This will start by sanding it up, as this will remove the stain, dust, and spots from the surfaces of the cabinet.
You can use milk sanders to get done with the step. As you know, sanders come in various grit and size. Based on what size of the surface you are standing on, you can choose the right sander.
Once done, hand checks the sanding quality. Also, eliminate the areas to check for any un-sanded parts inside the cabinet.
Step 3: Apply wood Conditioner
The environment inside the cabinet is quite dumb and humid. So, you need to protect the wooden parts with a wood conditioner. We’ve mentioned it in the essential item list. Make sure to have a good one.
You can use a foam or brush to apply the conditioner on the surfaces. It may draw a few wood particles at the beginning. But don’t worry, this will get fixed once the conditioner dried up.
Therefore, leave the conditioned wood for around 40 minutes to dry them up.
Step 4: Apply Coats of Stain
Now, take a sharp look at the inside part of the cabinet and check for any place where you have not applied the conditioner. If you find none, take a brush and start applying the stain on the dried-up surfaces.
After done, you can wait for some minutes until you go through the next step. Once done, go for another coat. After applying 2 or 3 coats like this, let it dry for 6 hours. You can read more here about how to apply a skim coating over wallpaper.
Here’s the Best Cabinet Stain: General Finishes Oil Base (Top Interior Wood Stain)
Step 5: Apply Colour If You Want To
In case you want to add any color to the interior part of the cabinet, you can go with this step. But if you want to stick to a low-budget finishing, applying color doesn’t make any sense.
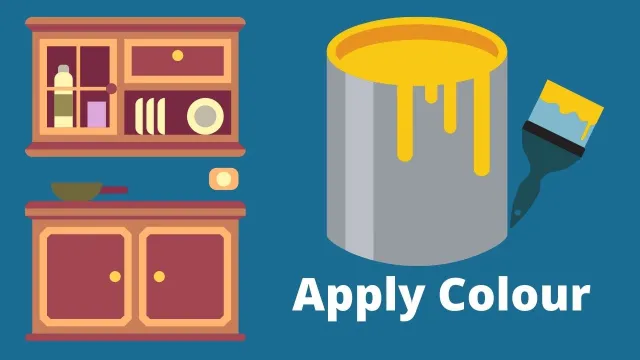
However, if you do apply color on it, you can follow the same steps that we’ve done in case of stain. Take the same brush size and keep applying the color. You should add some color thinner before applying it on the stain.
Make sure the color you are using is a match with the color of the cabinet exterior. Once done, leave it to dry for 4-6 hours at least.
Check our latest guide about: how to refinish kitchen cabinets without stripping.
Also, read the related guide: how to finish unfinished cabinets.
Related Questions
What tools do I need to finish the inside of my unfinished cabinets?
You will need basic tools like sandpaper, brushes, and finishing products.
What type of finish should I use on the inside of my cabinets?
Water-based polyurethane or shellac is a good choice for the inside of cabinets.
Can I use the same finish on the inside and outside of my cabinets?
Yes, it’s best to use the same finish for both inside and outside of the cabinets.
Do I need to sand the inside of my cabinets before finishing?
Sanding the inside of the cabinets will ensure a smooth surface for the finish.
How many coats of finish should I apply?
Two to three coats of finish are recommended for the best results.
How long does it take for the finish to dry?
Drying time depends on the type of finish used and the humidity level.
Should I apply a sealer or topcoat to the inside of my cabinets?
A sealer or topcoat can provide added protection and durability to the finish.
Can I stain the inside of my cabinets a different color than the outside?
Yes, staining the inside of cabinets a different color can add a unique touch.
Do I need to remove the cabinet doors before finishing the inside?
It’s easier to remove the cabinet doors to finish the inside, but it’s not necessary.
How do I ensure a smooth and even finish on the inside of my cabinets?
Apply the finish in thin coats, and sand lightly between each coat for a smooth and even finish.
Bottom Line
When it comes to a complicated task like kitchen interior finishing, things are way harder than the same task on the external surfaces of it. As a kitchen cabinet is going to be at the front door of your kitchen, you need to maintain a number of safety concerns.
Make sure that the color and stain you are applying on the subject, come split off on the other ones. You can use a cloth covering to make it sure.
Also, don’t forget to keep the cabinet door open once you are done with the finishing. It will let air flow throughout the cabinet and make the painting permanent.
Good luck with the steps on how to stain unfinished cabinets from lowes.









![How To Clean Dark Grout That Has Turned White [5 Easy Ways]](https://homepander.com/wp-content/uploads/2021/12/How-To-Clean-Dark-Grout-That-Has-Turned-White.webp)

![How to Remove Crystallized Urine [Explained]](https://homepander.com/wp-content/uploads/2022/02/How-To-Remove-Crystallized-Urine.jpg)
