Every DIY home project guy faced this question once in their lifetime. Is it necessary to sand between coats of stain?
If we summarize it in one word, then yes it’s necessary. But there is a lot more to it. That’s why we wrote this entire article for you explaining every single thing about this topic.
But let us give you a sneak peek. Sanding between coats of stain totally depends on the type of stain you’re using. And even then you can sand. However, we shouldn’t spill everything here.
Let’s start and you’ll know everything there is to it-
Is Sanding Between Coats of Stain Necessary? Do You Need to Do it?
In short, yes it is absolutely necessary to sand between coats of stains. If you want a perfect bond between the wood and the stain, you have to do it. Moreover, it’ll provide a better finish.
However, you don’t have to do this for oil-based stains. You see, oil-based stains take a lot of time to dry. So, you get more than enough time to clean out the excess stain with a piece of cloth.
On the other hand, polyurethane stains require something different. You have to sand those with very light sandpapers.
Without 320 or 400 grit sandpaper, the entire look of the can get destroyed. That’s why it’s important that you stay extra careful while doing this for sanding between coats of polyurethane.
Nonetheless, water-based stains will always require you to sand between the coats of stain. The thing is water-based stains tend to make the wood grains quite visible.
Unless you sand these between the coats, the grains won’t go away. You could start with 80 grit sandpaper and slowly bring in the lighter sandpapers.
After you’re done with sanding, you’ll see that the surface is a lot finer than before. And with another coating, it’ll give an amazing finish.
How Many Types of Stains Are There?
Even though we told you that you should sand between coats of stain. But there’s more to it.
You see, there are 5 different kinds of stains that are all different from each other and have different requirements. Let’s start and you’ll know what we mean-
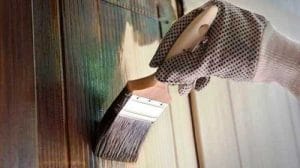
1. Oil Stain
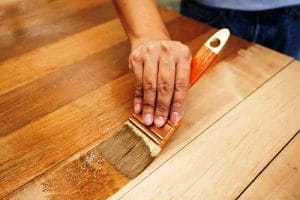
The most popular stain of all time are oil stains. Before you apply the stain, it’s necessary to sand the wood. This way the surface stays clean from dirt and debris, giving you a smooth surface to work on.
However, once you apply the stain, it’s not necessary to sand the wood again. You can apply another layer of the stain without doing anything. However, use a sponge brush to make sure it’s a thin layer of stain.
If you want a darker color, you try applying multiple layers of the stain. But make sure to wait between the coats.
Our Recommendations
Best Deck Stains: Ready Seal Natural Cedar Exterior Wood Stain and Sealer
Best Wood Oil Stains: General Finishes Oil Based Gel Stain
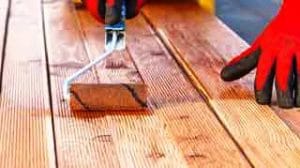
2. Water-Based Stain
Water-based stains are more and more popular. They dry quite fast. Most importantly, they’re easy to apply. However, you do need to sand between the coats of water-based stains.
As we’ve already explained water-based stains have a tendency of making the grains visible so it’s necessary to sand. You can start with 80 grit sandpaper and slowly move on to light sandpapers.
Our Recommendations: General Finishes Water Based Wood Stain
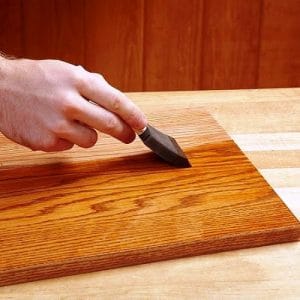
3. Gel Stain
Similar to water-based stains, gel stains also need to sand after a coating. A lot of people suggest using steel wool for sanding the wood. But we’re strongly against sand between gel stain coats.
The thing is steel wool tends to damage the surface of the wood. Most importantly, it ruins the entire finish of the stain. So, you should start with 80 grit sandpaper and slowly move on to light sandpapers.
Quick Pick: Best Wood Stains/ Best Gel Stain: Minwax wood finish
4. Lacquer Stain
Next up, we have the lacquer stain. Similar to oil stains, it doesn’t need sanding before applying another coat of stain. However, it has a few properties that are quite different from oil stains.
Lacquer stains can melt and mix with another layer of the stain. So, you don’t need to sand it.
But if the surface has some kind of grains of debris, you can use very light sandpaper to sand it. That’ll clear out everything.
Our Recommendations:
- Watco 63041 Lacquer Clear Wood Finish
- Clear Lacquer Water-Based Wood Finish (best water-based lacquer for furniture)
5. Polyurethane Stain
Polyurethane stains are modern-day stains that don’t need any kind of sanding. Even though they come as both water and oil-based stain, they still don’t require sanding.
Like before you have to sand it with some very light sandpaper if the surface gets dirty. But the finish won’t look nice after you sand it.
As it dries quite fast, you can simply clean it off with a piece of clean rag. This way you won’t have to face that blotchy look.
Here is the one that we recommend-
How Do You Sand Between Coats of Stain?
Now that you know that it’s absolutely necessary to sand between coats of stains, you need to know how to do it.
Well, with our step-by-step guide, you’ll know the proper way to do it. Let’s start-
Step 1: Grab some 220 or 240 grit sandpaper
First, you have to get some 220 or 240 grit sandpaper. But if you’re using a water-based stain, start with 80 grit sandpaper. After a while, move on to lighter sandpapers.
However, you should never use steel wool to sand wood. This can severely damage the surface of the wood.
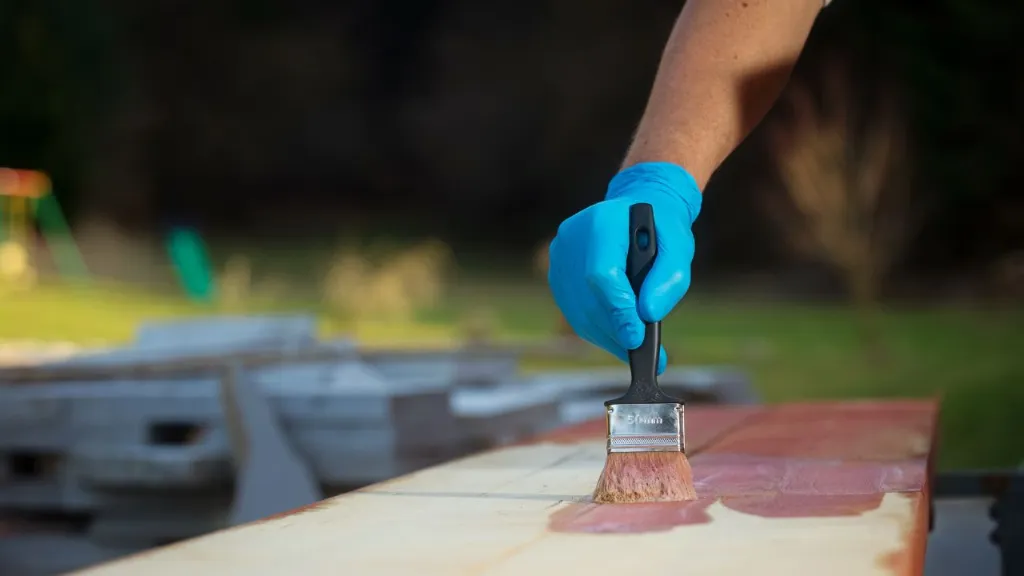
Step 2: Start Sanding
Start sanding the wood with a sanding tool. Although you can use your bare hands too, that’s completely up to you.
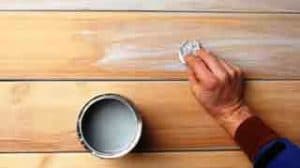
Step 3: Apply the second layer of stain
After sanding the wood, you might see some whitish powder. Don’t worry about those. Simply clean it with a piece of cloth and then start applying the second layer of stain.
After that, you’ll notice the whitish powder is gone. Finally, give the stain some time to dry off and you’ll be done.
Parting Words
So, that’s all we had about sanding between coats of stain. While it’s required that you sand before you apply another layer of stain, it depends on the type of stain you’re using.
That’s why you should always know what type of stain you’re using and then do all the sanding. Good luck!


![How To Clean Dark Grout That Has Turned White [5 Easy Ways]](https://homepander.com/wp-content/uploads/2021/12/How-To-Clean-Dark-Grout-That-Has-Turned-White.webp)

![How to Remove Crystallized Urine [Explained]](https://homepander.com/wp-content/uploads/2022/02/How-To-Remove-Crystallized-Urine.jpg)