The wallpapers are like an ornament of the room, but with time they start to lose their essence. Once that happens, you don’t feel like staring at the walls anymore.
It just feels awful to look at and you panic whenever someone plans to drop by your house. So how do you get out of this sticky situation?
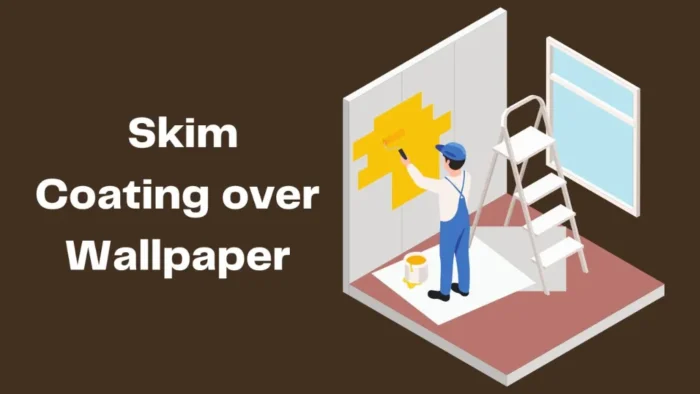
You only have to put on a layer of skim coat to have a white and shiny wall again. So, in this article, we’ll show you exactly how you can carry out the process of skim coating over wallpaper.
There are eight steps for this process, and they’re all super easy. The first step is to safeguard everything from the skim coat. The next one is to apply a primer. The third one is to prepare a thin joint compound. The fourth step is to apply the skimcoat. The fifth one is to smooth out the skim coat. The next thing to do is to sand to even out the layer and then wait for the layer to dry. And lastly, repeat the process.
Yes we know, it might sound like a lot, but it isn’t. Let us walk you through the steps one at a time to show you that it’s quite simple for skim coating over painted wallpaper.
How to apply a skim coating over wallpaper?
| Aspect | Applying Skim Coating over Wallpaper |
|---|---|
| Wallpaper Removal | No need to remove wallpaper before skim coating. |
| Time Efficiency | Skim coating over wallpaper is quicker compared to wallpaper removal and then skim coating. |
| Surface Preparation | Wallpaper should be clean, smooth, and properly adhered to the wall before applying skim coating. |
| Wall Imperfections | Skim coating can help hide minor imperfections in the wallpaper, creating a smoother surface. |
| Adhesion Strength | Skim coating may not adhere as strongly to the wallpaper surface compared to directly applying it on the wall. |
| Removal Difficulty | If the skim coat needs to be removed in the future, it can be more challenging to remove from the wallpaper than from a bare wall. |
| Cost | Applying skim coating over wallpaper is generally less expensive compared to removing wallpaper and then skim coating. |
| Finish Options | Skim coating allows for various finishes, such as smooth or textured, which can enhance the appearance of the wallpaper. |
| Durability | Skim coating can improve the durability of the wallpaper, protecting it from wear and tear. |
| Professional Help | Hiring a professional for skim coating over wallpaper is recommended for a smooth and even finish. |
You might be excited to skim coat your wall, and we don’t want to burst your bubble. But sadly only some wallpaper can handle the extra layer of skim coat.
The others throw away the additional layer from their skin. Thus before you start applying the skim coat, make sure you try it on a small area.
If it fails, then you have to scrape off the entire wallpaper to get a clean wall. However, if it sticks, then go ahead with the process.
Tools and materials
Before jumping into the topic, let’s talk about what tools you’ll be needing to carry out the process of skim coating walls over wallpaper.
LIST OF TOOLS-
- Painter’s Tape.
- Mixing Rod
- Mixing Pan
- Bucket.
- Paint Roller.
- Trowel
- Best Painters Tape: ScotchBlue Original Multi-Surface Painter’s Tape
- Best Paint Roller: Stanley Premium Paint Kit
- Best Paint Roller For Bucket: Wooster paint bucket
- Best Hand Trowel: Drywall Edge Tool
Once you’ve gathered all the tools you need, you can start skim coating your wall.
One of our another article: Wallpics Photo Tiles App.
How to Remove Skim Coat from Walls
Step 1- Safeguard everything from the skim coat.
The primary job is to remove all the furniture and materials that might get damaged from the process. No one wants to whitewash their valuables, do they?
Once you’re done relocating your furniture take out the painter’s tape and make a border along the wall. This will make sure you don’t skim over other parts of the room and make a total mess.
Step 2- Apply a base primer.
The second step is to put on some primer. The reason behind this is that the wallpaper might start to get loose at some point.
The uneven finishing will look terrible if it isn’t smoothened out. So, take out your rolling brush and apply a layer of primer to get a flat wall to skim over.
Step 3- Prepare a thin joint compound.
The next item on the to-do list is to prepare the coating. To do this, take an appropriate amount of joint compound and mix it with water.
Then take a mixing rod to grind the elements together. Once you reach creamy consistency, stop mixing.
If your mixture doesn’t have lumps, you’re good to get on with the next step. In case your mixture has some lumps don’t panic.
Simply keep on blending the mixture to have a pancake-like consistency.
Step 4- Apply the skim coat.
For this step, all you have to do is take out your paint roller and dip it in the bucket of the mixture.
Then you can start doing the fun part. That is, roll the paint roller over your wallpaper. But make sure you start from the edge and slowly make your way to the center.
While applying the best roller for skim coating make sure you do it in thin layers. This way, your wall will look smooth and perfect.
Step 5- Smooth out the skim coat.
The fifth step is to use a trowel to smooth out the layer. This will ensure that you get the professional finishing that you want.
To save some time you can get someone to help you with the process. The other person can roll the mixture while you smooth it out with a trowel.
Step 6- Sand to even out the layer
For this step, all you have to do is use a sander and even out the bumps on the wall. This is a very easy step and once you’re done you’ll be awarded a clean wall.
Step 7- Wait for the layer to dry.
Once the skim coat is smoothened out, you need to sit back and relax. This is because the layer of mud needs to dry out first.
So, have some juice while the air does its magic.
Once the coating layer starts looking like chalk you can commence the next step.
Step 8- Repeat the process.
The sad part is that one layer of skim coating is not enough to cover your wallpaper. So, you have to repeat the entire process until the wall has no trace of wallpaper.
Once you’re done you can put down the skim coat drywall with a paint roller and get some rest. You finally have a clear wall with no trace of the old wallpaper.
Also, read the related guide: How To Easily Strain Paint.
Related Topics
Question: Can I apply a texture over wallpaper?
Answer: Yes, you can. However, make sure that you apply a good, thick layer of primer first.
Question: How do you cover up bumpy wallpaper?
Answer: There are several ways to smooth out the wallpaper. But the best method is to apply a layer of skin coat. And you know how to do it yourself.
Question: What can you put over the wallpaper?
Answer: There are many things you can use to cover up old wallpapers besides skim coat. The popular ones are- magazines, marble papers, maps, velvet, leather and other things.
Ending words
Now you know how to skim coating over wallpaper. So, why not grab a roller and cover up the old and dirty wallpaper today.
Hold on, before you go anywhere, let us share a great insight for skim coating over wallpaper glue topics.
The secret behind having a fantastic coating is to make sure that the joint compound is of the top-notch quality.
To get the desired consistency, pour the water slowly, and keep on mixing simultaneously.
Sounds fun, right? Give it a try yourself and do share your experience with us and good luck with steps on how to thin joint compound for skim coat.


![How To Clean Dark Grout That Has Turned White [5 Easy Ways]](https://homepander.com/wp-content/uploads/2021/12/How-To-Clean-Dark-Grout-That-Has-Turned-White.webp)

![How to Remove Crystallized Urine [Explained]](https://homepander.com/wp-content/uploads/2022/02/How-To-Remove-Crystallized-Urine.jpg)