Does your shower pan flexing bother you? And if you’re wondering if it’s a defect, then let us assure you that it’s normal. It is how it is supposed to be.
But if you still want to change this status and are thinking about the option of using spray foam under a shower pan, we’re here to help you out!
Thinking about whether you can use spray foam under a shower pan? Of course! All you need is a proper guide, you know and a great example of a nice glass shower doors setup can be found HERE.
All you have to do is measure and outline the non expanding foam for shower base, remove it from its place, spray the foam according to the outline and place the shower base back to its previous position again. That’s it! Easy, no?
Now that you have a primary idea of the process let’s dig deeper into its steps, shall we?
| Step | Procedure |
|---|---|
| 1 | Prepare the shower pan by thoroughly cleaning the subfloor and ensuring it is dry and free from debris. |
| 2 | Place the shower pan on the subfloor, ensuring it is level and properly aligned with the drain hole. |
| 3 | Apply a bead of silicone caulk around the drain hole to create a watertight seal. |
| 4 | Apply a layer of plastic sheeting or foam board to the subfloor surrounding the shower pan to create a moisture barrier. |
| 5 | Shake the spray foam canister vigorously to mix the components, if using a two-part spray foam. |
| 6 | Insert the spray foam nozzle into the gaps between the shower pan and the subfloor, and apply a continuous bead of foam along the edges, filling any voids or gaps. |
| 7 | Allow the spray foam to expand and cure according to the manufacturer’s instructions. |
| 8 | Trim off any excess foam using a utility knife or saw, ensuring a clean and even surface. |
| 9 | Test the shower pan for stability and ensure it is level before proceeding with further installation, such as tiling or finishing the shower enclosure. |
How To Use Spray Foam Under a Shower Pan
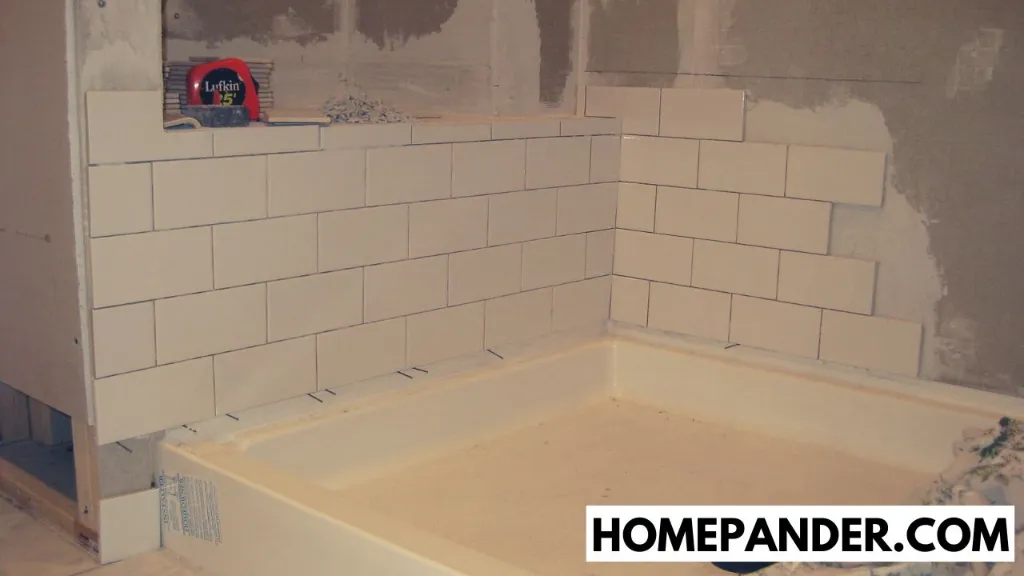
Before we jump into the steps to use spray foam under a shower pan, let’s first introduce you to the things you will need for it.
Things you’ll need
Below for your convenience, we are listing out the things you’ll need for the whole process. It’s better to manage them before starting. It will ensure less hustle while working and will make the job easier for you.
- Measuring scale.
- Large lever.
- Small lever.
- Glue.
- Marker.
- Styrofoam spray.
- Drill Machine.
- Corrosion-resistant screws.
Now that you know the things, you’ll need to get them beforehand. And then, get started with the following steps.
Step 1: Remove the shower base and the tailpiece
First, you will have to remove the shower base attached to the bathroom floor to start the process. Next, use a lever to lift the shower base from its position. And then it’s time to lift the tailpiece.
Lifting the tailpiece is essential for ensuring proper measurement and outline of the structure. You can lift the tailpiece using your hand. But if it’s too fixed, then use the small lever to lift it and remove it.
Step 2: Pre-install the drain assembly.
Next, you need to pre-install the drain assembly. For that, you can follow the instructions that come with the shower kit.
Step 3: Measure the shower pan and mark its position
Keep the shower pan at its previous position without attaching. And then measure its position using a scale and mark them correctly on the floor. Then, remove the base after you’re done measuring and marking.
Here you can see our recommendations for the best foam for under shower base.
Step 4: Spray the foam at the marked positions
Now, it’s time for real business. Take the Styrofoam spray and spray it according to the marked positions. For that, first, outline the location of the shower pan using the spray with the help of the marks.
And then, fill the space inside the outline with the spray appropriately. Make sure you don’t keep any gaps unfilled.
Here you can see our recommendations for the best spray foam for under shower pan.
Step 5: Place the shower base back to its position
Done spraying? Then, quickly place the shower base to its position before the spray dries out.
Check carefully whether the foam is in contact with the whole base. If needed, apply some more spray on the edges of the shower pan to lock it properly.
Step 6: Check that it’s level
Now, check carefully if the shower base is evenly leveled. If not, then push the place you might feel is slightly lifted upwards and level it evenly. You can also use shims to level the side where the shower pan contacts the wall.
Step 7: Screw it to secure
Finally, you are required to screw the edges of the shower base to secure it permanently. For that, at first, pre-drill to place the screws. Then, after drilling, screw directly into the studs.
Step 8: Add some weight to the shower pan
Last but not the least, add some weight to the shower pan so that it sets appropriately with the foam. But make sure you’re not adding too much weight that it gets out of level.
And that’s it. Your job is done!
Related Questions
1. Can you use spray foam under a bathtub?
Yes, you definitely can. But it might not be as easy as using spray foam under the shower base because of its size and weight.
So, you need to be double cautious to install it properly. If not correctly installed, it might create additional problems for you.
2. Can I use spray foam under a shower base?
Yes. All you need to make sure that you are spraying evenly without any gaps and properly outlining the position of the shower base.
3. What type of spray foam should I use?
You should only use a minimal-expanding foam under a shower pan so that the foam doesn’t expand much, creating pressure against opposing forces resulting in cracks on the shower pan. Styrofoam can be a good option in this case.
4. What causes shower pan flexing?
Shower pan flexing is generally caused due to the design of modern shower pans in which the bottom area where you stand while bathing doesn’t touch the ground. The reason behind this design is to ensure water movement towards the drain.
Final Words
We hope there are no other questions left in your mind on using spray foam under a shower pan. Make sure you do every step correctly. Keep calm, don’t rush.
Hope you will not face any further issues with your shower pan after this, and everything will work out properly and conveniently for you.




![How To Clean Dark Grout That Has Turned White [5 Easy Ways]](https://homepander.com/wp-content/uploads/2021/12/How-To-Clean-Dark-Grout-That-Has-Turned-White.webp)

![How to Remove Crystallized Urine [Explained]](https://homepander.com/wp-content/uploads/2022/02/How-To-Remove-Crystallized-Urine.jpg)
