Most modern-day buildings are using tile for doing the floors and the washrooms. There’s no doubt it makes the room more pleasant.
However, a sloppy tile job can leave you with a thinset. The cloudy haze of thinset does not look good on the tile. Unless you bring in the contractor again, you’ll have to do it yourself.
So, how to clean thinset off tile?
Well, the process itself isn’t that hard. And with our detailed step-by-step guide, it’ll feel like a breeze to you.
Without wasting any more time, let’s start, shall we?
How to Clean Thinset off Tile?
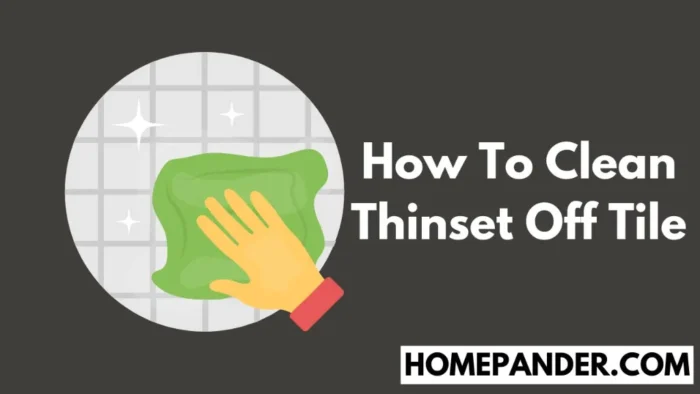
As we’ve already said that cleaning thinset off the tile isn’t that complicated. With the tools and products, almost anyone can do it.
Tools to remove thinset
- Screwdriver with straight slots. Grab this one here from Amazon.com
- Green scrubber sponge. Get one here on Amazon.com
- A bucket is full of water.
- Grout haze cleaner ( Check Price On Amazon )
Step 1: Remove the mortar
So, how to remove mortar from the tile floor or how to clean mortar off tile?
Well, you can start by removing the mortar from the grout lines. Cleaning mortar off tiles before grouting is the best thing to do. The mortar can stay fresh for up to 24-48 hours. So, removing it in that time period is far easier.
But if you somehow cross that time frame, you can still remove it. Use the narrow tip of a screwdriver and you’ll see the mortar is coming off easily.
Step 2: Remove the spacers
Now you have to begin removing the spacers for cleaning the grout. This is the perfect chance to clean the extra thinset from the tile.
If there’s a lot of mortar on the grout lines, chances are they’re also on the sides of the tile. Contractors often rush the project and leave mortar-covered spacers.
So, make sure you clean the mortar and replace the spacers if it’s still soft.
Step 3: Clean the center of the tile
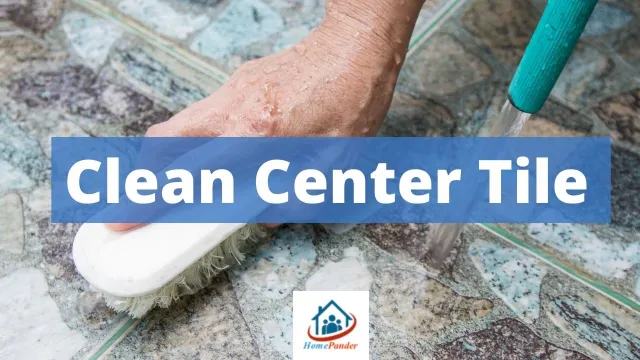
This is when you have to start cleaning the center or remove thinset from tile face. You can use a green scrubber sponge for this purpose.
Chances are that the moisture from the scrubber sponge will be enough to soften the mortar. Make sure to stay in the central region so that you don’t pass the mortar through the grout lines. You can also use vinegar to remove thinset.
Now you have to continue rinsing and scrubbing the tile until all the mortar is gone.
Step 4: Clean the tile edges
Like before, you have to clean off the thinset from the edges of the tile. This time try to use the edge of the scrubber.
However, rough or porous or how to clean thinset of tub tile can create a bit of a problem here. So, take your time and make sure to remove mortars from each and every tile.
If you leave mortars in a tile, removing that can become quite a difficult task. That’s why you think that all the tiles don’t have this kind of thinset.
Step 5: Apply a grout haze cleaner
This is the final step of the process. Get yourself a top of the line grout haze cleaner and start applying it.
There might be some specific instructions on how to use the product. So, remember to read the instructions manual.
4 Signs to Look out for When Installing Tile
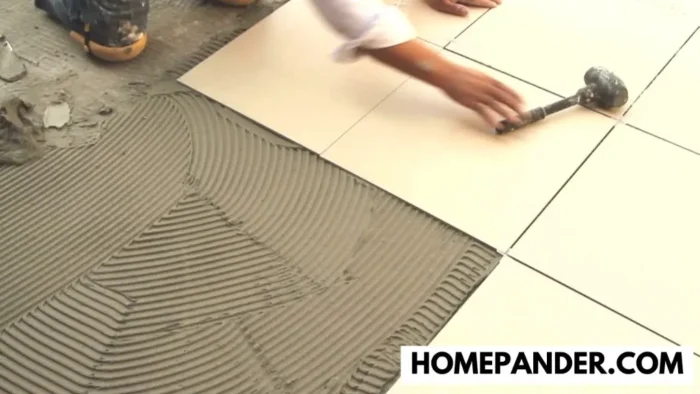
Doing a perfect tile isn’t an easy task. It requires a lot of experience and skill. And turns out, there aren’t many contractors who can do it. So, here are 4 signs you should look out for when installing tile-
1. Uneven tiles
So, how to fix uneven tile lines.
If you can easily notice the height difference between two tiles then there’s something wrong. However, there are a few exceptions. Handmade tile or tiles made out of exotic materials won’t stay even and that’s normal.
Although you can’t really relate it to regular tile. If you can feel a slight bump over your tile floor, you’ll slowly get more irritated by it. In fact, it can even cause an accident.
An expert contractor will grind down those spots. The thing is he’ll make sure that the job is done right. But not all contractors do it.
So, before you close the project, make sure your tile doesn’t have this dangerous tripping hazard.
2. Badly fitted tile
A lot of the rooms in our house won’t have a perfect size for the tile. That’s why contractors cut the tiles to make them fit into the area.
However, there are a few things contractors do to hide their mistakes. Sometimes you’ll see that there are a lot of big gaps that are filled with an excessive amount of grout.
The worst part is some contractors actually use the broken tiles to fill in that gap. That just ruins the whole vibe of the room.
Good contractors usually plan ahead so they tell you to buy some extra tile in case you need those. Even if your contractor doesn’t tell you to do this or how to fix a bad tile job, consult with him about this matter.
3. Crooked tile
Your tiles should not be crooked unless that’s the design of it. A lot of mosaic patterns require this crooked design but ordinary tiles don’t fall under this category.
Most likely your contractor didn’t apply enough grout or forgot(or did he?) to use spacers to hold tiles in its place.
No matter what, you should tell your contractor to fix it as soon as possible. Otherwise, the tiles might come off like stickers.
4. Extra grout
This is another classic sign of an amateur tile job. An experienced contractor will never make this kind of mistake.
However, what’s done is done. That’s why you should always check if the grout lines are okay or not. If it hasn’t been more than a week you still remove it easily.
But if you somehow pass that time frame, then it’s going to be a lengthy task. So, remember to check it after your contractor finishes the job.
Here is a helpful video on how to fix a bad tile job.
Parting Words
So, that’s all we had about how to get thinset off tile. Even though the process seems a bit lengthy but in reality, it won’t take any more than an hour.
Nonetheless, you should check if your contractor is making any mistakes or not. Catching a problem early won’t put you through that much trouble.
Good luck with how to clean tile adhesive off tiles before grouting!


![How To Clean Dark Grout That Has Turned White [5 Easy Ways]](https://homepander.com/wp-content/uploads/2021/12/How-To-Clean-Dark-Grout-That-Has-Turned-White.webp)



![How to Remove Crystallized Urine [Explained]](https://homepander.com/wp-content/uploads/2022/02/How-To-Remove-Crystallized-Urine.jpg)
