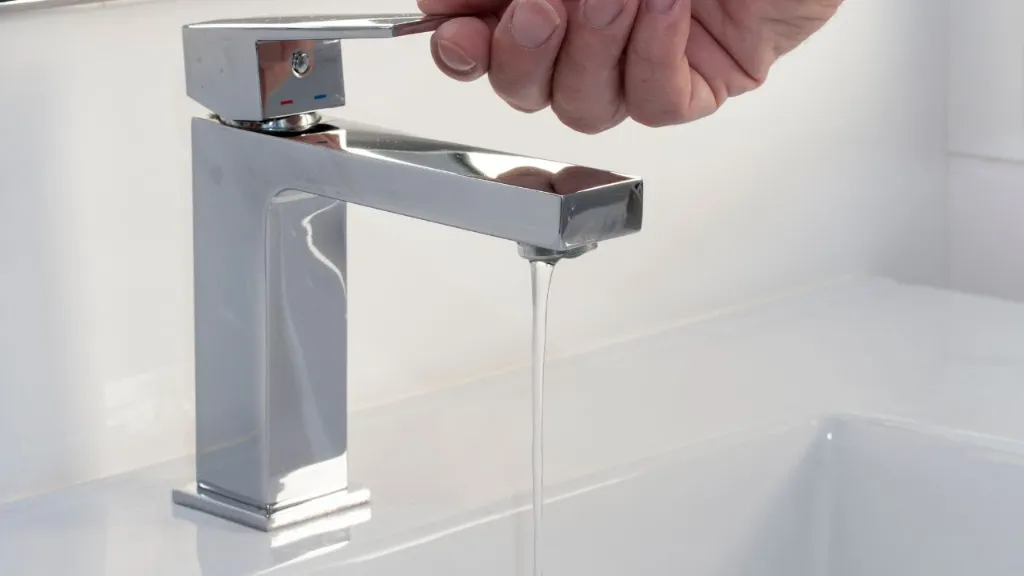
It is frustrating when your faucet handle decides to act like a stubborn kid at the very moment of emergency. But we don’t blame the faucet handle for that. It is probably acting this way because of years of use. It is also a good idea to read up on how to remove moen bathroom faucet handle.
A plumber may tell you to change the entire faucet to avoid the whole scenario of removing the handle to fix the issue. But that’s not always necessary if you know how to remove a stuck faucet handle. So, you got to stop staring angrily at that stuck faucet handle and pay attention here.
| Method | Description | Tools Required | Difficulty Level | Effectiveness |
|---|---|---|---|---|
| Lubrication | Applying a lubricant, such as WD-40 or silicone-based lubricant, to loosen the stuck faucet handle. | Lubricant | Easy | Moderate |
| Heat and Cold | Using a hairdryer to apply heat to the handle and then cooling it down with ice or cold water to contract and expand the metal, loosening the grip. | Hairdryer, ice or cold water | Moderate | Moderate |
| Rubber Grip | Wrapping a rubber band or a rubber jar opener around the handle for better grip and leverage when trying to turn the stuck faucet handle. | Rubber band, rubber jar opener | Easy | Low |
| Screwdriver and Hammer | Tapping the handle lightly with a screwdriver and hammer to release any corrosion or loosen the handle’s grip on the stem. | Screwdriver, hammer | Moderate | High |
| Plumbing Wrench | Using a plumbing wrench or adjustable wrench to grip and turn the base of the handle or the stem assembly to remove the stuck faucet handle. | Plumbing wrench | Difficult | High |
Why Is My Faucet Handle Stuck?
A stuck faucet handle can be a frustrating experience for homeowners. It can prevent you from using your sink, washing dishes, or even brushing your teeth. If you’re wondering why your faucet handle is stuck, keep reading!
Possible Causes of a Stuck Faucet Handle
There are several reasons why your faucet handle might be stuck. Here are some common causes:
- Mineral Buildup: Over time, mineral buildup can accumulate around the base of the faucet, causing it to stick. This is especially common in areas with hard water.
- Corrosion: Rust or corrosion can cause the faucet handle to become stuck. This is more likely to occur in older faucets or those that have been exposed to moisture for extended periods.
- Worn Out Washer: A worn-out washer can cause the faucet handle to become difficult to turn. This is a common issue that can be fixed by replacing the washer.
- Loose Handle: If the faucet handle is loose, it can cause the faucet to stick. Tightening the handle may resolve the issue.
Reasons Behind A Stuck Faucet Handle
Before you learn how to remove a stuck faucet handle, you need to know the causes behind it. There are simply two main reasons why a faucet handle would get stuck:
- Corrosion, due to years of use.
- Because of the accumulated minerals.
Both of these problems end up making it hard to remove the stuck shower handle. Facing this issue made me wonder “how do I remove a stuck tap?”, yet I solved the problem myself.
One of our articles –Are Single Handle Faucets Better For Your Bathroom?
How To Remove A Stuck Faucet Handle?
You can remove a stuck faucet handle using three methods:
- Removing lime or scale deposits
- Getting rid of corrosion
- Applying oil and force
I’ll explain these methods more further in this article through a step-by-step guideline on how to remove a stuck outdoor faucet handle. But before that, you should know that all of them start with one common step and that is to turn off the waterline.
You don’t need to turn off the water system of the entire house. Instead, just turn off the water source from the line under the sink.
To check if the water has been turned off, turn on the faucet. If there’s no water coming out, that means you are good to go. And, now it’s time to start removing that stubborn faucet handle.
Method One: Removing Lime Or Scale Deposits
Although it does not happen overnight, scale or lime deposits happen over the years of use. These minerals are often strong enough to gather over the stainless steel or corrosion-resistant metal. But how are you going to know which one is the scale and which one is lime?
Well, the lime, as the name suggests, has a bright green color while the scales are light brown. And here is how you can remove them.

Materials That You Need:
- Flat-head screwdriver. Here is a nice video on how to use a flat head screwdriver.
- Vinegar.
- Rag or towel.
Step One:
To get better access to the faucet handle’s problem area, you need to remove the handle cap first. Use a flat-head screwdriver to do that. Now you can work on the valve area without facing any obstacle.
Step Two:
Take some vinegar and pour it over the handle. You don’t need to add any other substance with it. No need to worry if some vinegar falls on other surfaces. You can use a towel or rag to cover the sink if it bothers you much.
Step Three:
Vinegar takes a while to break down the minerals that cause the faucet handle to get stuck. So, wait for twenty to thirty minutes until you try to wiggle the handle a bit. If it still doesn’t move, pour or spray some more vinegar and wait again.
When the vinegar manages to break down the minerals, you will be able to turn the handle and remove it. If that still doesn’t work, you can try buying chemicals from stores that work on lime and scale. And if that doesn’t work either, it’s time to give up and move to the next method.
Method Two: Getting Rid Of Corrosion
We all are familiar with the rust problem. Not only it accumulate on low-graded steel but also sometimes it spreads on stainless ones too. It can jam the faucet handle anytime. So, you can try the following steps to remove the faucet handle that is stuck because of corrosion.
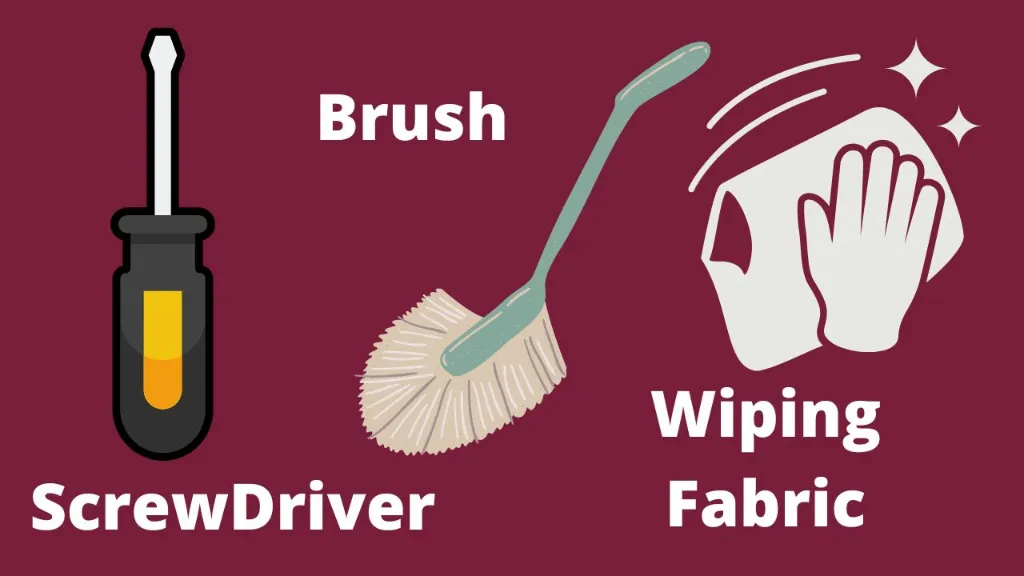
Materials That You Need:
- Flat-head screwdriver.
- Stiff-bristle brush.
- Wiping fabric.
Step One:
Start with removing the cap of the faucet handle with a flat-head screwdriver. You may also need to remove the screw that is placed under the cap. Removing the screw will allow you to have a proper look at the valve and give better access to remove the corrosion if there is any.
Step Two:
You may already know what rust looks like. But if you don’t, let’s say it looks brownish-red. Something like straight out of a horror movie. But don’t let that frighten you.
Take out your stiff-bristle brush and start cleaning as much as you can. You should clean the handle and areas around the valve. Try pushing the brush and clean in a motion that looks like digging.
In this way, you will be able to clean off most of the rust. Don’t forget to wipe the brush with a rag or fabric every now and then.
Step Three:
As you clear out the areas with a brush, it helps the handle to loosen. Then try to move the handle and see if it budges. If not, use the brush again to clean more areas if possible to get rid of more rust. Here’s a link to cheap and great options over at Amazon ($9).
Method Three: Applying Oil And Force
You are probably frustrated by now. But removing a stuck faucet handle is not easy all the time. If you are still having trouble, that means the handle is stuck due to more corrosion inside. The brush can’t reach everywhere and that’s why the inner corrosion could not be cleaned.
So, this time you can try one more method to solve the problem and that is using oil and force. Here is the step by step guidelines you would need:
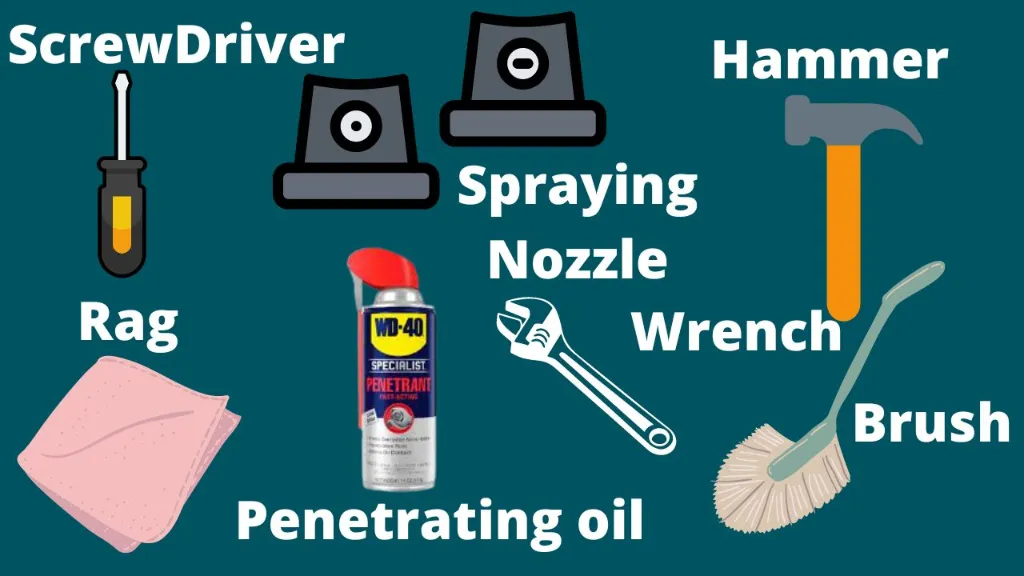
Materials That You Need:
- Flat-head screwdriver.
- Brush.
- Penetrating oil.
- Spraying nozzle.
- Dry rag.
- Hammer.
- Wrench.
Step One:
As mentioned in the above methods, first you need to unscrew the faucet handle cap with a flat-head screwdriver. Then, just like the second method, use a brush to remove the dust and rust as much as possible.
Step Two:
Then pour some penetrating oil inside the valve. Do not forget the handle’s base too. You can spray some oil using a thin nozzle to ensure the oil reaches the corrosion areas. Now, let the oil sit for some time before you move to the next step.
Step Three:
Use a dry rag to grab the handle otherwise, your grip will be slippery because of oil. Then try wiggling and turning the handle and put some pressure if needed.
But if that doesn’t work either, grab a hammer and lightly tap on the handle a few times. You should tap the handle toward the counterclockwise direction. You need to be careful while tapping the handle with the hammer so that you don’t end up damaging the valve.
Here is a nice video on how to remove a stuck tap handle.
Step Four:
If you are still failing to remove the stuck faucet handle, don’t worry because there is one more step to go. It’s time to use the wrench you gathered around the beginning.
Tighten the wrench around the handle of the faucet and again turn it toward the counterclockwise direction. By now all the cleaning and oiling have started to work more effectively.
So, you would need to add gentle pressure as you turn it. But, once the handle starts to turn, stop using the wrench and use your hand to remove the handle.
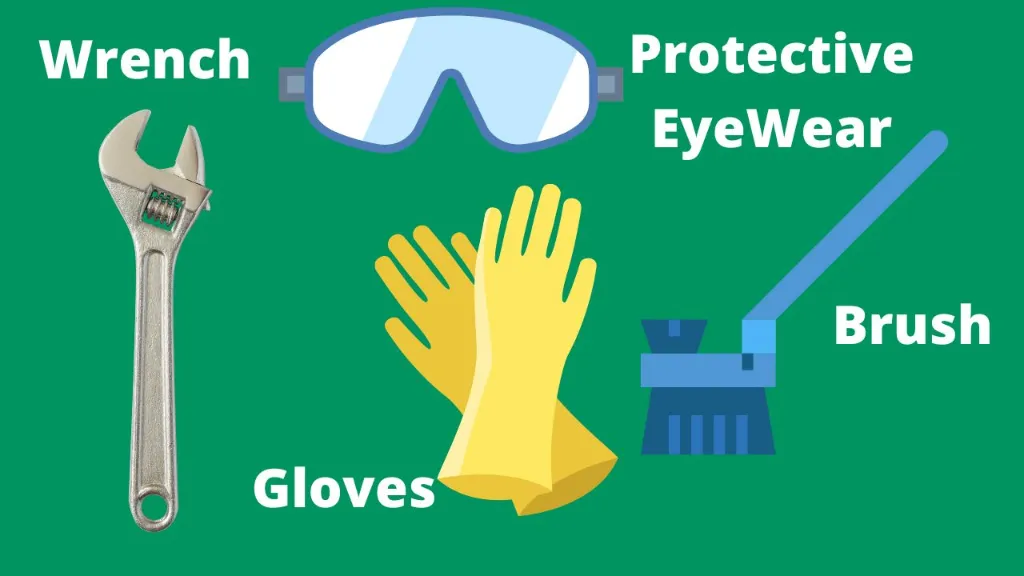
Things You Need To Keep In Mind
By now you know that the task isn’t as easy as it sounded around the beginning. Moreover, the wrong attempt can damage the handle instead of allowing you to remove it easily. That’s why you need to keep a few things in mind while working.
- Wear protective gloves if you want to avoid touching the oil.
- Do not put too much force on the handle.
- Be gentle while tapping with a hammer or using the wrench.
- Do not pour more vinegar or oil than necessary.
How To Remove A Stuck Faucet Cap?
You cannot attempt to remove a faucet handle without removing the cap first. But what if the cap is stuck too? If you face this issue, this is how you can solve it:
Materials That You Need:
- Brush.
- Wrench.
Step One:
Take a brush or dry rug and clean the areas on and around the cap. Sometimes the mold gathered around the cap can cause it to stick.
Step Two:
Use a wrench to turn and remove the cap. But if that doesn’t work, you can use a lubricant to turn it.
Pour some vinegar or penetrating oil in a cup, take a toothbrush and wet the bristles in it. Then brush on and around the cap. Let the liquid sit for a few minutes before you turn the cap.
Step Three:
This step comes with some alternatives to pry off the cap.
- Run a sharp knife around the perimeter of the cap and pry it off
- Insert a screwdriver under the cap and gently press it upward to remove it
Caution: Wear protective eyewear, and gloves to avoid any kind of unexpected harm.
Frequently Asked Questions
1. How Do You Remove A Stuck Delta Faucet Handle?
The process to remove a stuck delta faucet handle often depends on the model of the faucet. But no matter what, some common process works for all faucet handles.
- Turn off the water system.
- Pour some vinegar or penetrating oil and wait for a few minutes.
- Grab the handle with a dry rag and turn it clockwise and counterclockwise motion.
- The attempt will loosen the handle.
- Add some pressure and try forcing to remove the handle.
- If that doesn’t work, you can drill out the set screw to remove the handle.
- You can also try using a hacksaw or Allen wrench to pry it off easily.
2. How Do I Remove An Outdoor Faucet Handle?
The reason an outdoor faucet handle is stuck can be due to corrosion and other issues. And this is the way to remove an outdoor faucet handle:
- Tighten groove pliers around the outdoor faucet handle so that it does not move.
- Use a screwdriver to remove the screw from the top of the handle while holding the handle tightly in place.
- Now use a flat-head screwdriver to pry off the handle.
3. How To Remove A Stuck Bathroom Faucet Handle?
You can remove a stuck bathroom faucet handle by following these simple steps:
- Turn off the water system.
- Take off the cap of the faucet handle.
- Use a pair of pliers to turn the handle. If you don’t want the faucet to suffer from any scratches, cover the handle with a rag and hold the pliers around it.
- Try to wiggle the handle in both directions gently at first. Once you feel the handle loosening, turn it to the direction it comes loose completely.
4. How To Remove A Stuck Faucet Handle Screw?
If the faucet handle seems stuck, try the following process to remove it:
- Pour or spray some penetrating oil over the screw and let it sit for thirty minutes to an hour.
- Depending on the size of the screw, use a flat-head screwdriver or Allen wrench.
- Press down the screw with the screwdriver or wrench and turn it to counterclockwise motion.
- You can tap the top of the screwdriver or wrench lightly with a hammer.
- Keep turning the screw until it comes loose.
5. How To Remove Faucet Handle Without Screws?
This is how you can remove the faucet handle without screws:
- Turn off the waterline.
- Pry off the cap of the faucet handle with a flat-head screwdriver.
- You will find an initially visible screw. Use an Allen wrench to remove it.
- After that, use a pair of pliers to remove the handle.
6. What are some common reasons why a faucet handle gets stuck?
A faucet handle can get stuck due to mineral buildup, corrosion, or worn-out parts.
7. What tools do I need to remove a stuck faucet handle?
You may need pliers, a wrench, a screwdriver, penetrating oil, and a towel or rag.
8. How do I know if I should use a wrench or pliers to remove the handle?
Use a wrench for a hexagonal handle and pliers for a round or lever handle.
9. Is it safe to use WD-40 or other lubricants to loosen a stuck faucet handle?
Yes, but be sure to use only a small amount and wipe off any excess.
10. What should I do if the faucet handle is corroded or stripped?
You may need to use a hacksaw or drill to remove the handle.
11. How do I remove a stuck faucet handle from a wall-mounted faucet?
You will need a basin wrench or other specialized tool to remove a wall-mounted faucet handle.
12. Can I remove a stuck faucet handle without turning off the water supply?
It’s best to turn off the water supply to prevent any accidents.
13. How do I reinstall the faucet handle after removing it?
Follow the manufacturer’s instructions and use the same orientation and position as before.
14. What should I do if I still can’t remove the faucet handle after trying everything?
Consider calling a professional plumber or replacing the entire faucet.
15. Can I call a professional plumber to remove a stuck faucet handle?
Yes, a professional plumber can help remove a stuck faucet handle if you’re unsure or uncomfortable doing it yourself.
16. Why is faucet handle hard to turn?
There could be various reasons why a faucet handle is hard to turn:
- Mineral deposits or debris buildup inside the faucet.
- Worn-out or damaged cartridge or valve.
- Water pressure issues.
- Improper installation or tightening of the handle.
Final Verdict
A faucet handle gathers various minerals based on the type of water. And over the years it ends up creating corrosion and other issues. As a result, the handle gets stuck.
But once you figure out how to remove a stuck faucet handle, cleaning them up or replacing the handle becomes much easier. It saves you from going through the trouble of hiring a plumber and spending more bucks than necessary.
Most of the tools used for solving this issue are available in all our homes. So, if you follow the above guidelines on how to remove a stuck shower faucet handle and work accordingly, I’m sure there will be no reason to be worried.
Good luck with methods on how to loosen a seized tap handle.


![How To Clean Dark Grout That Has Turned White [5 Easy Ways]](https://homepander.com/wp-content/uploads/2021/12/How-To-Clean-Dark-Grout-That-Has-Turned-White.webp)

![How to Remove Crystallized Urine [Explained]](https://homepander.com/wp-content/uploads/2022/02/How-To-Remove-Crystallized-Urine.jpg)